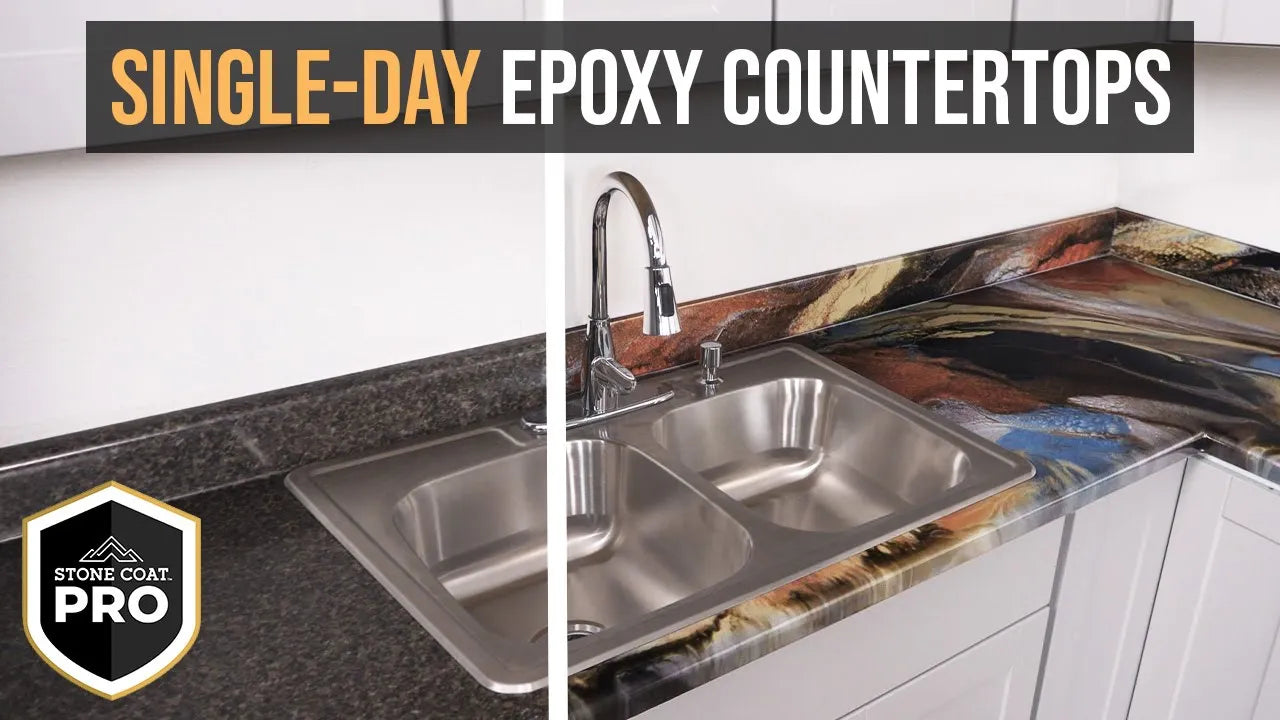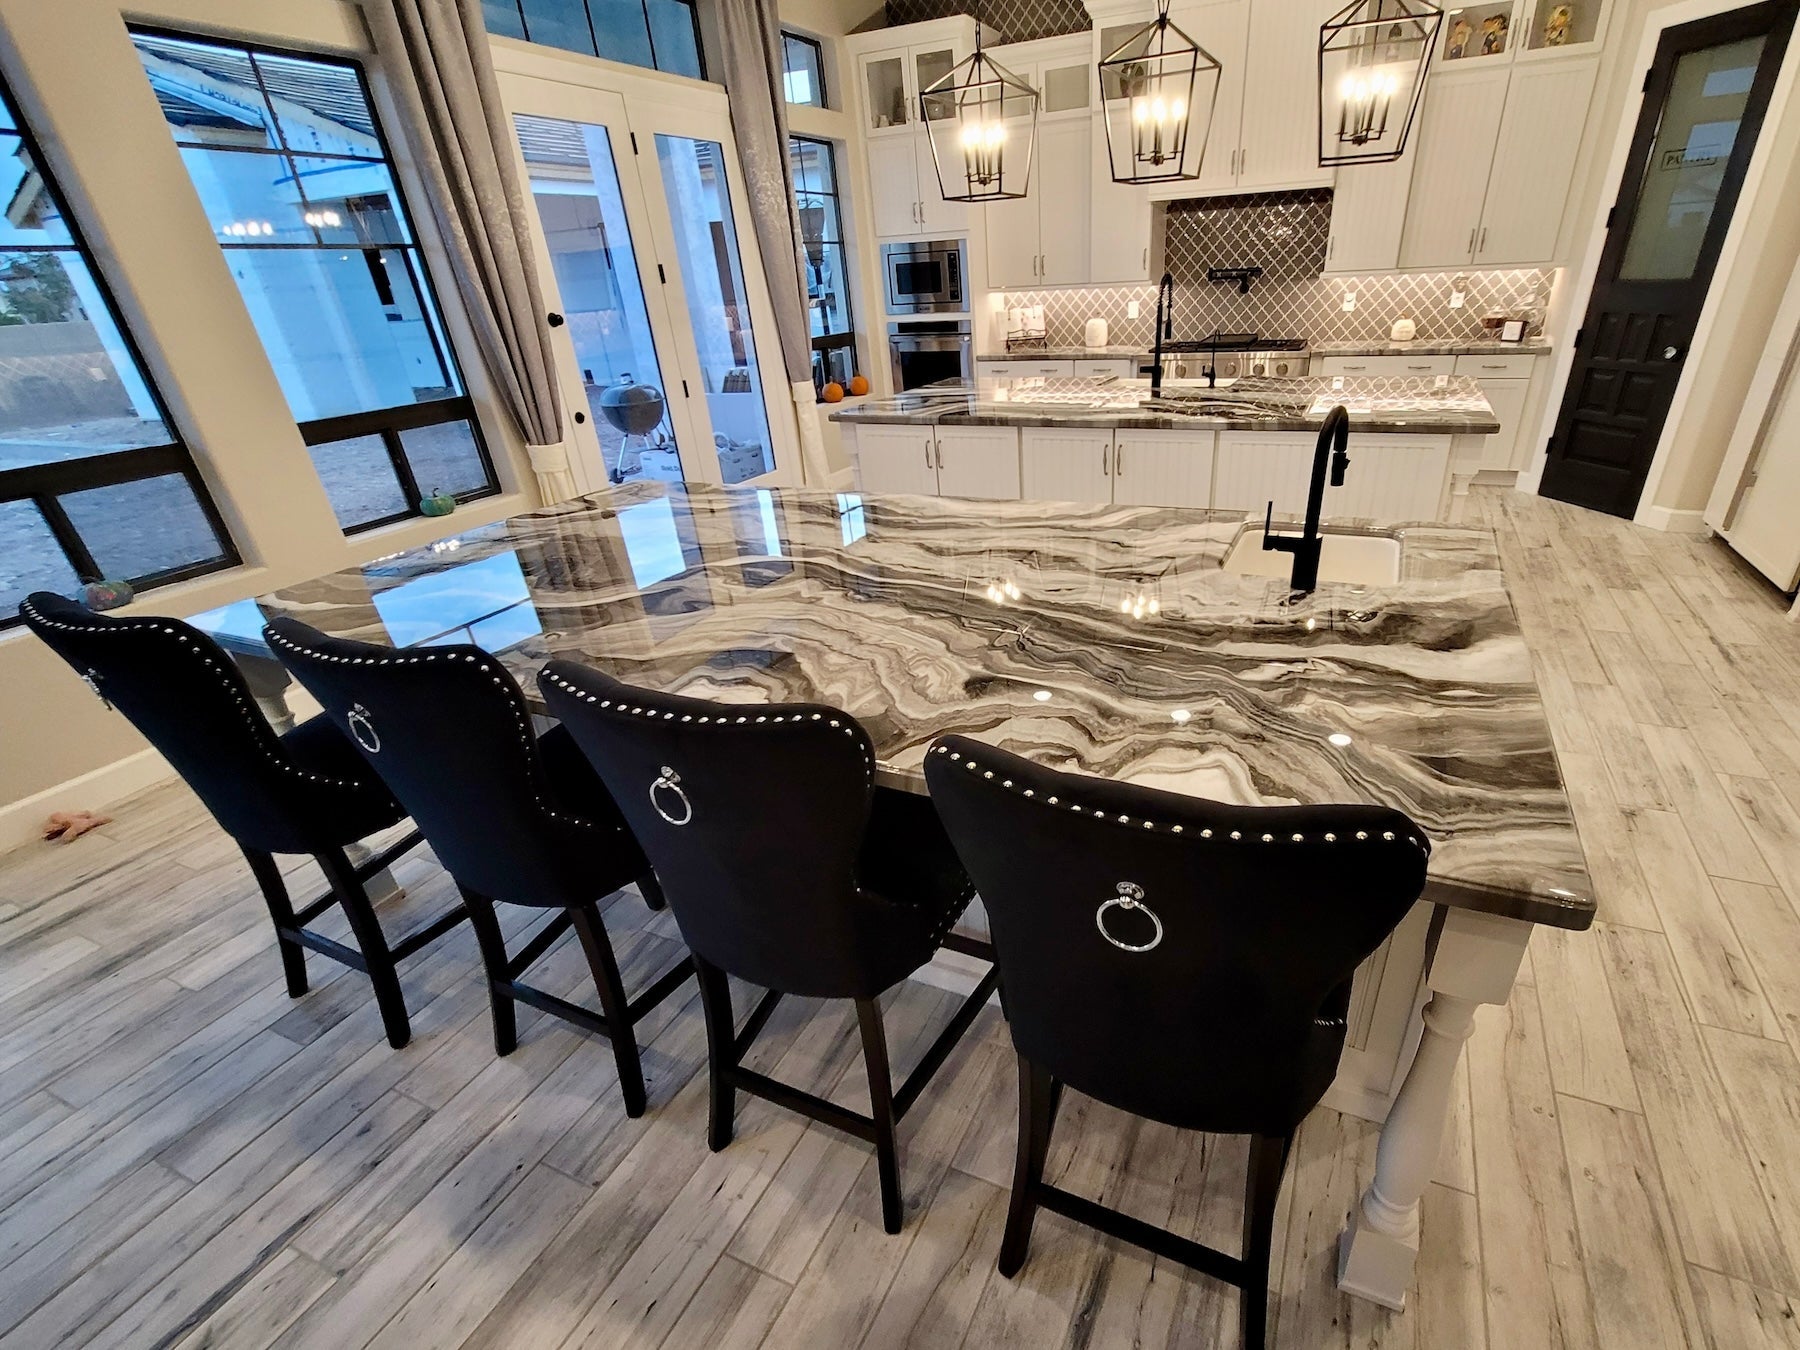


Don’t tear out those old laminate countertops—transform them into stunning, custom Stone Coat Epoxy Countertops! Our DIY-friendly epoxy system delivers a natural stone look for a fraction of the cost. Pouring over an existing countertop requires a few extra prep steps compared to new fabrication, so follow this guide to prep your laminate for a high-end finish.
Before you start:
Whether you’re pouring epoxy over an existing countertop—like tile or laminate—or fabricating a new surface from MDF, each approach has unique preparation steps to ensure maximum adhesion. For detailed instructions, check out our substrate specific tutorials below. This color technique begins with your surface fully prepped and ready for a stunning epoxy transformation.
Since this project is poured in place, it’s essential to protect your cabinets, floors, and walls. Start by clearing any fixtures, hardware, or appliances like the sink to ensure a clean surface.
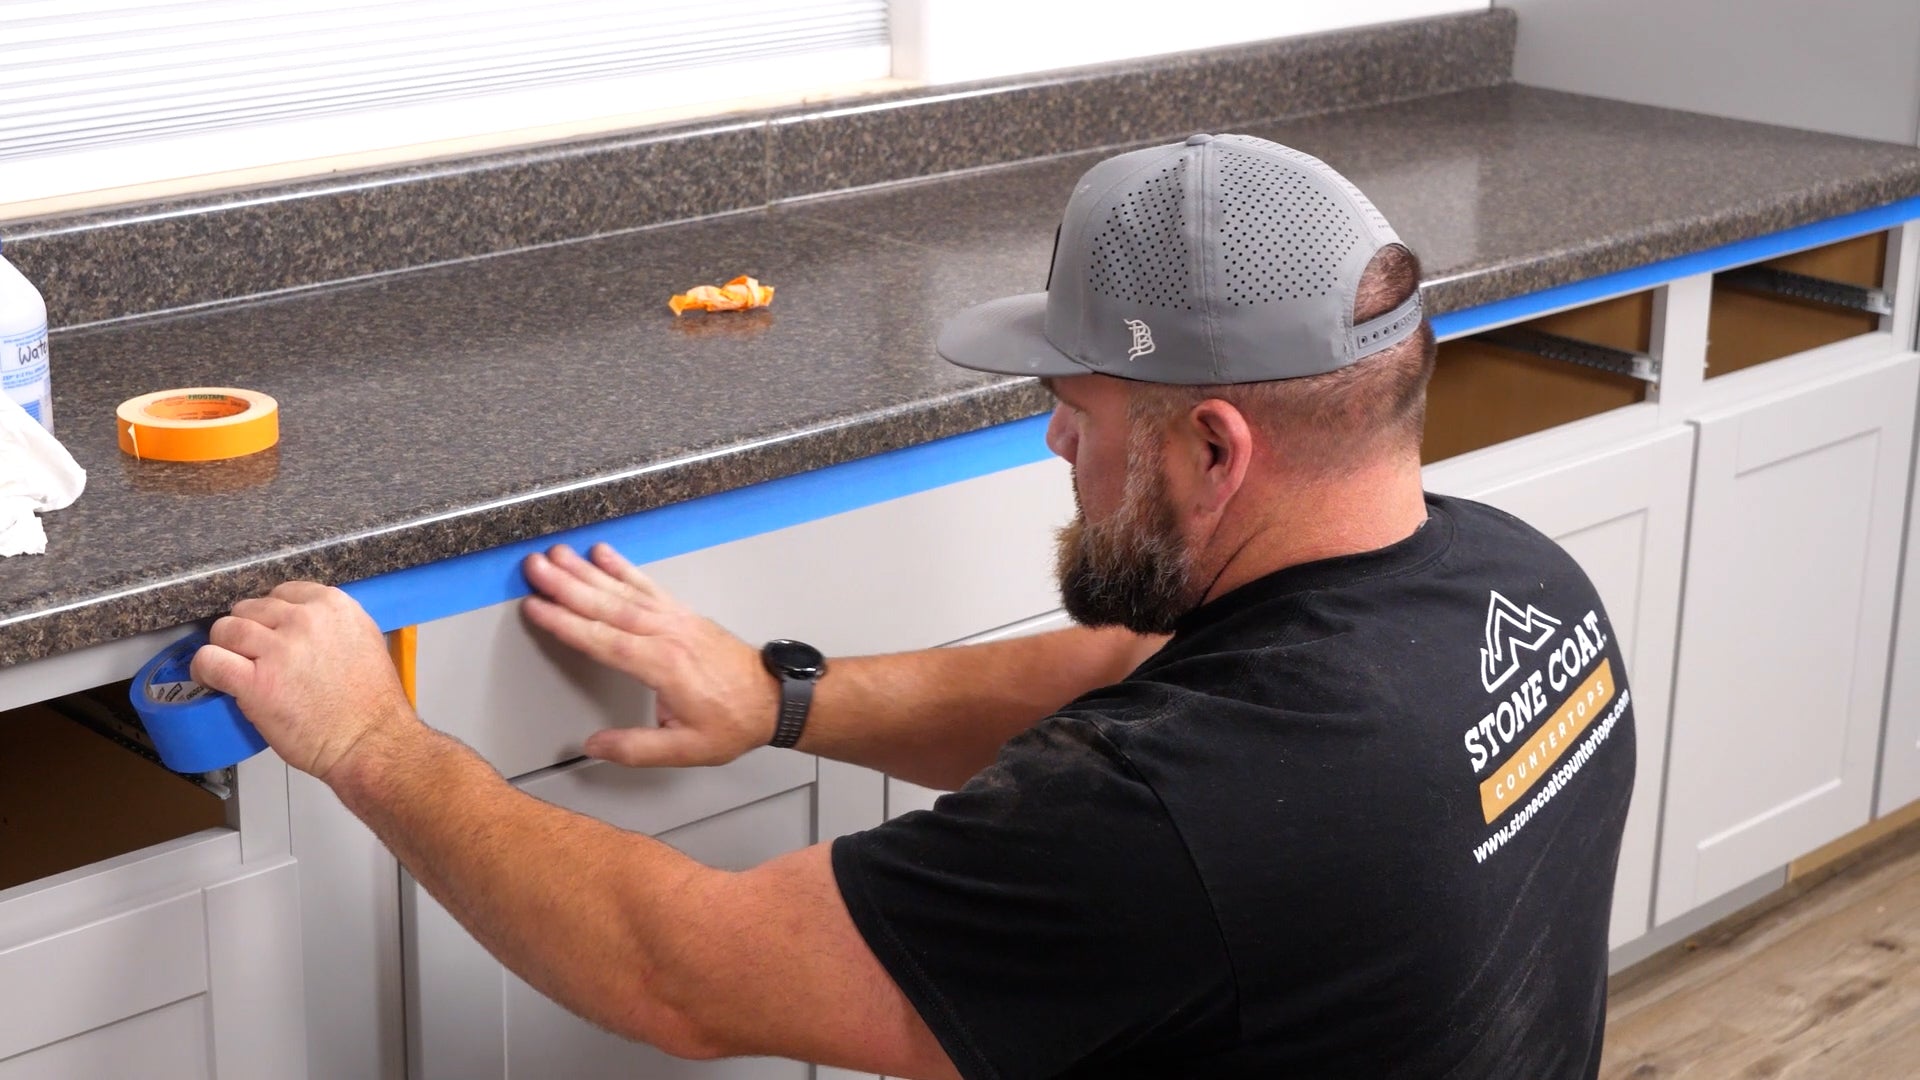
Protect the Area: Mask off cabinets, floors, and walls. We recommend Ram Board for the floor, secured with its specific tape, as papers and plastic can get messy. Apply delicate-release tape under the countertop edge to protect cabinet finishes, then cover the cabinets with 3 mil plastic, taping it to the Ram Board for easy cleanup.
Prep the Laminate Surface: Remove all grease and grime using TSP or a heavy-duty degreaser, then sand the laminate with 80-120 grit sandpaper for strong epoxy adhesion. Fill any chips or seams with an all-purpose body filler for a smooth, seamless surface. With these steps done, you’re ready to pour your Stone Coat Epoxy and give your countertops a high-end, custom finish!
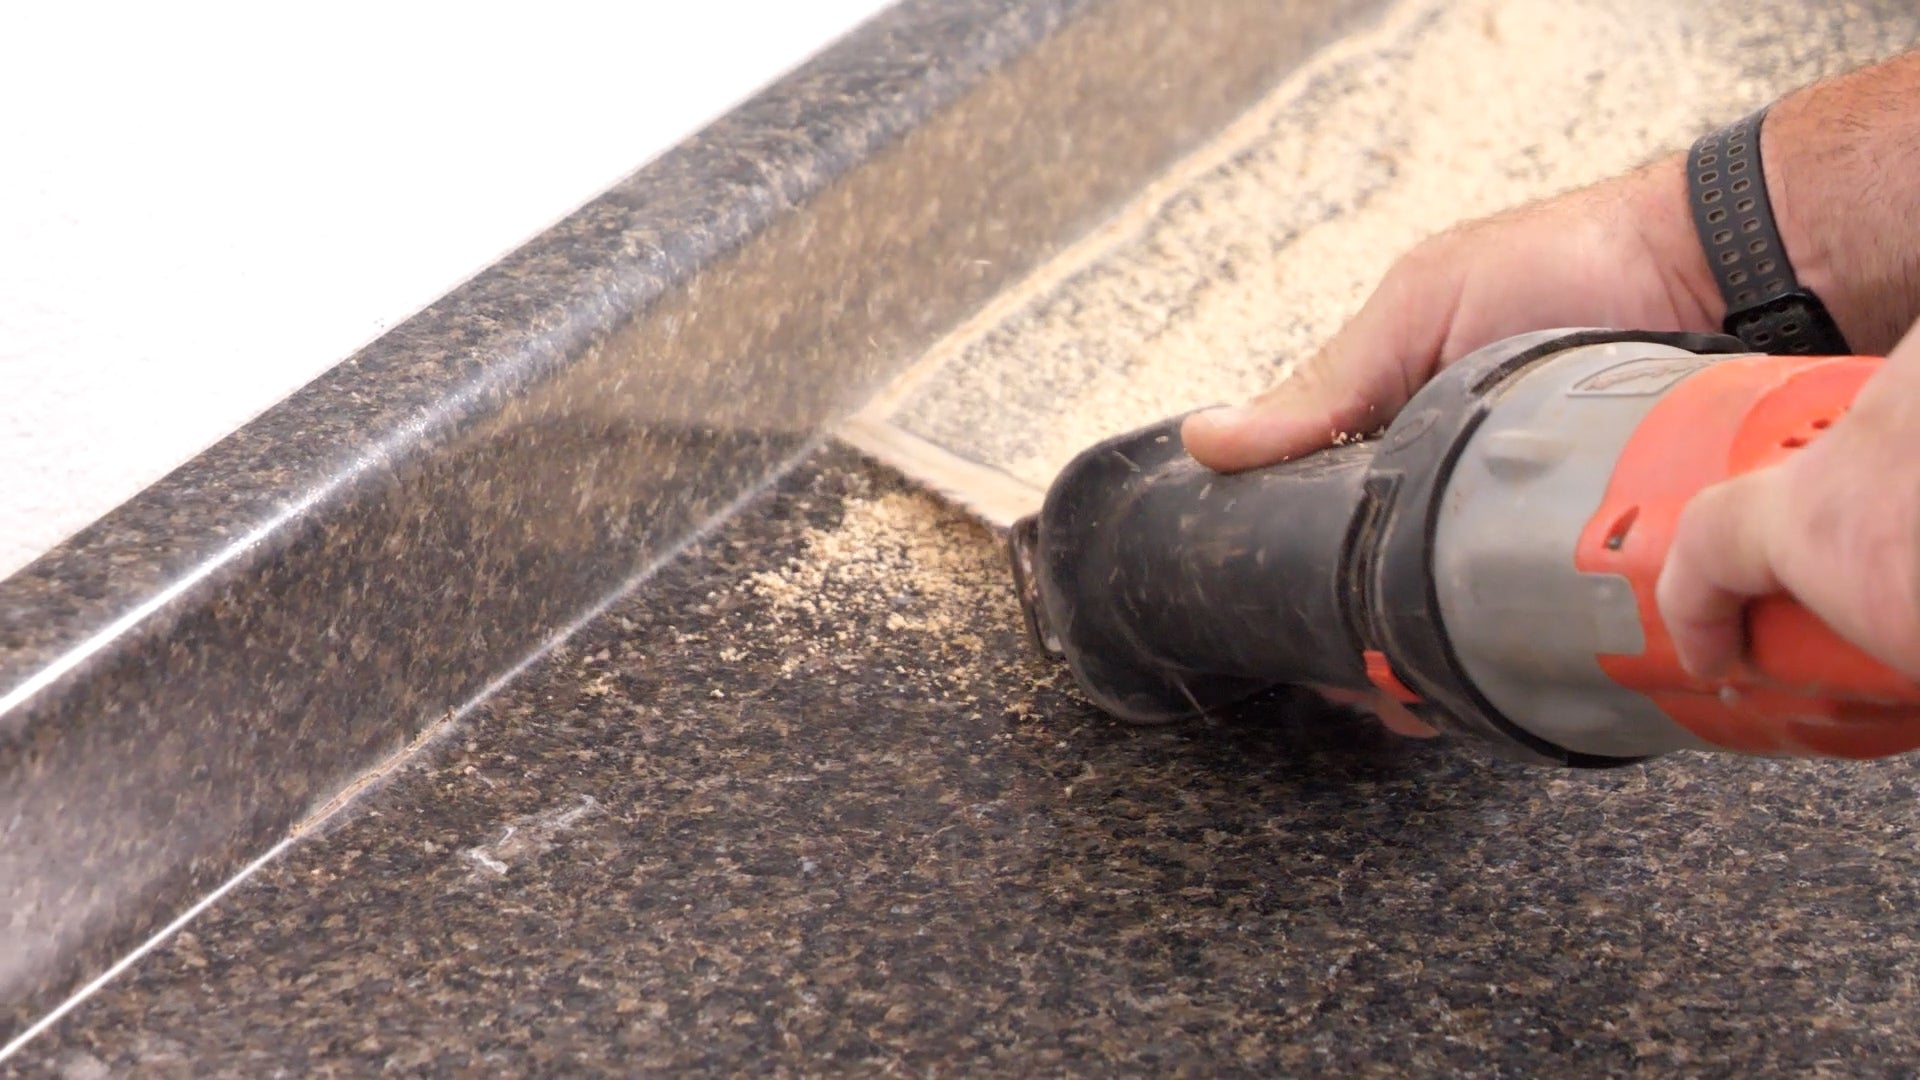
If your backsplash is a separate piece, use a utility knife to score the silicone, then carefully pry it off. For backsplashes attached to the countertop, remove them with a reciprocating saw or multi-tool.
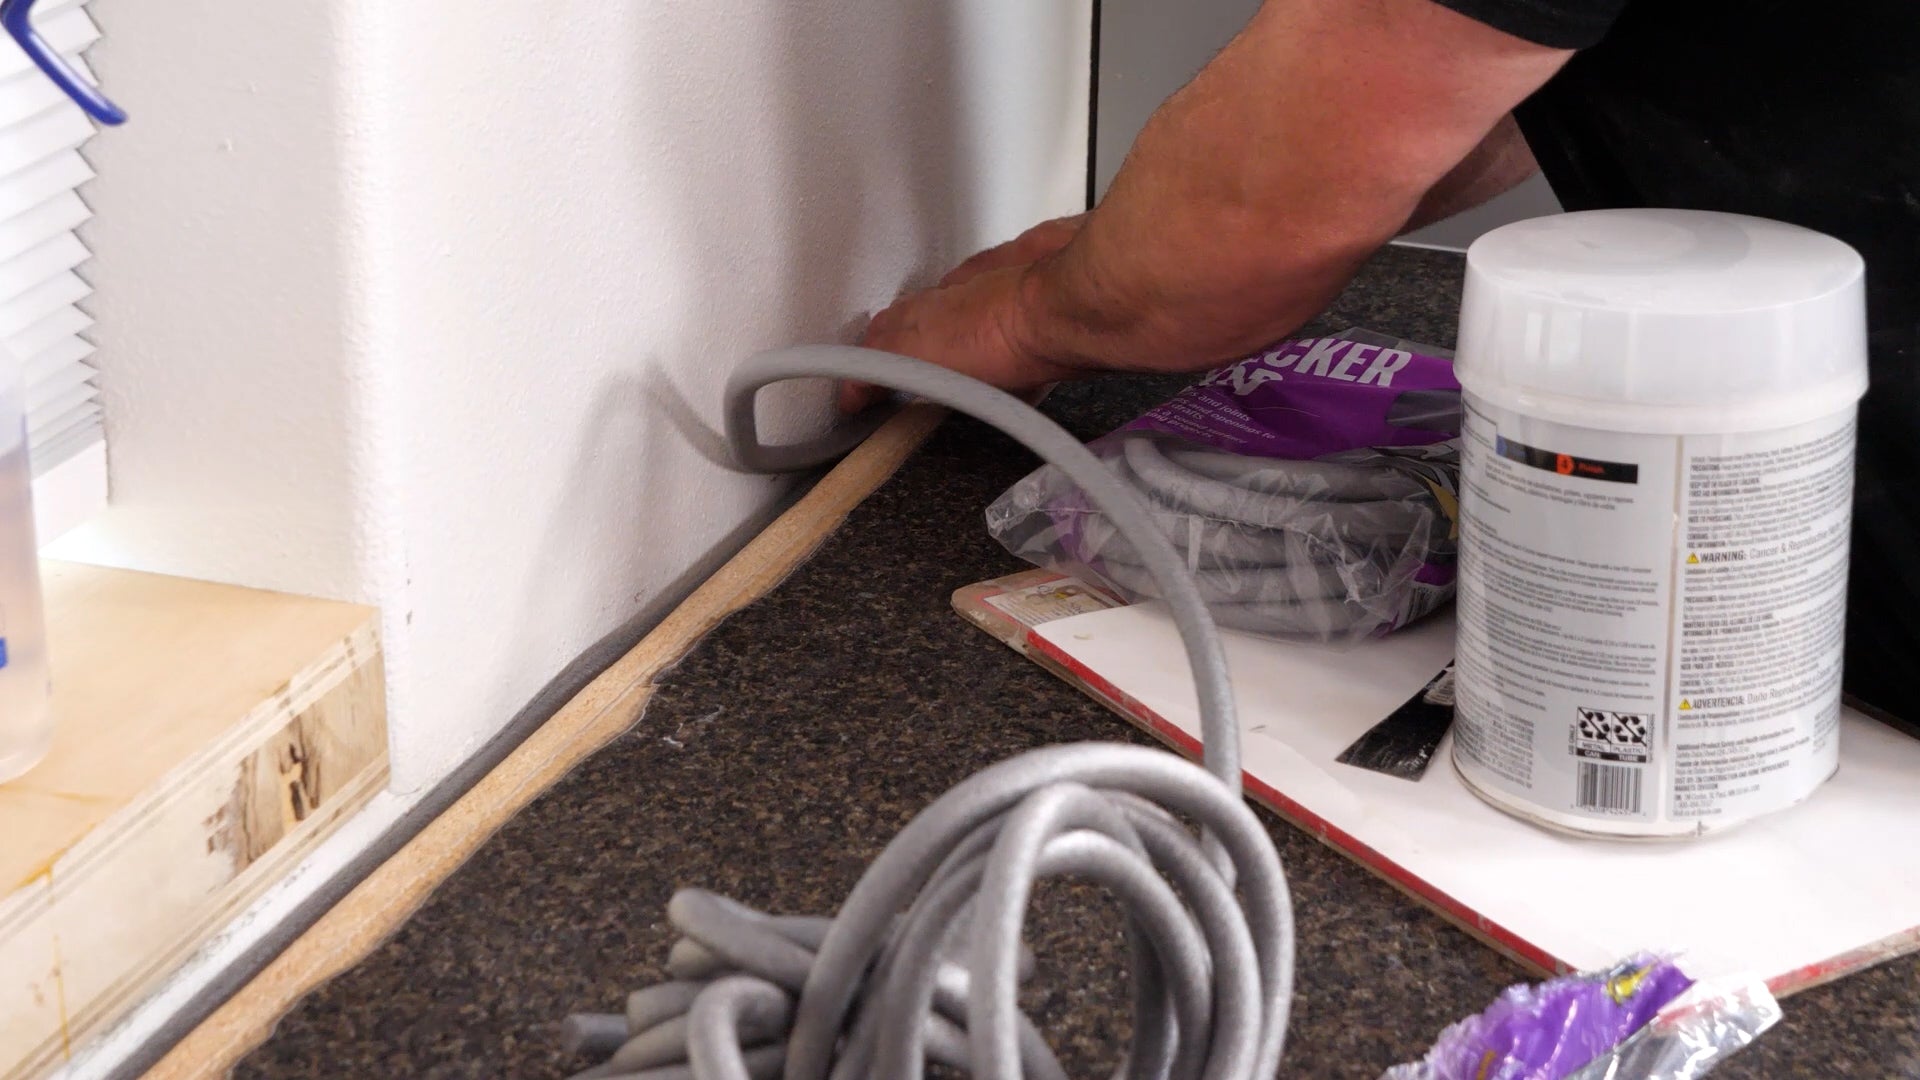
After removing the backsplash, clean up any dust and insert medium or large foam Backer Rod into the gap between the counter and wall.
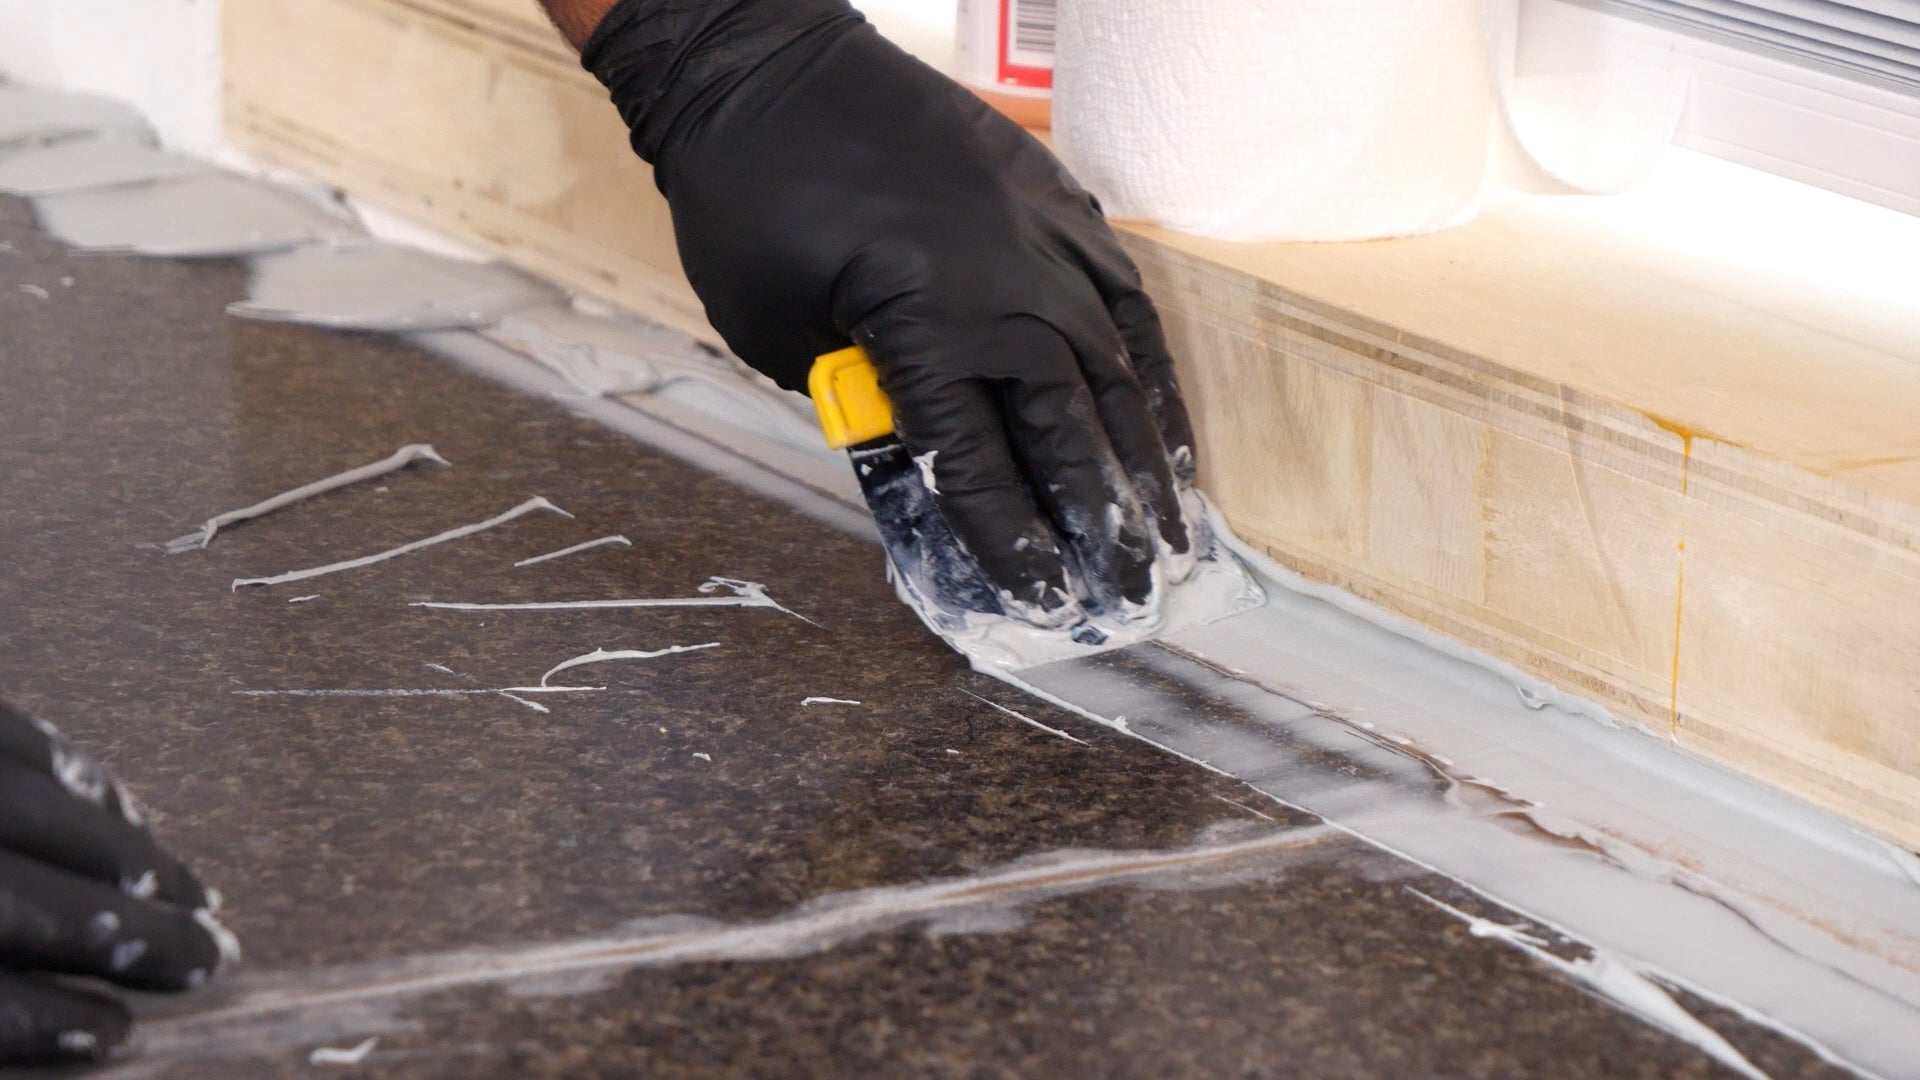
Fill additional cracks or seams with an all-purpose body filler like Bondo. Once the filler hardens, sand the surface smooth with 60-120 grit sandpaper, then wipe away dust and clean with 91% isopropyl alcohol.
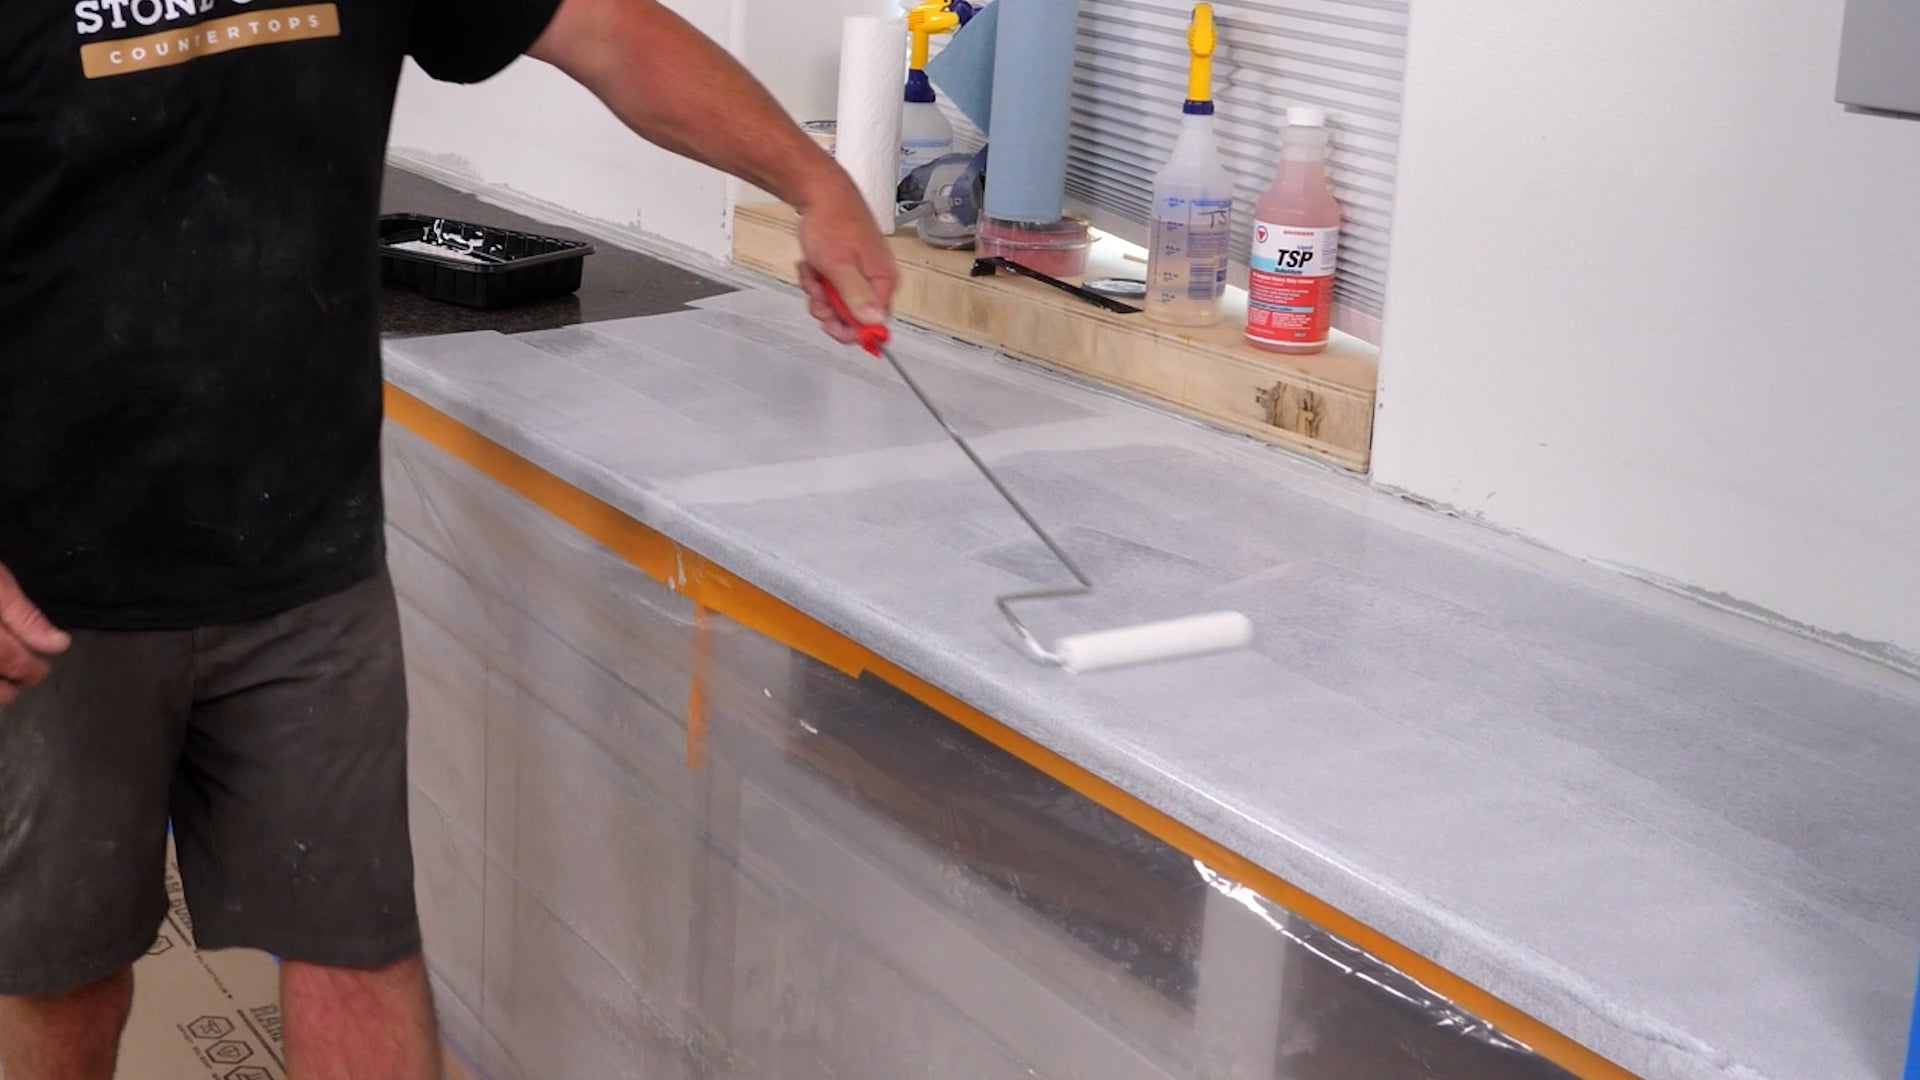
Apply two thin coats of Stone Coat Bonding Primer with a roller, letting each coat dry completely. This primer layer is essential for strong adhesion between the laminate and the tinted Stone Coat Epoxy Undercoat.
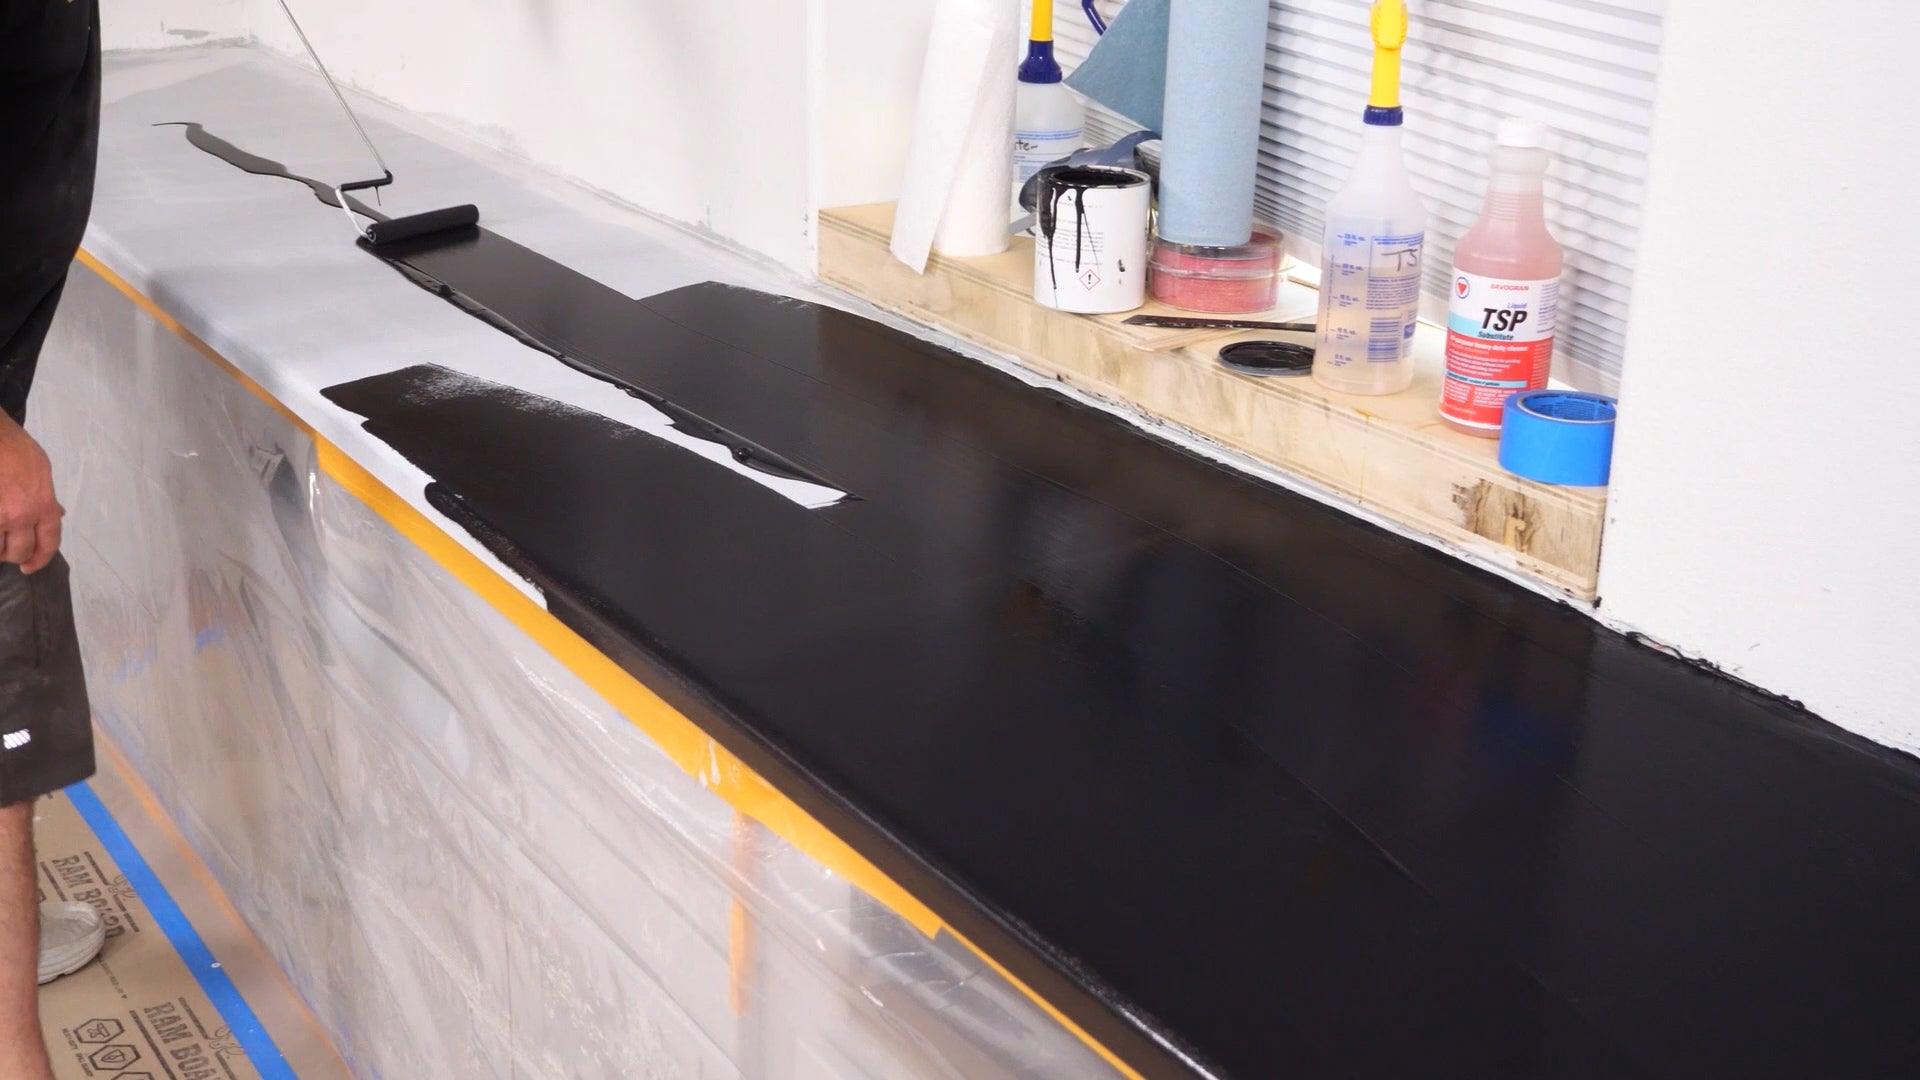
Once the primer is dry, apply two coats of tinted Stone Coat Epoxy Undercoat to create the perfect base for your epoxy finish. Use the white undercoat for light countertops and black for dark ones. For a medium tone, mix the white and black undercoats to create gray.
Pro Tip: Bonding Primer & Sealer is required for slick, non-porous surfaces like laminate but isn’t necessary for new MDF or plywood countertops.
With the Epoxy Undercoat fully dry, you're ready to apply your favorite Stone Coat Countertop Recipe or Kit by following the application instructions.
For maximum protection, finish with Stone Coat Countertops Ultimate Top Coat in Matte or Gloss. This adds a lightly textured, granite-like surface that enhances durability.
For regular cleaning, use Stone Coat Countertops Polish & Cleaner to keep your countertops fresh and smooth.
You Got This!
