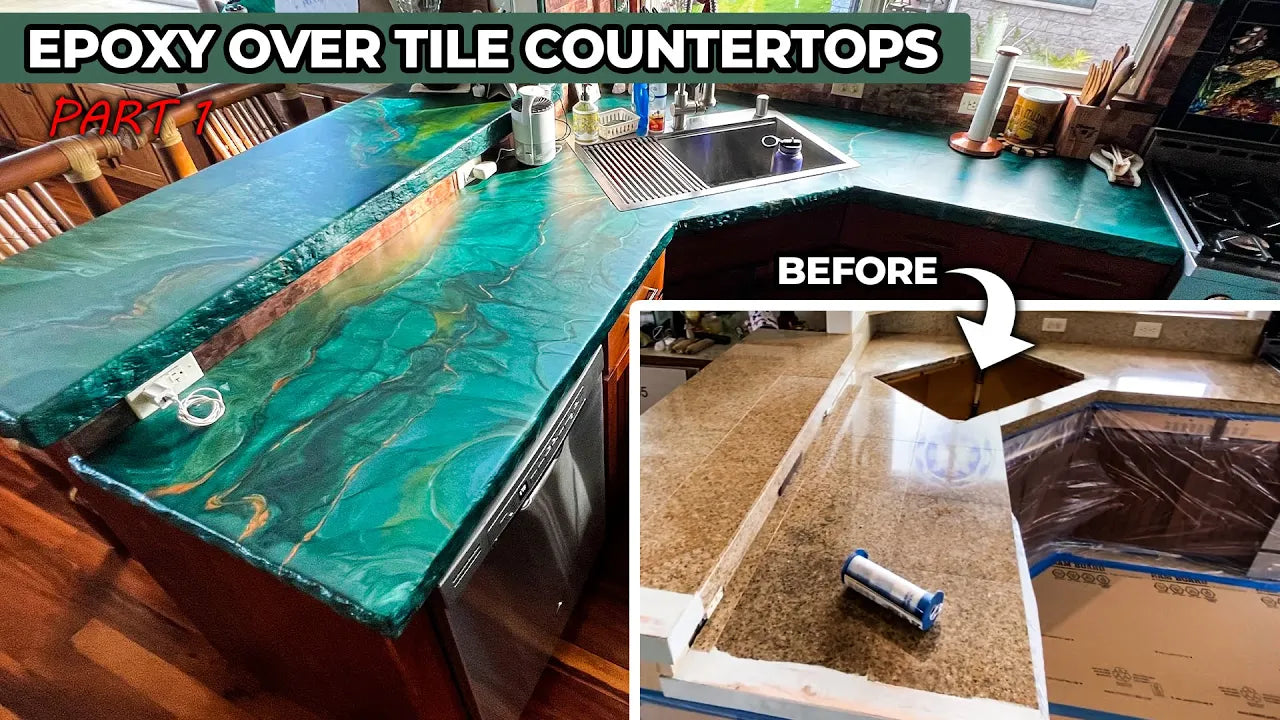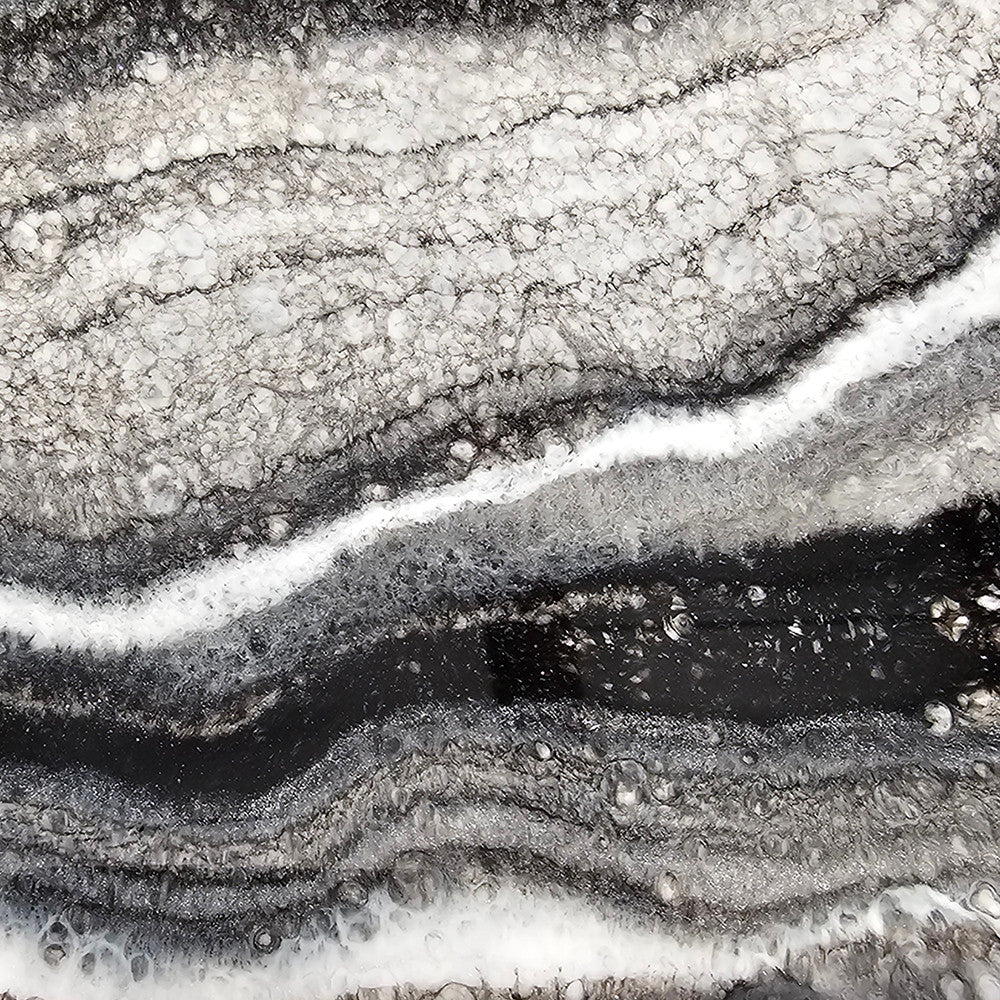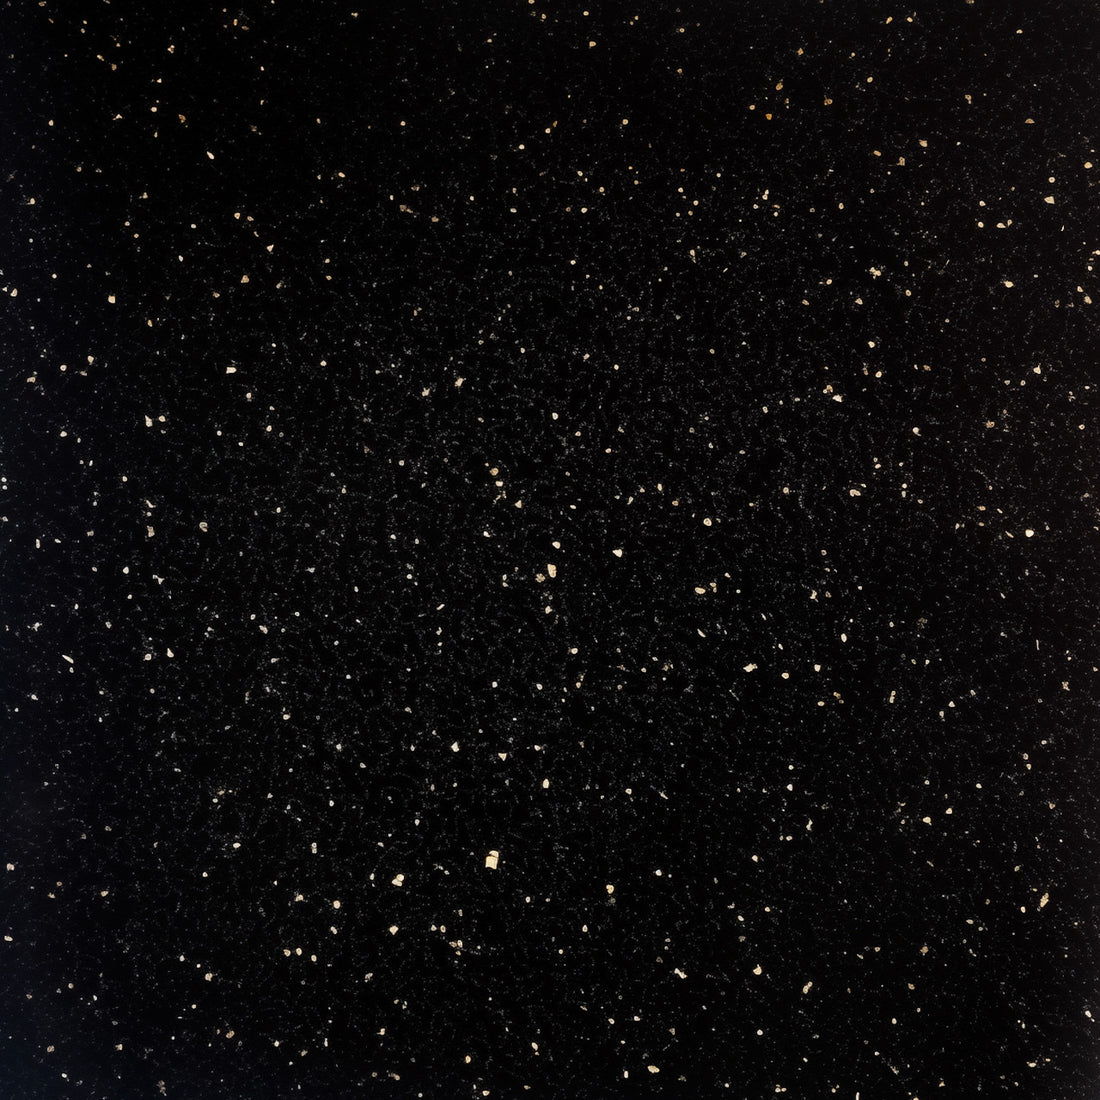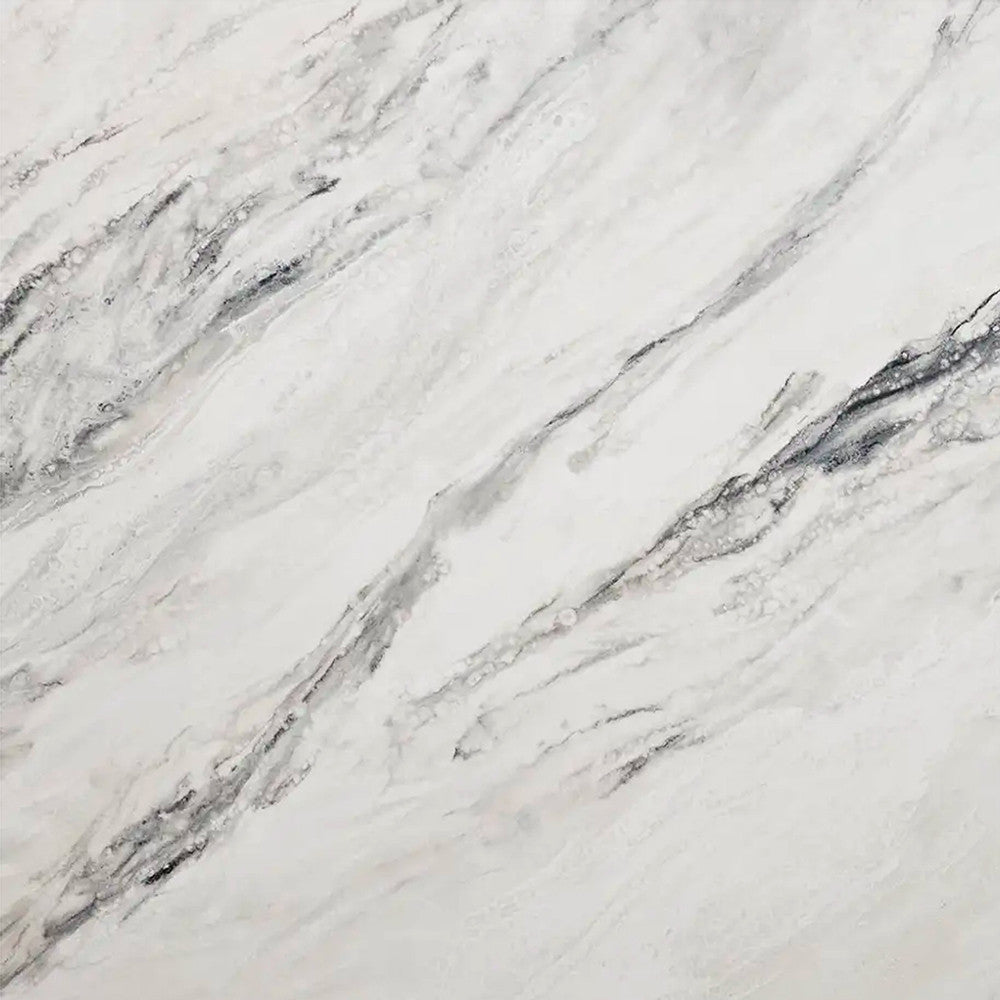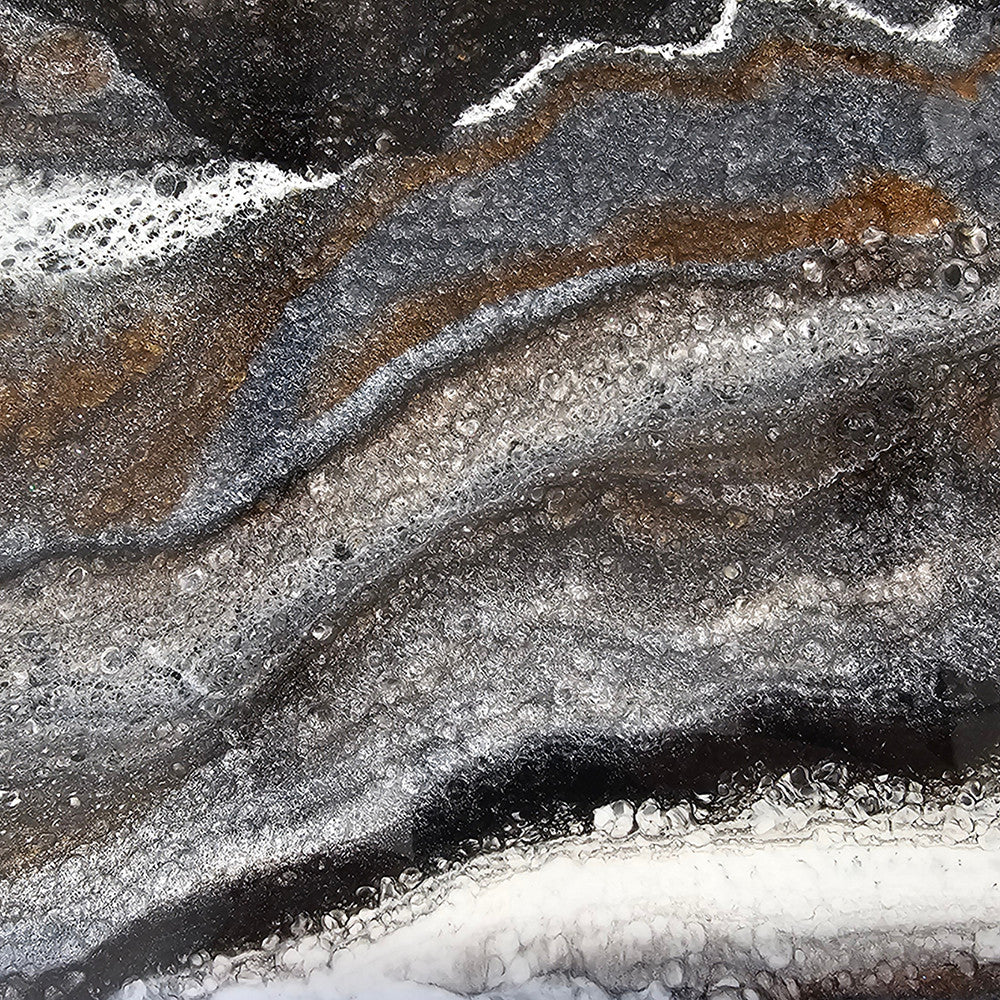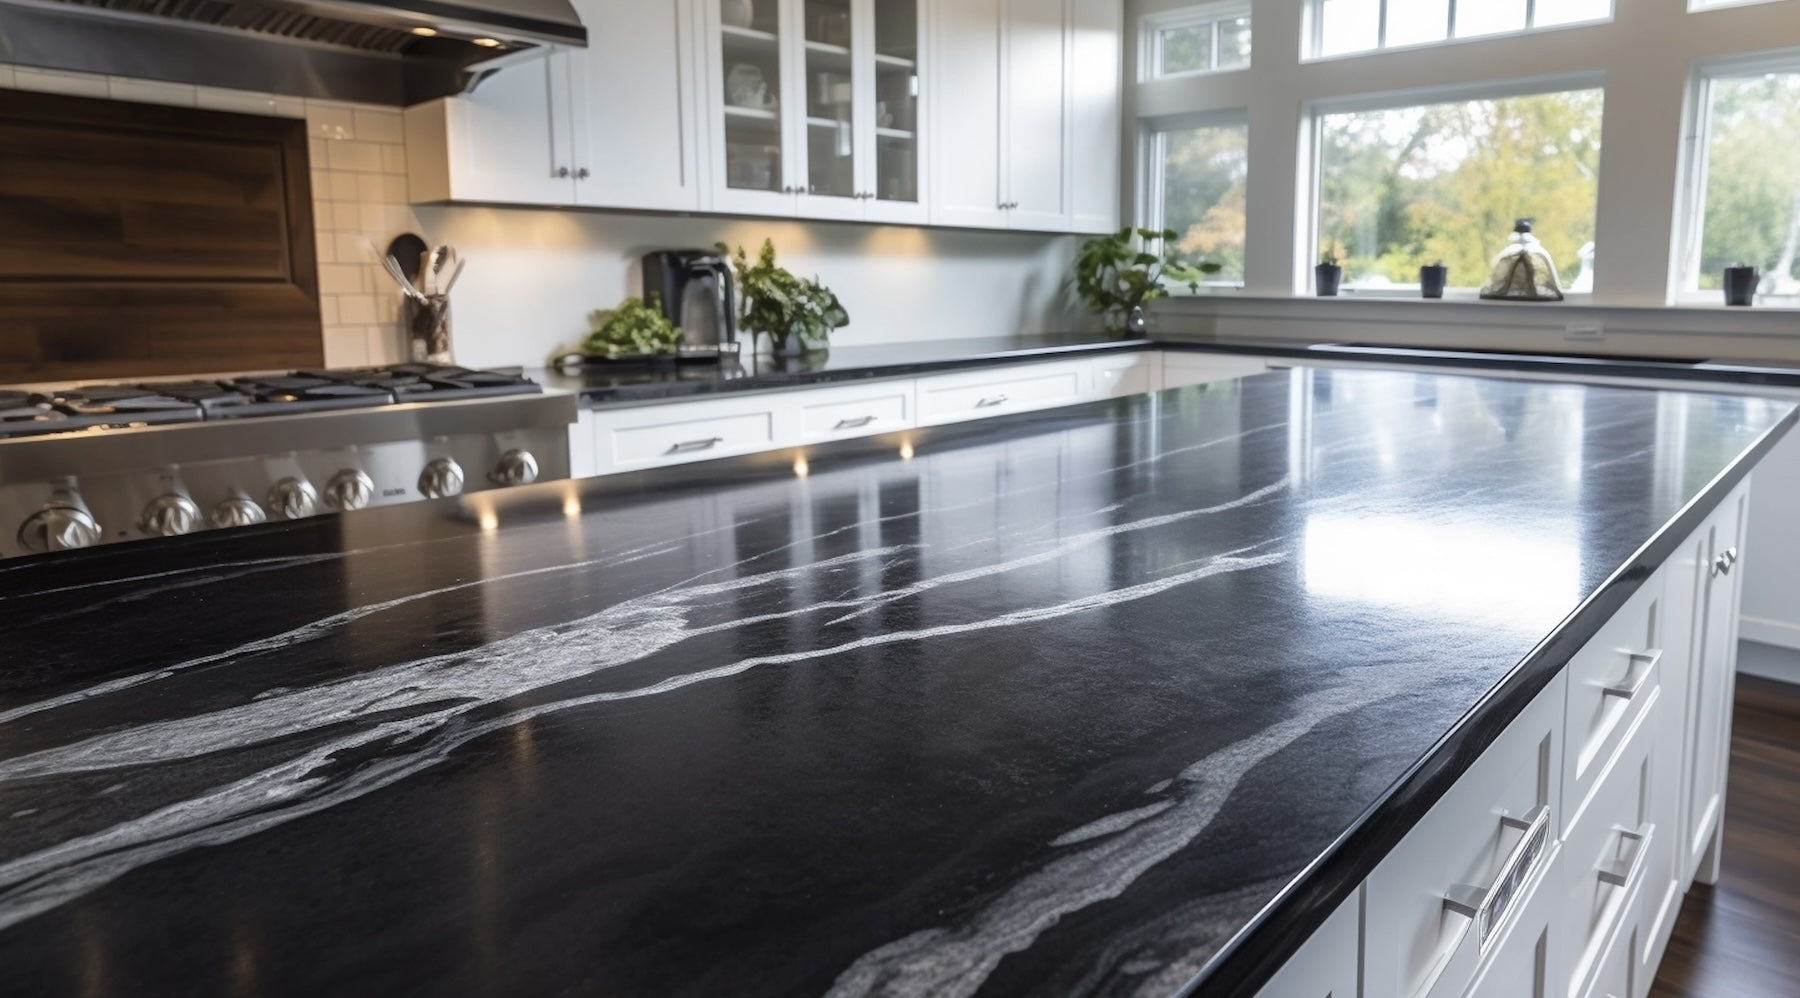


Updating old tile countertops might feel like a daunting challenge, but using epoxy over tile offers an easy and cost-effective way to achieve a fresh, modern look without the hassle of demolition. Stone Coat Countertops offers an innovative approach that allows homeowners, DIYers, or contractors to rejuvenate kitchens, bathrooms, and other tiled areas with a durable, high-gloss finish that mimics the look of natural stone or marble, at a fraction of the price. This guide provides detailed steps, tips, and video to ensure a smooth application process, helping anyone turn outdated tile into stunning, long-lasting countertops.
Before starting, protect floors, cabinets, and walls. Use a moisture-proof floor covering and keep it down throughout the project, from tile prep to epoxy pouring and applying The Ultimate Top Coat.
For cabinets, first apply delicate release tape along the top edge, then tape a 3-foot-wide plastic sheet from the cabinet top to the floor. Secure with contractor yellow tape on both the delicate tape and floor covering. Protect walls or backsplashes with building paper or plastic as needed.
Thoroughly clean all grease and grime from the tile countertop surface and edges, especially near the stove. Use a commercial kitchen degreaser or Trisodium Phosphate (TSP). Spray on TSP, let sit for a few minutes, then scrub with a brush or green scotch-brite pad. Rinse with warm water and allow the countertops to dry completely.
Once dry, use a 4-7’’ diamond cup grinding wheel on a grinder to rough up the glossy tile. For most surfaces, simply scoring the tiles by pushing the grinder back and forth with the cup wheel (without the grinder on) is enough. For unlevel or extra-glossy tiles, turn the grinder on at a slow speed with a dust shroud and shop vac to manage dust. If fully grinding, tape off the kitchen to contain dust to one room. After roughing up the surface and edges, thoroughly clean all dust from the countertops and kitchen. Use a vacuum and a damp microfiber cloth to ensure everything is dust-free before proceeding.
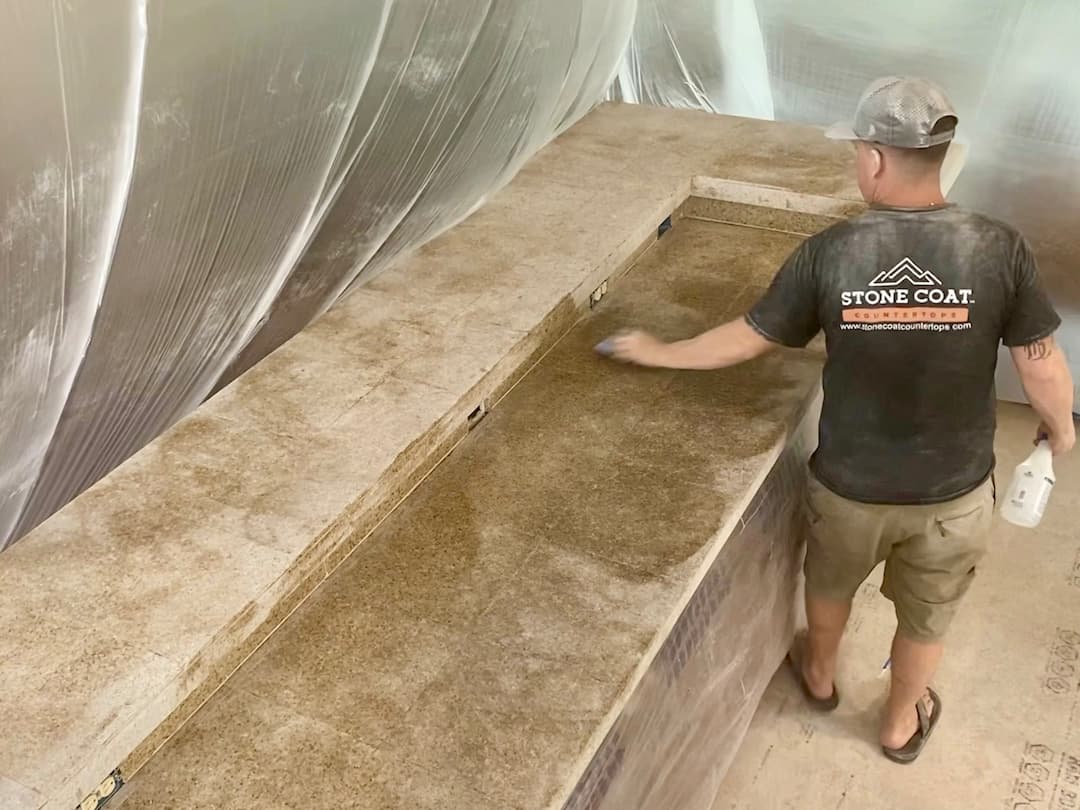
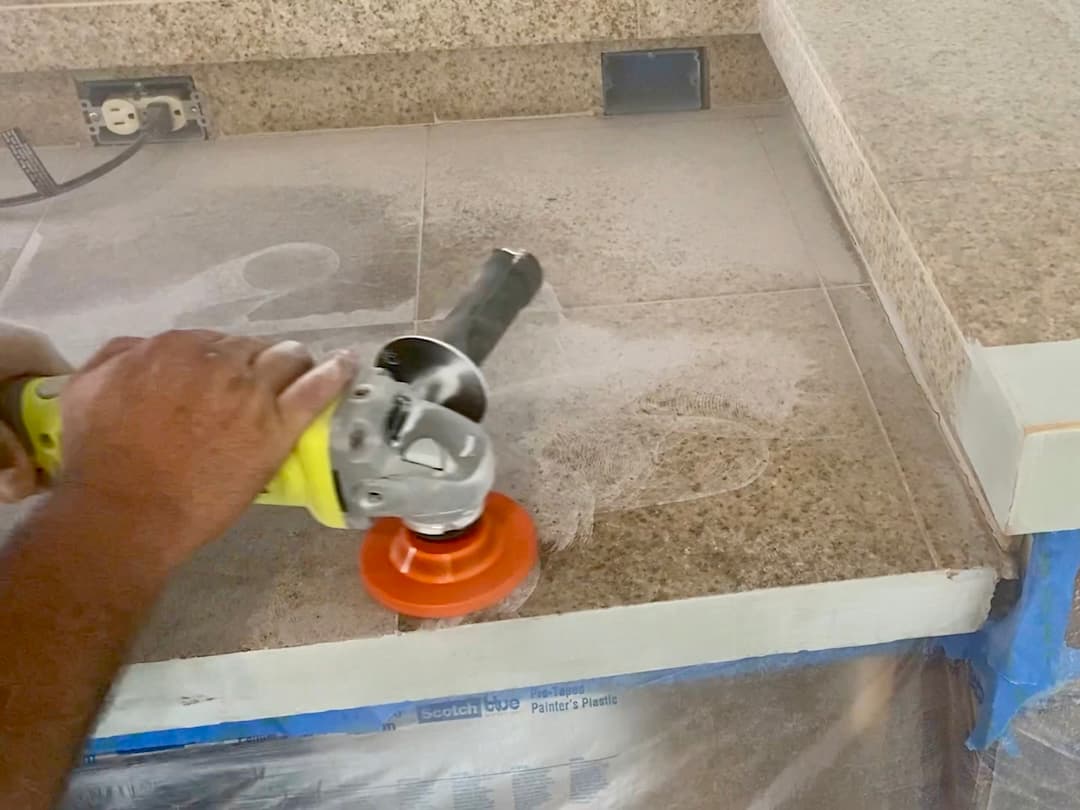
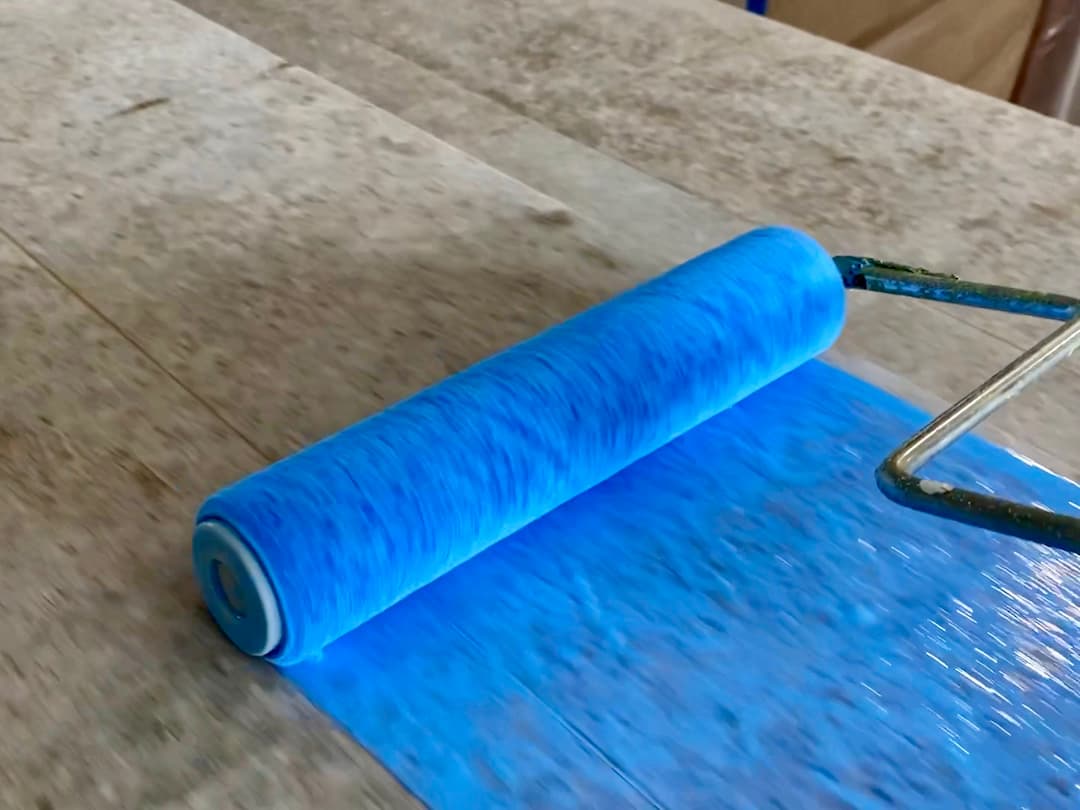
Let the tile countertops dry completely. Before you apply self leveling compound, you will need to apply a primer made specifically for adhesion, or else the compound in the joints will pull away over time. We recommend Level Quik Acrylic Primer as the base, and then Level Quik Self-Leveling Compound for this application. Apply a thin coat to the edges and surface with a roller and brush. Once dry, add a 2’’ tape dam around the edges to contain the self-leveling compound as it thickens.
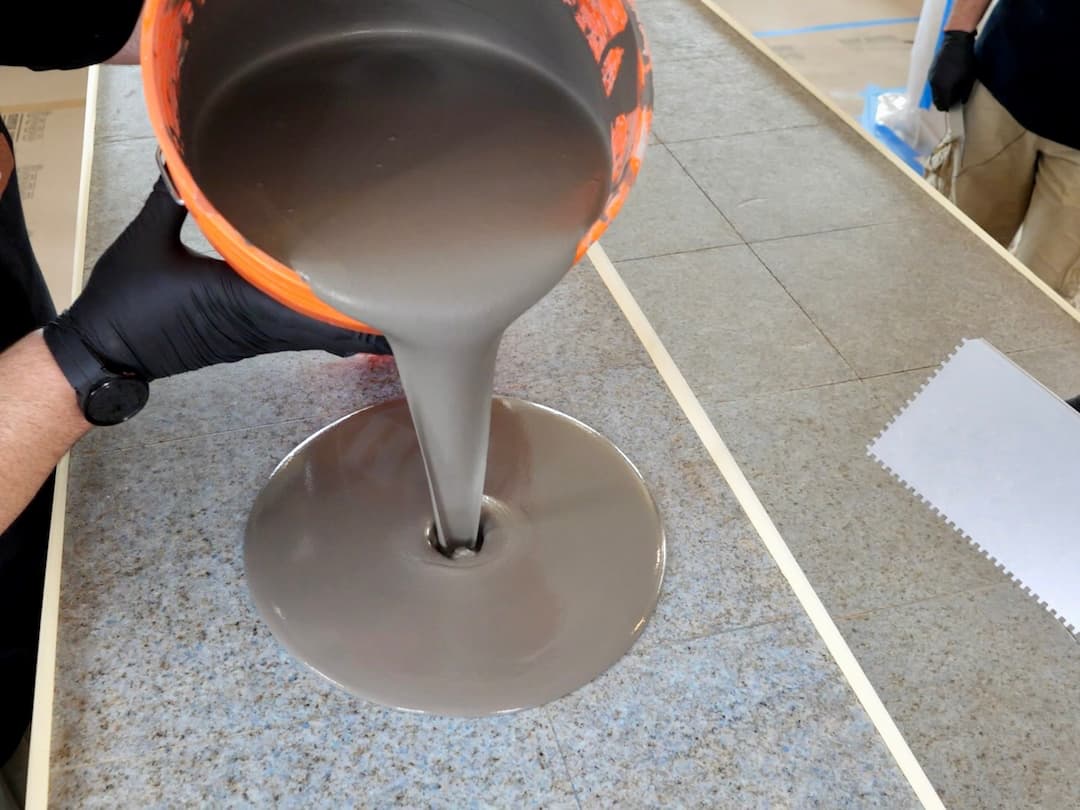
For a full bag of self-leveling compound, mix 1 quart of acrylic primer with 4 quarts of water, adjusting as needed. The mixture should be slightly thicker than water. Blend in a 5-gallon bucket with a drill and paddle mixer. Pour over countertops, filling grout joints and covering tiles lightly. Use a trowel to spread as it self-levels, and if needed, mist water and use damp sponges to smooth.
As it thickens, remove the tape dam and soften any sharp edges with a damp tile sponge.
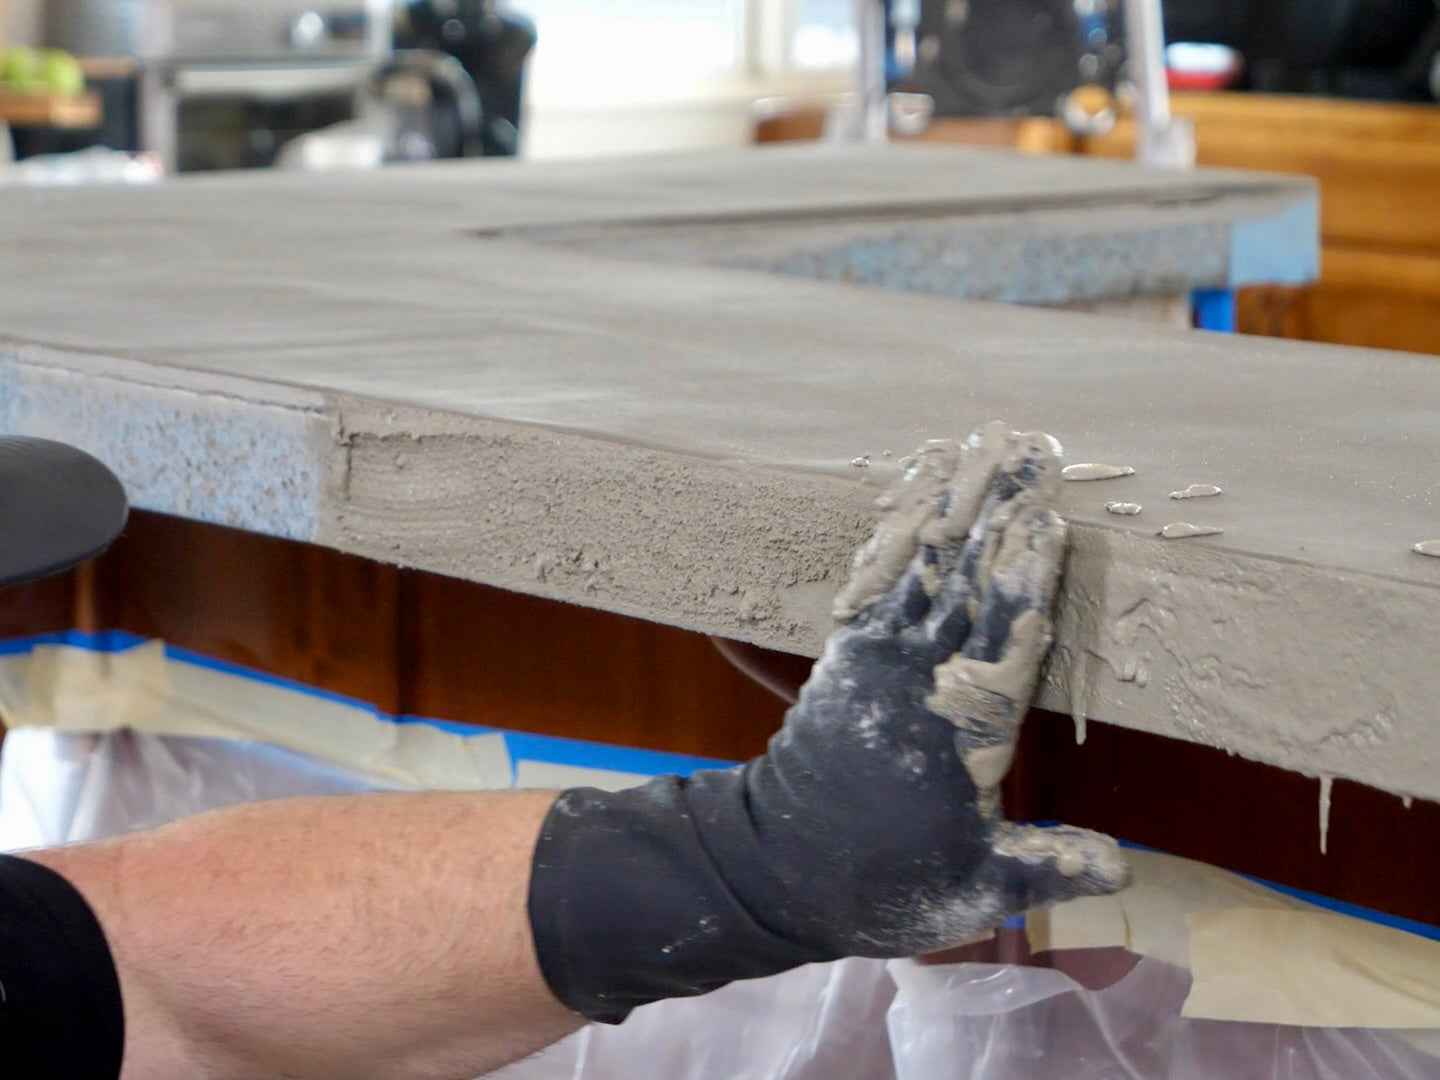
As the self-leveling compound dries, prepare a small batch of rapid set cement with a 4:1 ratio of cement to Concrete Bonding Adhesive, adding water as needed. For a smooth edge, trowel the mixture into grout lines and over tiles, then use a damp sponge to smooth it as it dries, rounding the top edge. For a rock-face edge, apply more material for a chiseled granite look and soften sharp edges with the damp sponge as it thickens. Let the self-leveling compound and rapid set cement dry completely. It’s crucial to avoid applying the epoxy undercoat or an optional 1-2 ounce tinted epoxy coat until the countertop substrate is fully moisture-free.
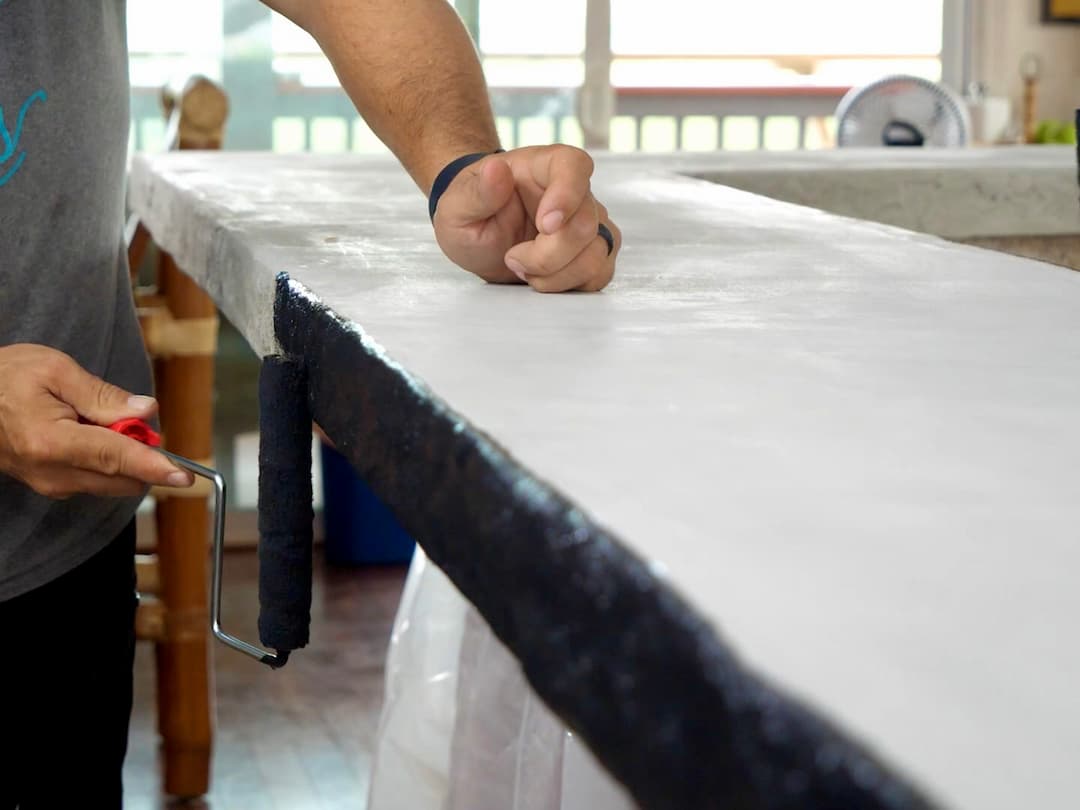
Apply two thin coats of Stone Coat Countertops Epoxy Undercoat in your chosen color. Allow the second coat to dry for at least 4 hours before applying the epoxy marble coat.
If you created a rock-faced edge, apply a 1-2 ounce wash coat of epoxy over the surface and edges. This fills in any cracks and crevices, helping the marble coat to flow smoothly, resulting in stunning custom countertops. Use SPEEDCURE Countertop PRO for this step, it cures and is ready for the next step in as little as 4 hours.
Your old, worn-out tile countertops are now ready for epoxy! Grab your favorite Stone Coat Countertop Epoxy Kit and pour! Our ready-to-pour kits provide you with all epoxy supplies needed to make our best-selling epoxy countertop finishes that we teach you how to make on our YouTube channel – Stone Coat Countertops.
YOU GOT THIS!
