
Safety gear:
Safety Precautions
Protective Gear: Wear safety glasses, gloves, and a respirator mask when handling epoxy, sanding, or using power tools.
Tool Safety: Ensure tools are in good condition, follow manufacturer guidelines.
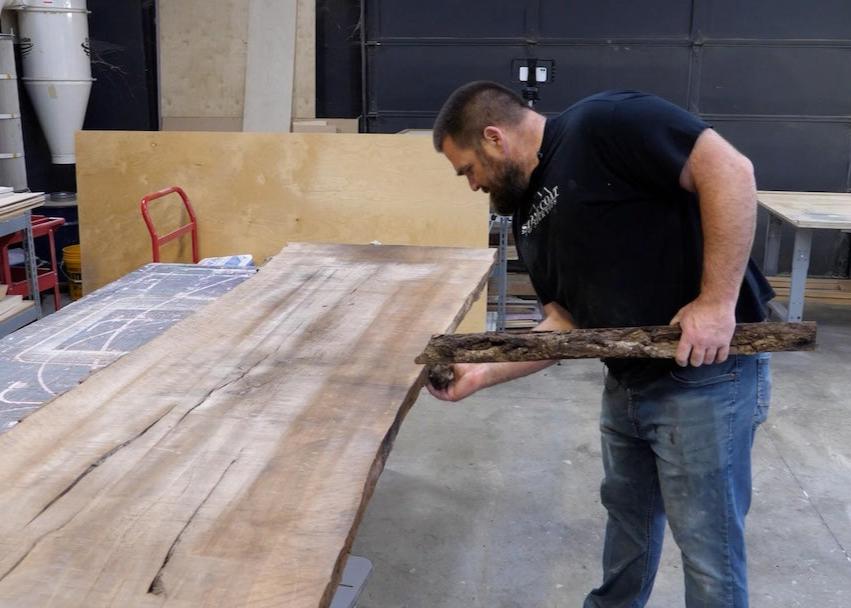
Select Wood: Choose species with interesting live edges and grain patterns. Ensure it’s properly dried (7–11% moisture). Clean off all bark. Sure, it looks nice but it’s going to fall off with use or create air bubbles if in the river.
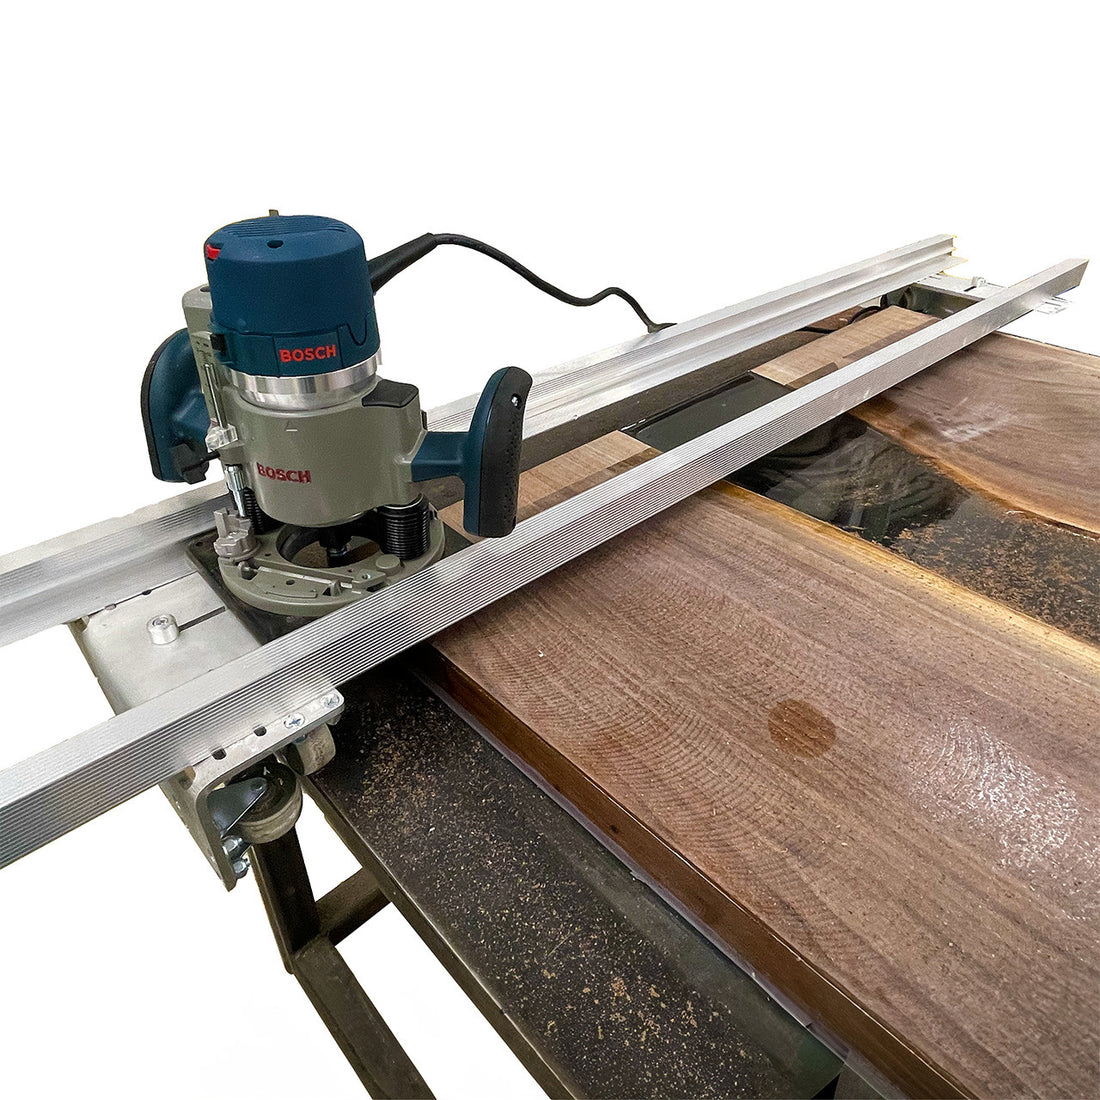
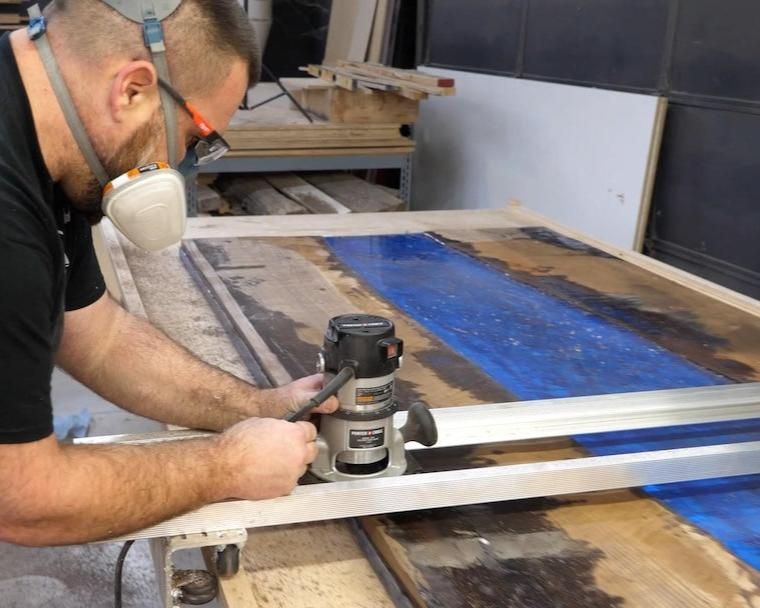
Flatten Slab (if needed): If your piece of material has a twist or a warp we recommend using the Stone Coat Router Sled. Paired with a router, this allows you to flatten one or both sides of your live edge for a level table surface.
Cut to Size: Use a circular saw to shape slabs, remove bark, and sand edges.
Determine River Placement: Cut slab to create space for the epoxy river.
Melamine Form with Tyvek Tape: Cut base larger than the final table size, sides slightly taller than wood thickness. Tape all interior surfaces to prevent epoxy sticking.
*Tip: We recommend melamine over plywood because it does not absorb the epoxy and is reusable.
Assembly: Secure sides to the base with screws; seal seams with tape or silicone.
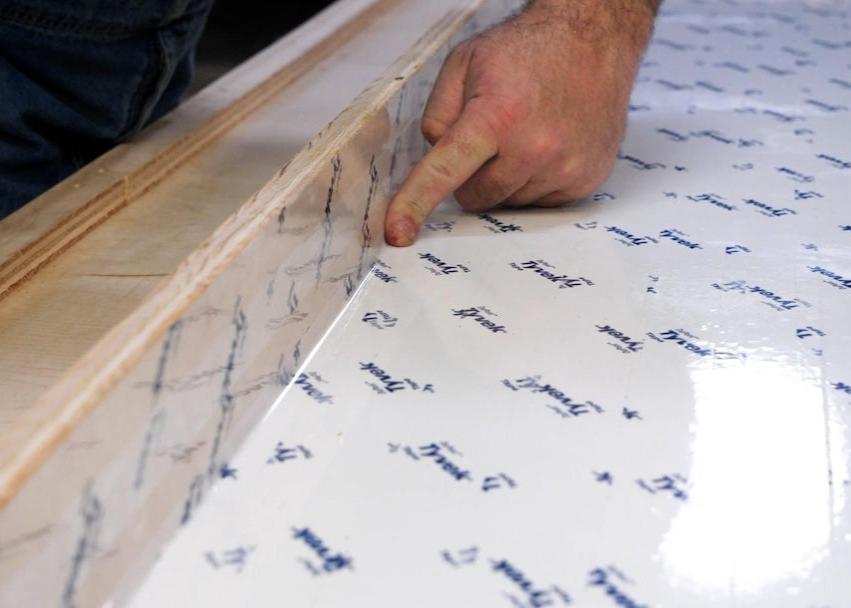
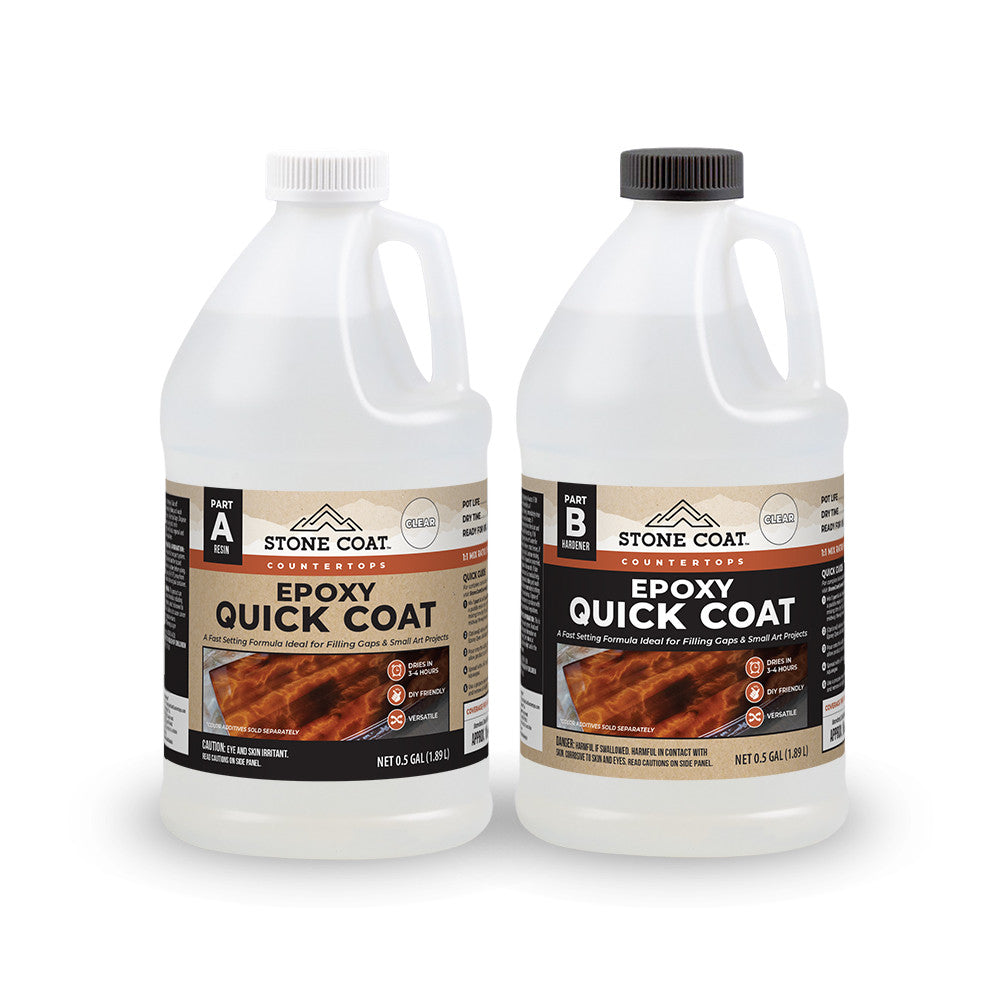
Level Your Surface – Make sure the entire mold is level from front to back and side to side. When you pour your river, the epoxy and colorants will pool and potentially overflow un-level surfaces. Seal Live Edges: Apply Quick Coat Epoxy to all edges where the epoxy
river will be making contact. Sealing these areas will prevent air bubbles from escaping during epoxy cure.
Place Slabs in Molds: Once you fit your slabs to your mold, we recommend clamping them into place. You can use a sacrificial block on your clamp pads to avoid getting them into epoxy overflow. Wood floats though, so slabs that aren’t clamped can move during curing.
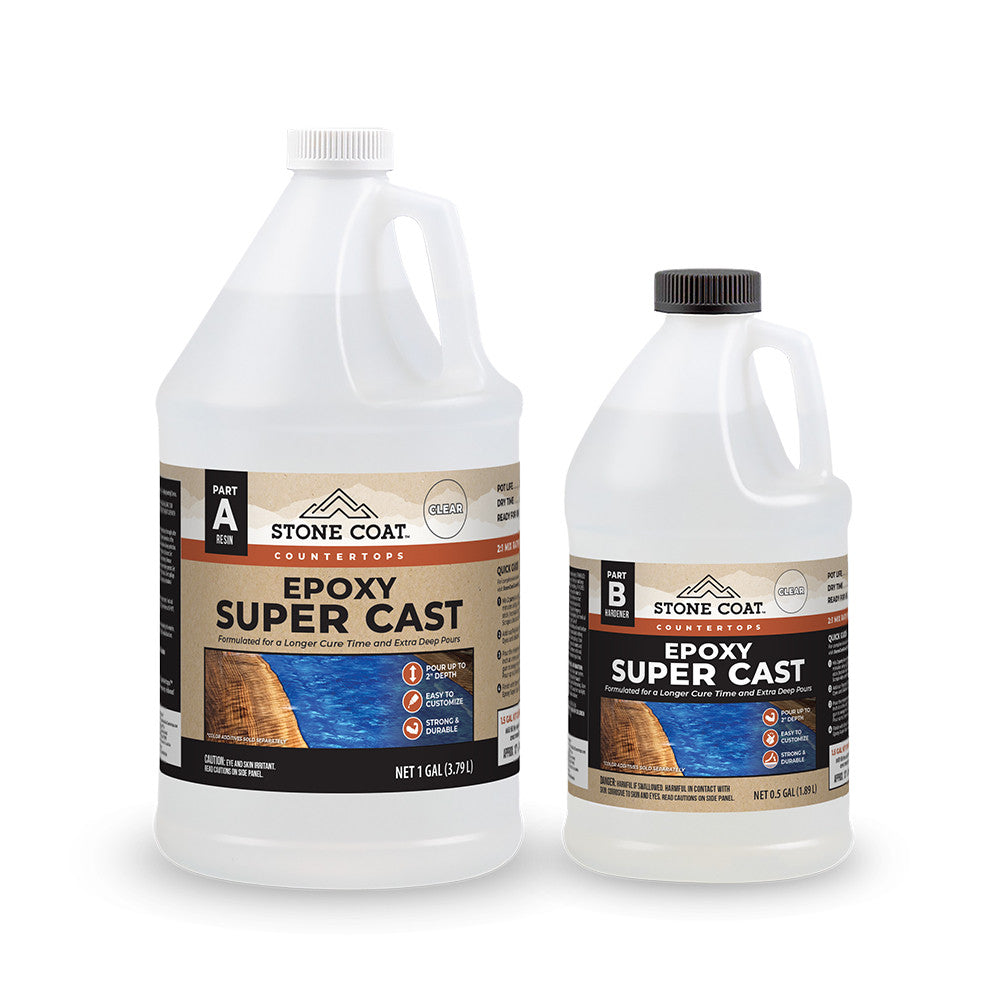
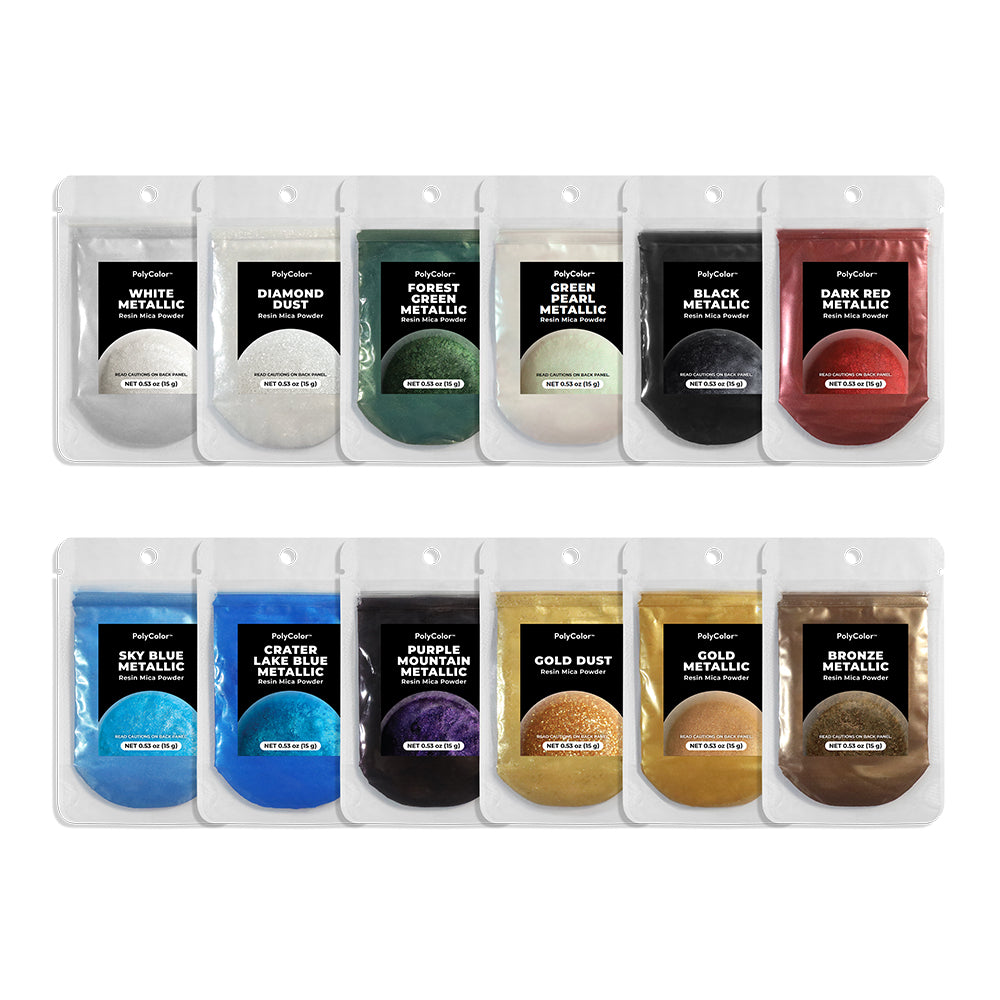
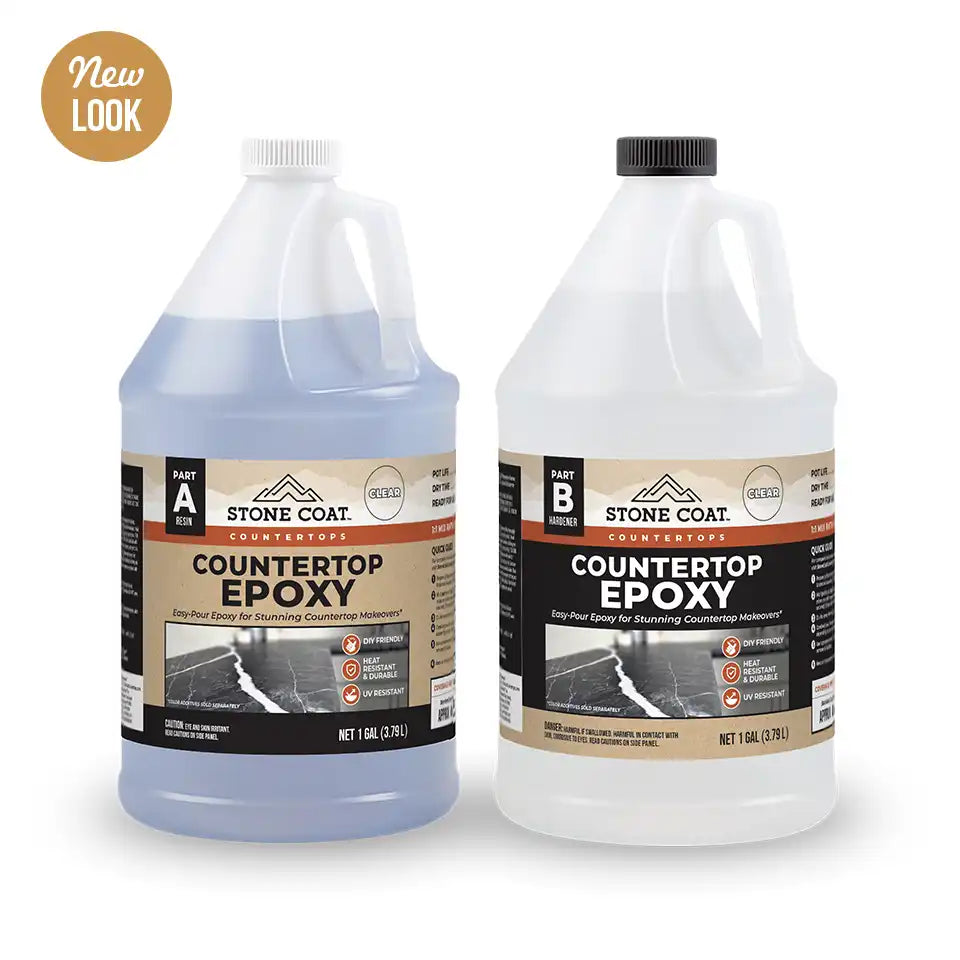
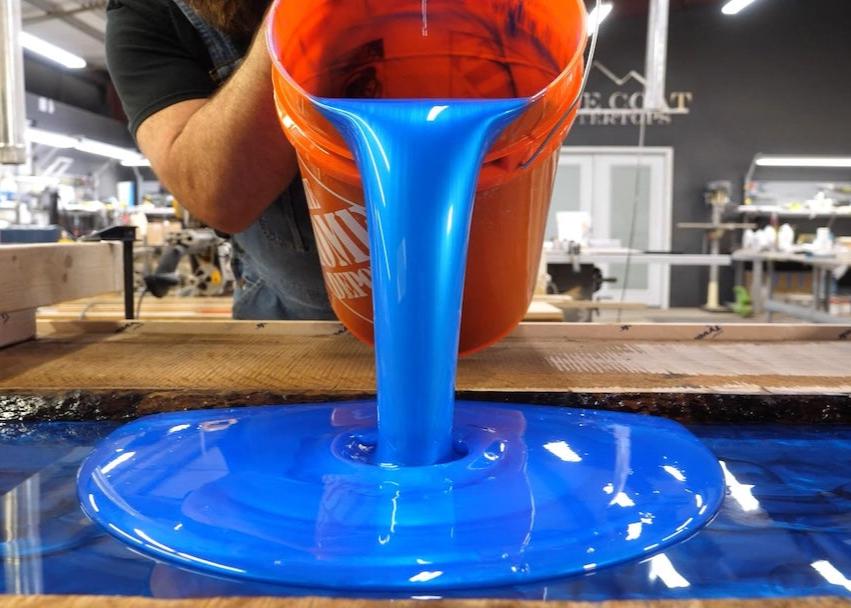
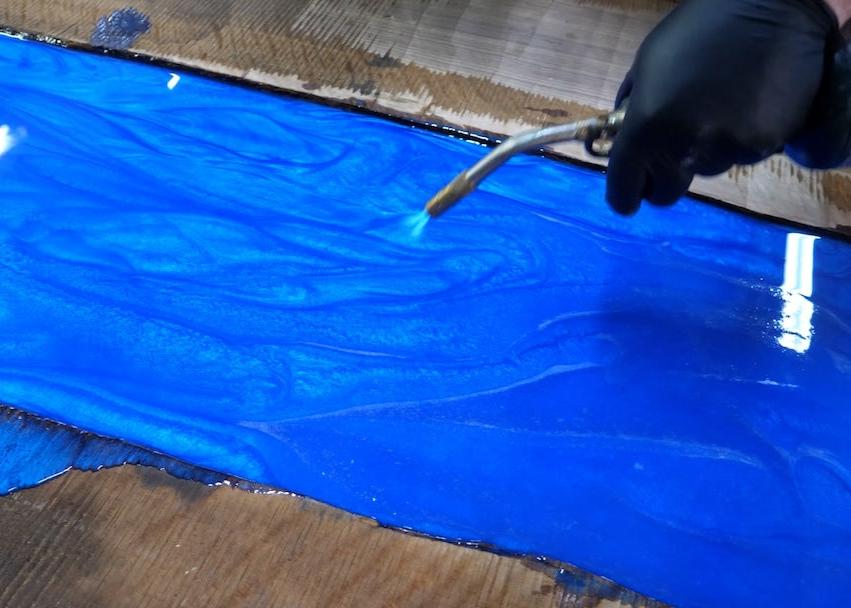
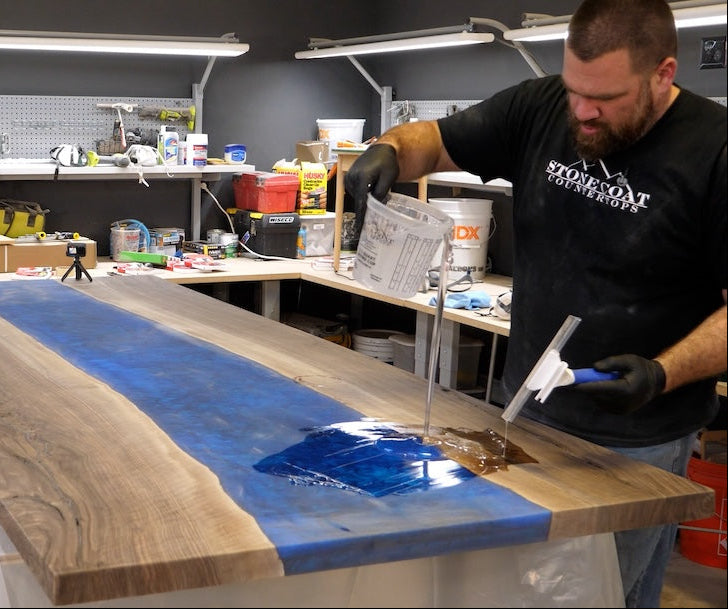
Mixing: Use Casting Epoxy (up to 1 inch) or Thick Pour Epoxy (up to 2.5 inches). Add Color: Use pigment powders or dyes. Mix carefully to avoid bubbles. Pouring: Pour epoxy slowly an allow it to naturally run it’s course. Using two different colors on either side of the river can also make for some beautiful melds. Use a propane torch to remove air bubbles.
Let epoxy cure completely, then remove the form gently.
Install Metal Bars (optional): If you have a larger river pour or this surface will be used as a weight baring fixture like a countertop you’ll want to add metal support bars. Use a router on the underside to create channels for support. If you are bolting the flat stock bar to the underside, we recommend the holes in the metal being slightly larger than the bolt or have a slot. This allows for natural wood movement.
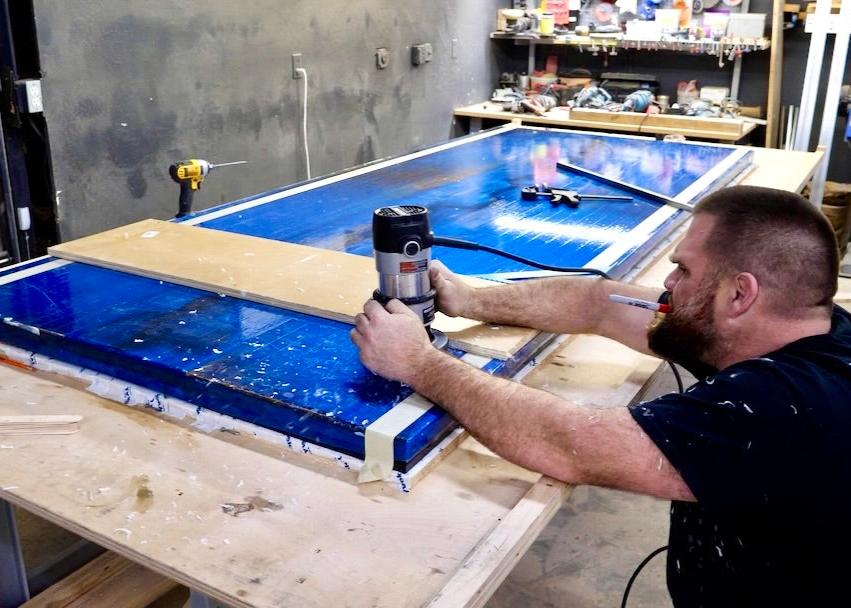
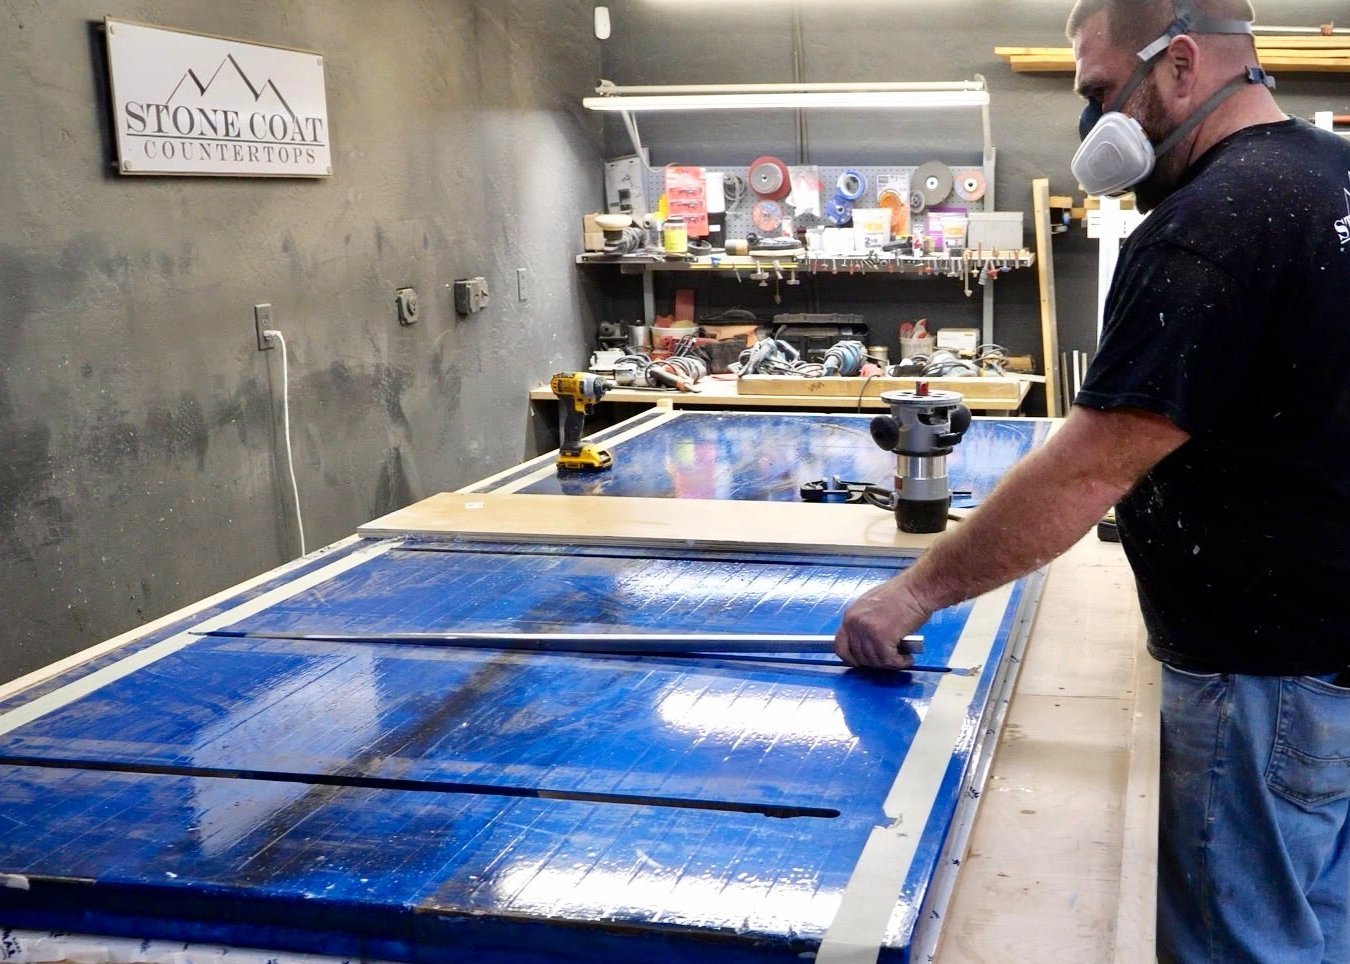
If the pour is not completely level, use the router slab jig to make shallow passes to desired depth. The more aggressive the depth of your passes, the more opportunity for chip out and router lines. Then sand with progressively finer grits
(60-220 on the wood surface, then up to 500-1000 on the epoxy pour). Round Edges: Use 1/8'' round-over bit for a smooth finish. Sanding Tips: Sand with the grain, check for scratches, and clean between grits.
Spot Fill Voids: If you see any small voids or holes (even little specs) in the wood or small chips or imperfection in the epoxy, mix up a small amount of countertop epoxy to fill and dry. Sand smooth.
Apply the Flood Coat: Mix Stone Coat Countertop Epoxy (3 oz per sq. ft.), pour at center, and spread evenly. Finish with Chop Brush: Dab with brush to remove lines; use torch to
remove bubbles. Clean edge drips as it cures.
Sand Drips Off: After curing, flip table and sand away drips with a
grinder or sander.
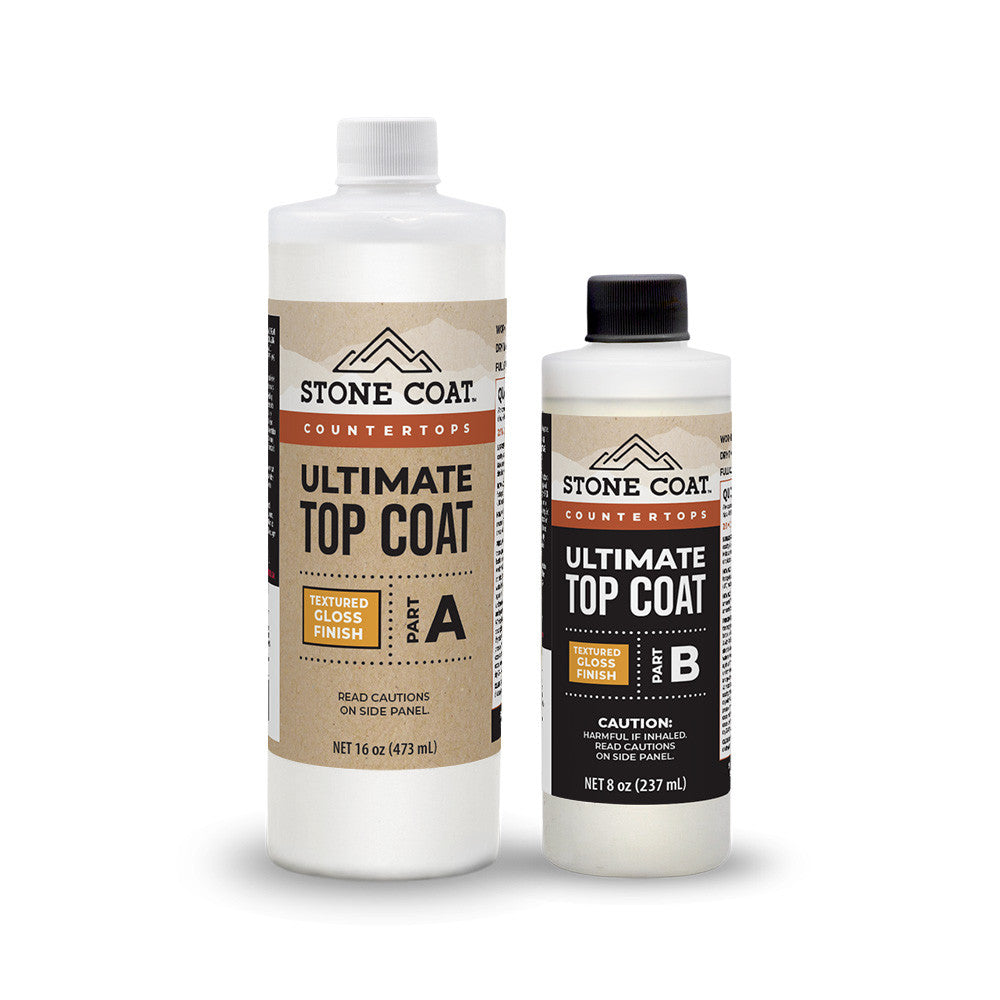
Apply Ultimate Top Coat for added scratch resistance (is slightly textured).
Maintenance and Care
Enjoy your river table!
You Got This!