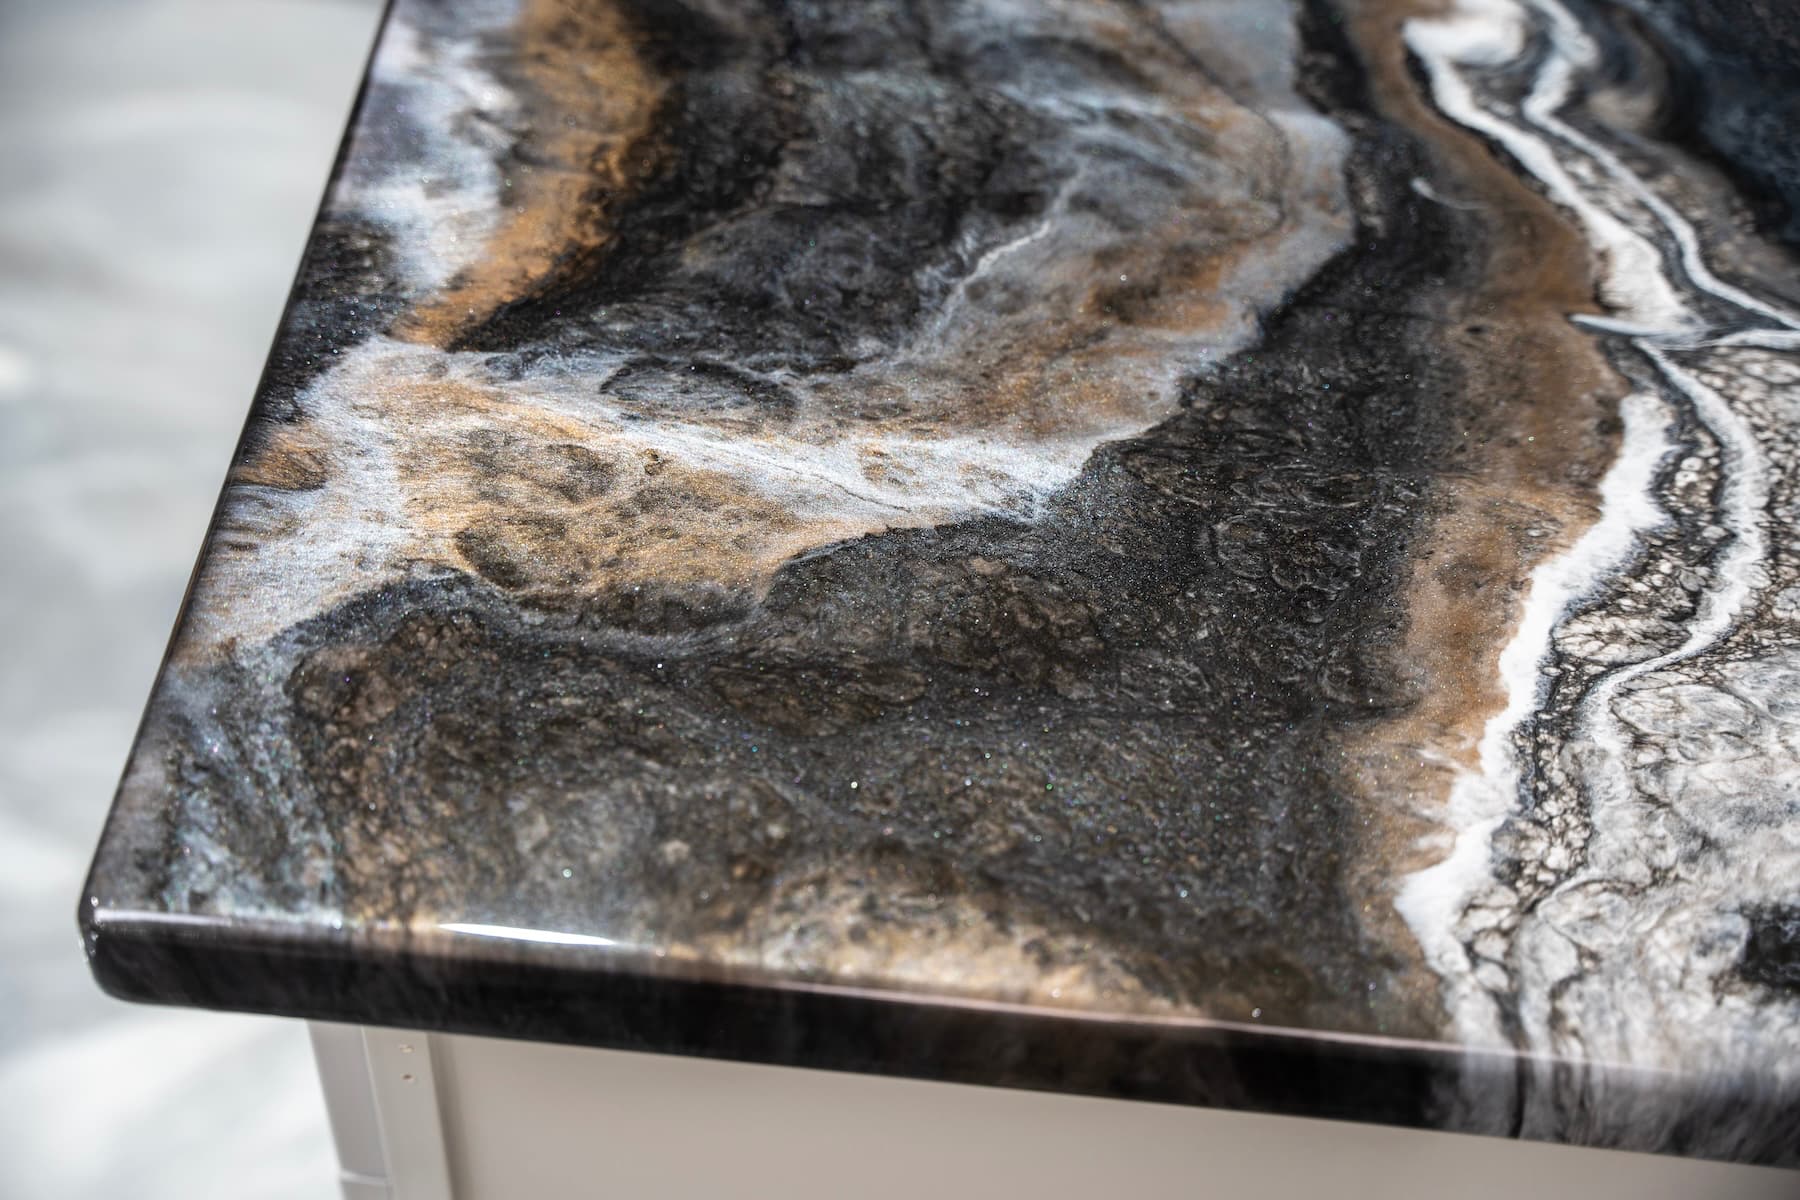


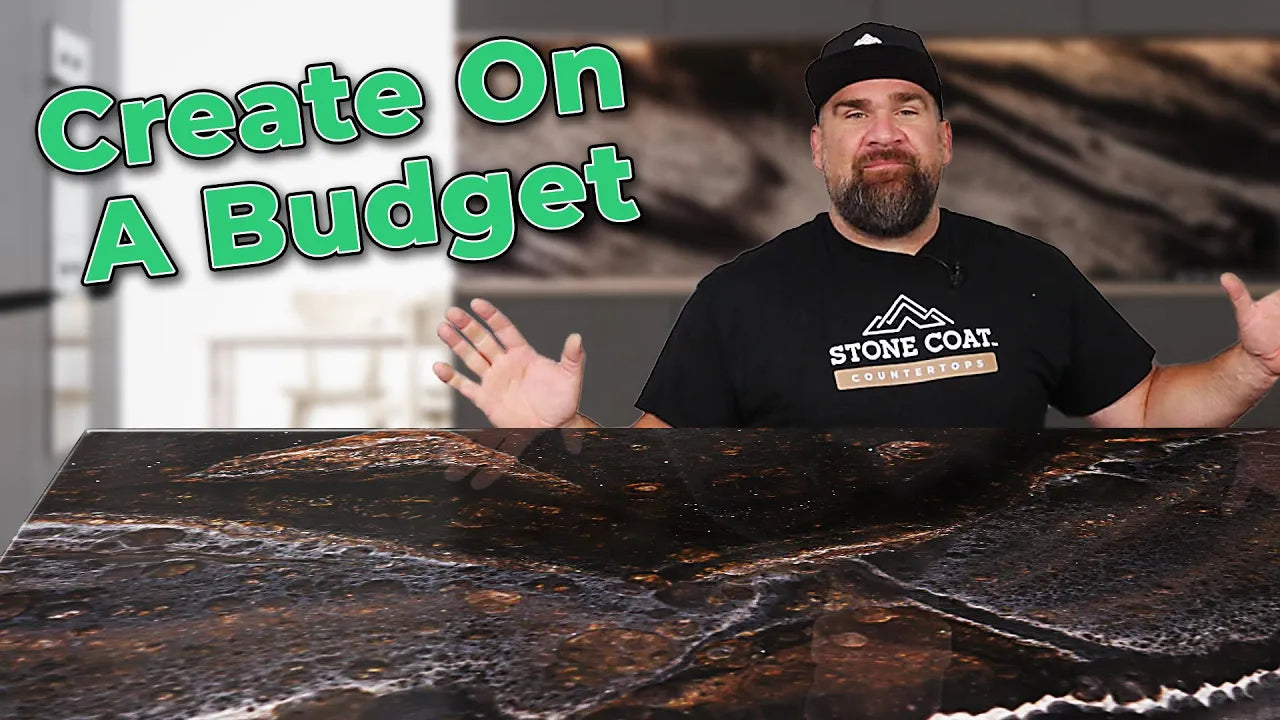
Create bold, dramatic countertops with a sleek marble look using our Black Exotic Marble Countertop Kit and the unique hand meld technique. This tutorial will walk you through every step of achieving a luxurious black marble effect with beautiful metallic veining and shimmering accents. Ideal for those who want a DIY project that mimics natural stone, this method uses hand-melding techniques to seamlessly blend metallic pigments and dyes, creating depth and dimension with a touch of artistry. Follow these instructions to prep, pour, and perfect your countertop for a striking, professional-grade result. Get ready to transform your space with a durable, high-gloss finish that captures the elegance of exotic marble.
*Note: In this method we will be showing the hand meld technique for pouring our Black Exotic Marble Countertop Kit first. To use the “dirty pour” method using a tape dam, you will need additional countertop epoxy for the second clear coat as the first coat requires 6 oz per square foot as opposed to the hand meld 3 oz.
Before you start:
Whether you’re pouring epoxy over an existing countertop—like tile or laminate—or fabricating a new surface from MDF, each approach has unique preparation steps to ensure maximum adhesion. For detailed instructions, check out our specific tutorials below. This recipe begins with your surface fully prepped and ready for a stunning epoxy transformation.
Sand and smooth any bumps or rough areas, then clean thoroughly to remove all dust and debris. For new MDF countertops, place them on a level surface and apply two coats of Stone Coat Countertop Black Epoxy Undercoat. Allow the second coat to dry for at least 4 hours. This specially formulated, ammonia-free undercoat bonds perfectly with our Countertop Epoxies and substrate materials for the best results (other products may not achieve the same effect). Once the undercoat is dry, lightly sand with 220-grit if needed and clean off any remaining dust.
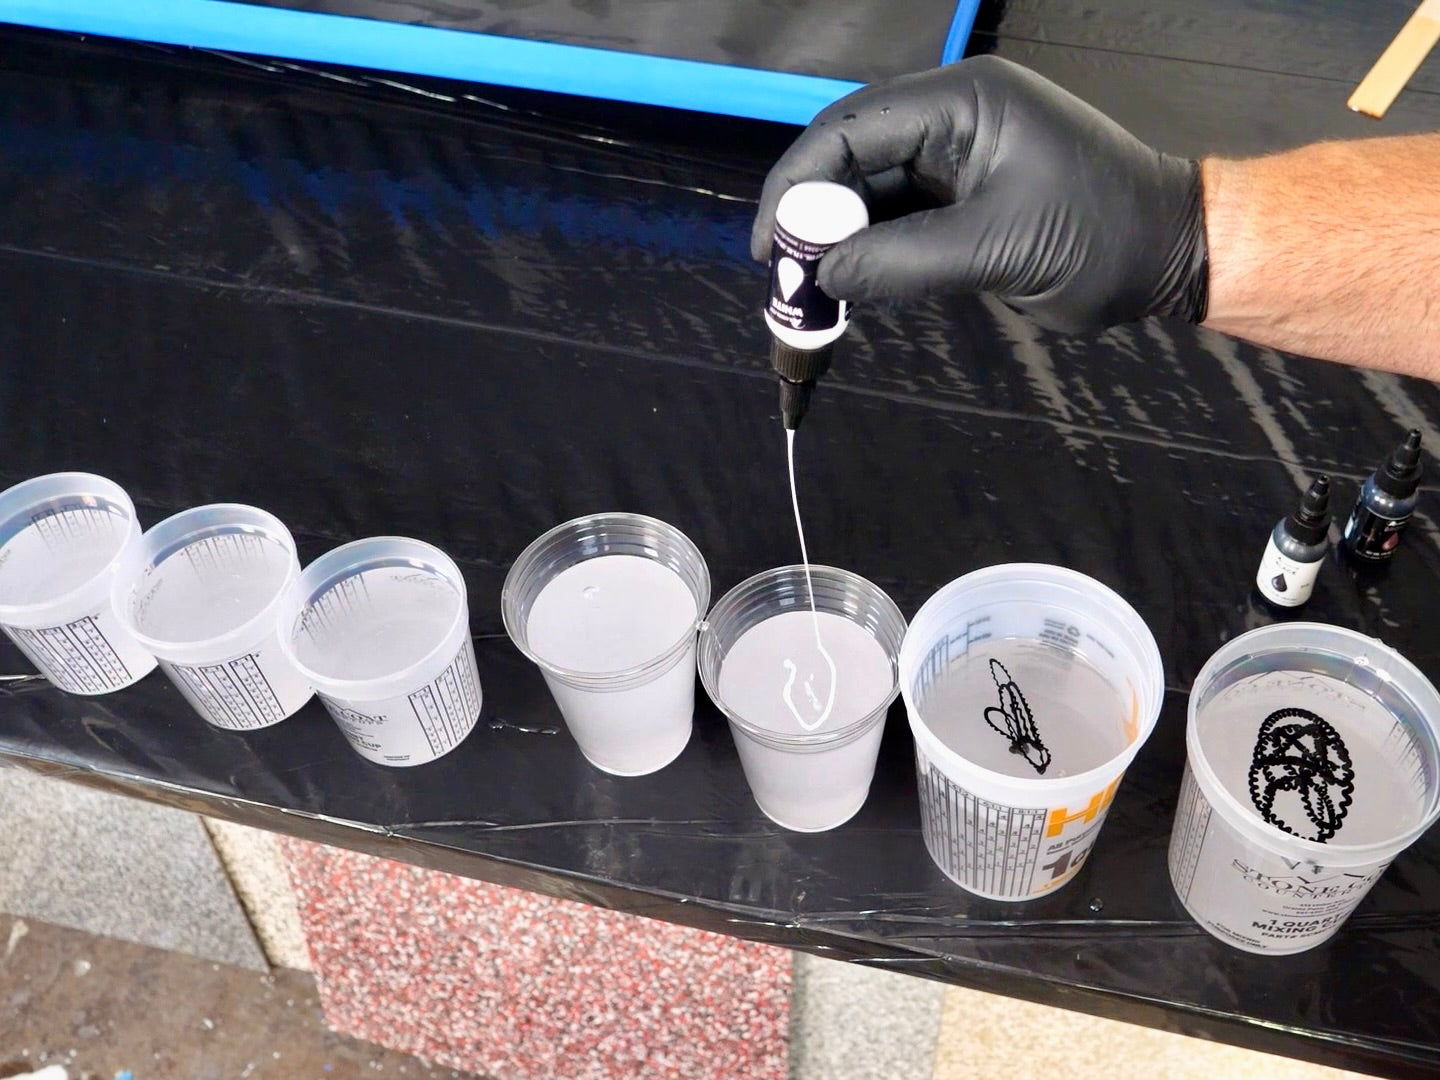
With the undercoat completely dry, mix a batch of Stone Coat Countertop Epoxy (we recommend 3-4 ounces per square foot) and separate into individual containers for tinting the epoxy. We recommend 1-2 tablespoons of our Polycolor Metallic Pigment Powder per 16 oz of epoxy. For making a fully opaque color with our White or Black dye, we recommend up to 5-10 drops per 16 oz of epoxy. Be sure to mix thoroughly including scraping the sides of your mixing container. For 20 square feet of coverage using 1 gallon of 1:1 Countertop Epoxy we recommend preparing 48 oz of black, 16 oz of dark bronze, 16 oz of white, 16 oz of silver and 16 oz of diamond dust (go lighter on the pigment additive).
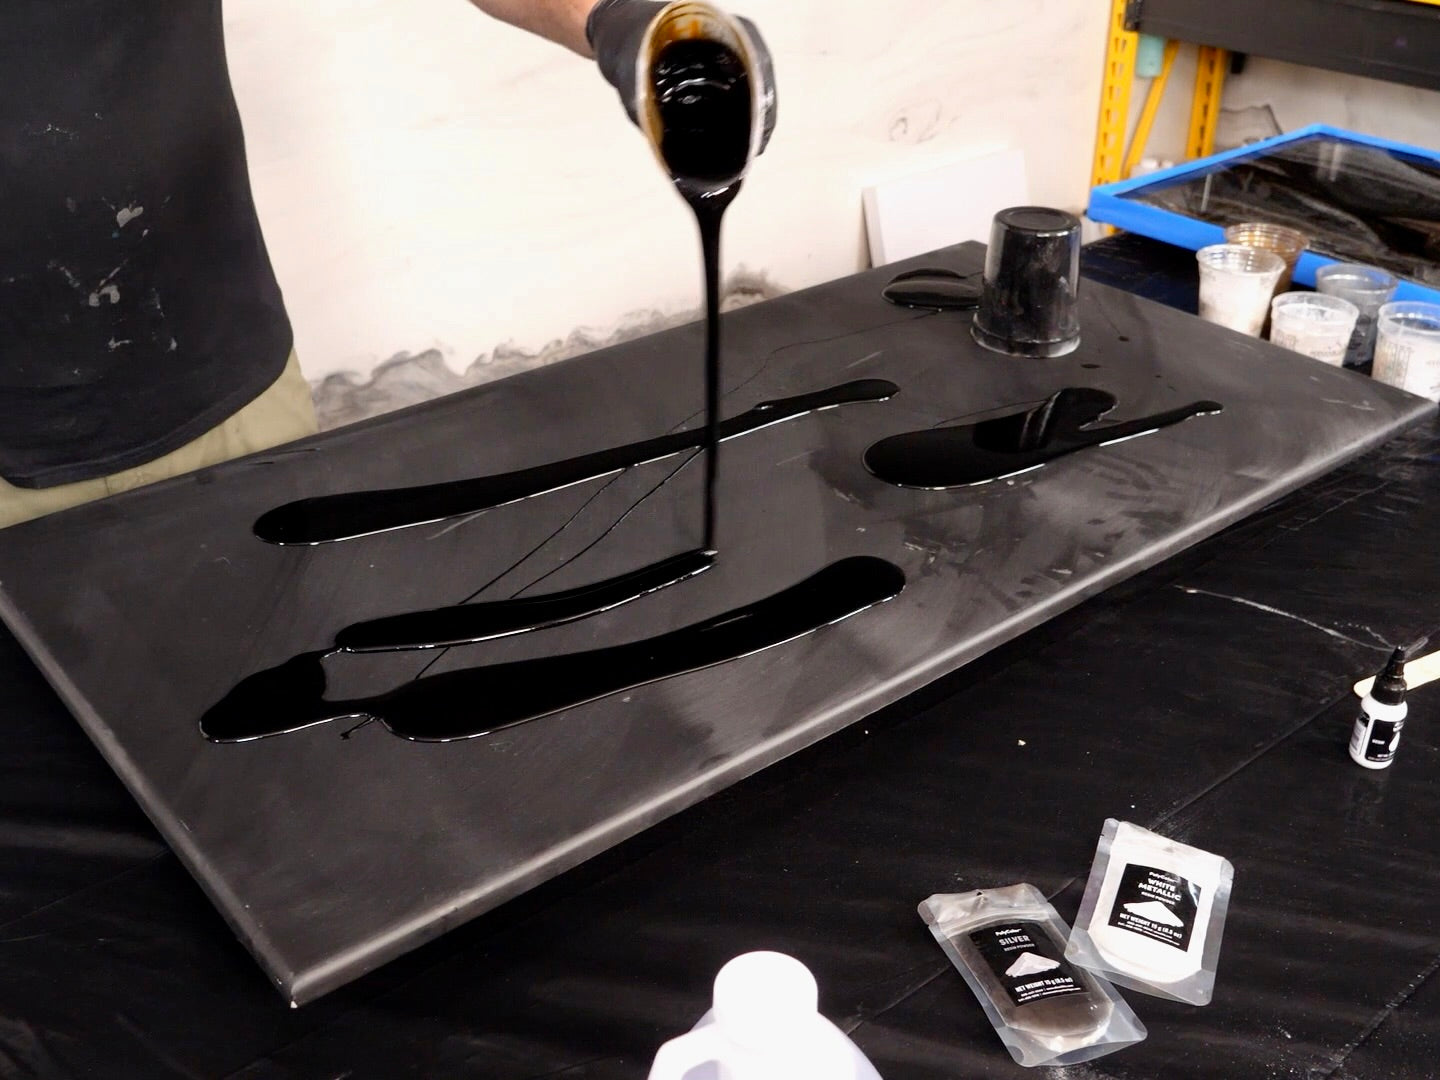
Pour the black across the surface of your project and then with a gloved hand, meld and spread across the surface, pulling towards and over the project's edge. Look for any low or dry spots and pull the tinted epoxy over the area.
Start with the dark bronze and pour small sections across the surface and then hand meld into the area spreading the accent color into the black base epoxy.
Then spray a few spritzes of 91% Isopropyl Alcohol over these areas create cells and lacing within the epoxy. Do not over spray though, as too much alcohol can cause the colors to get muddy. Let the alcohol evaporate fully before misting any additional times.
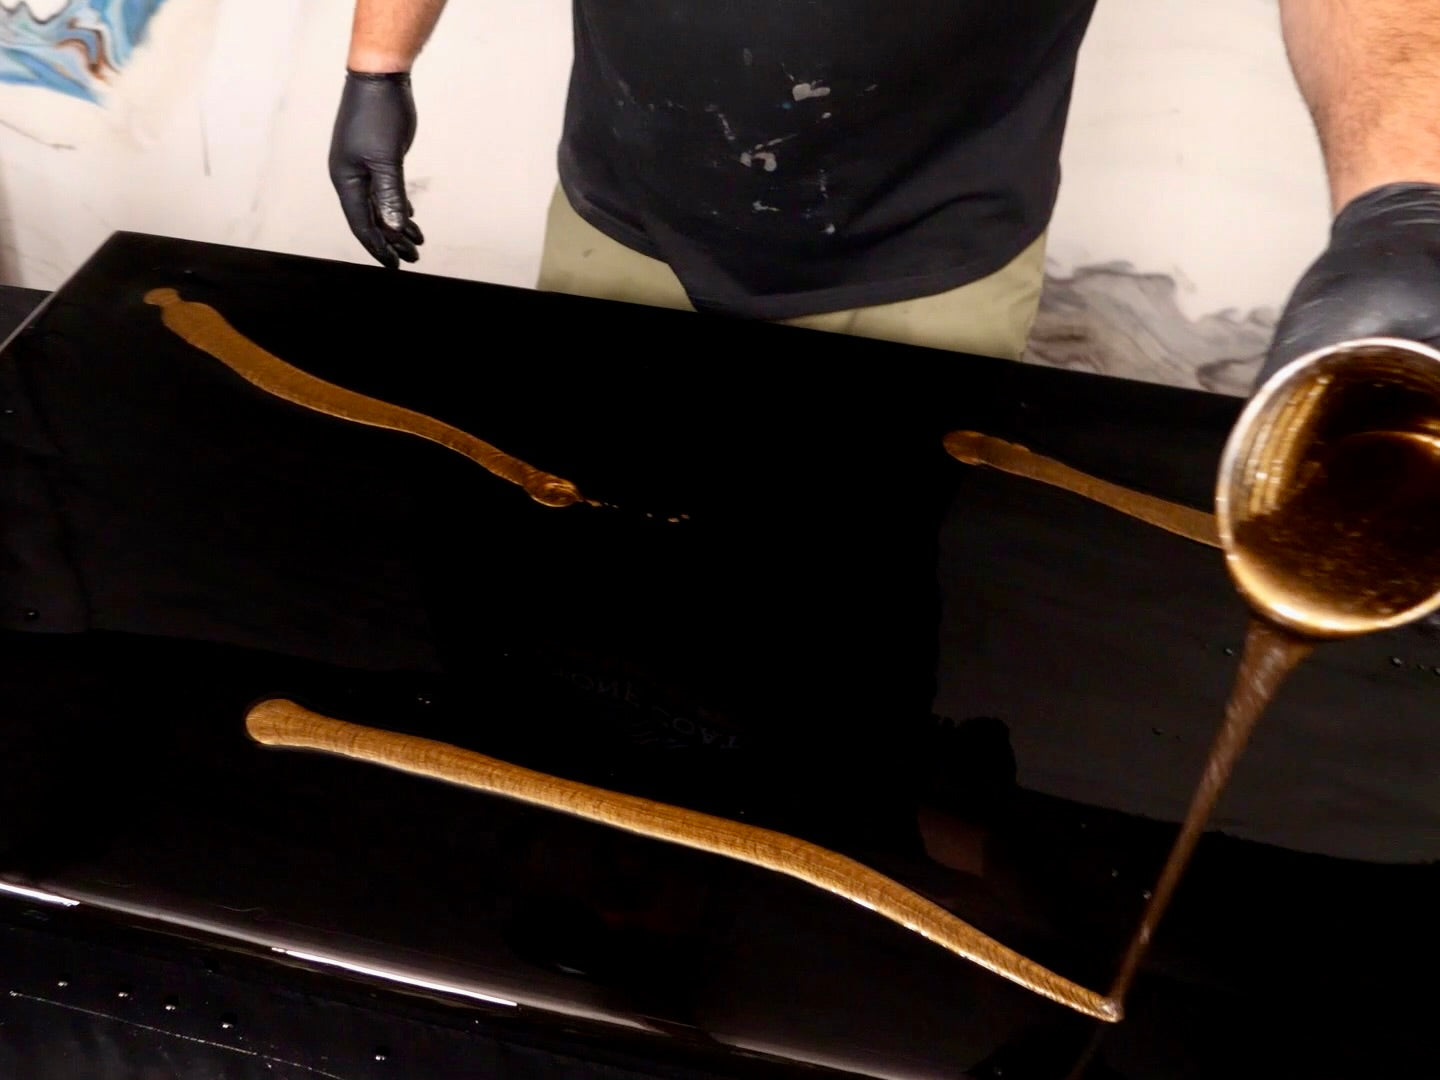
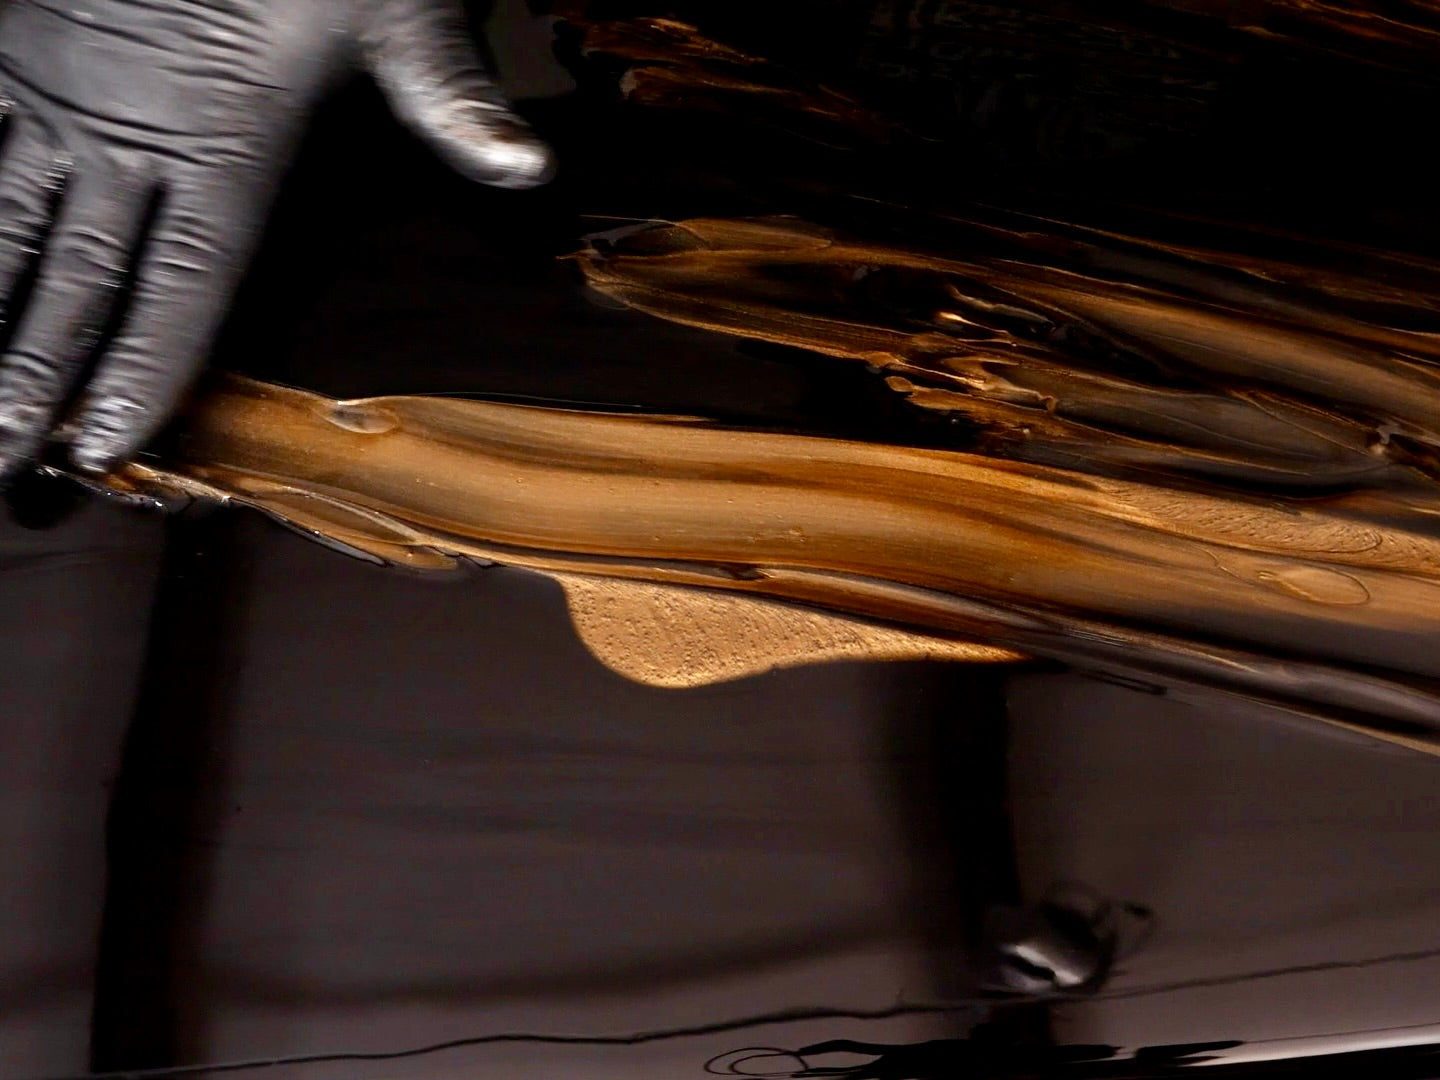
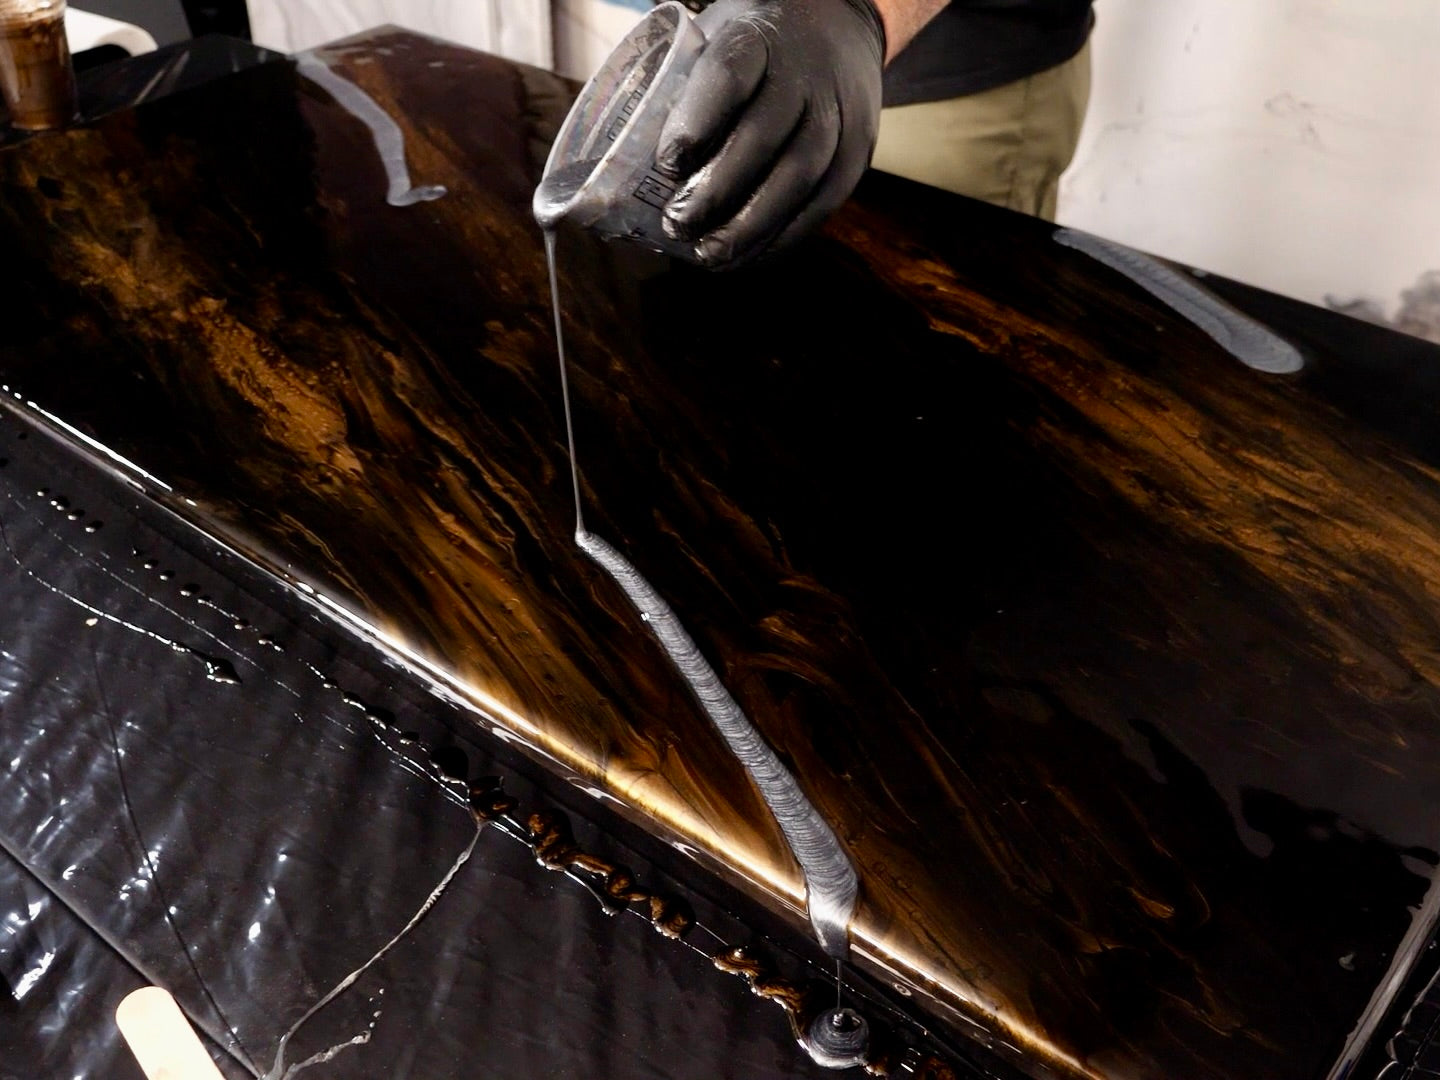
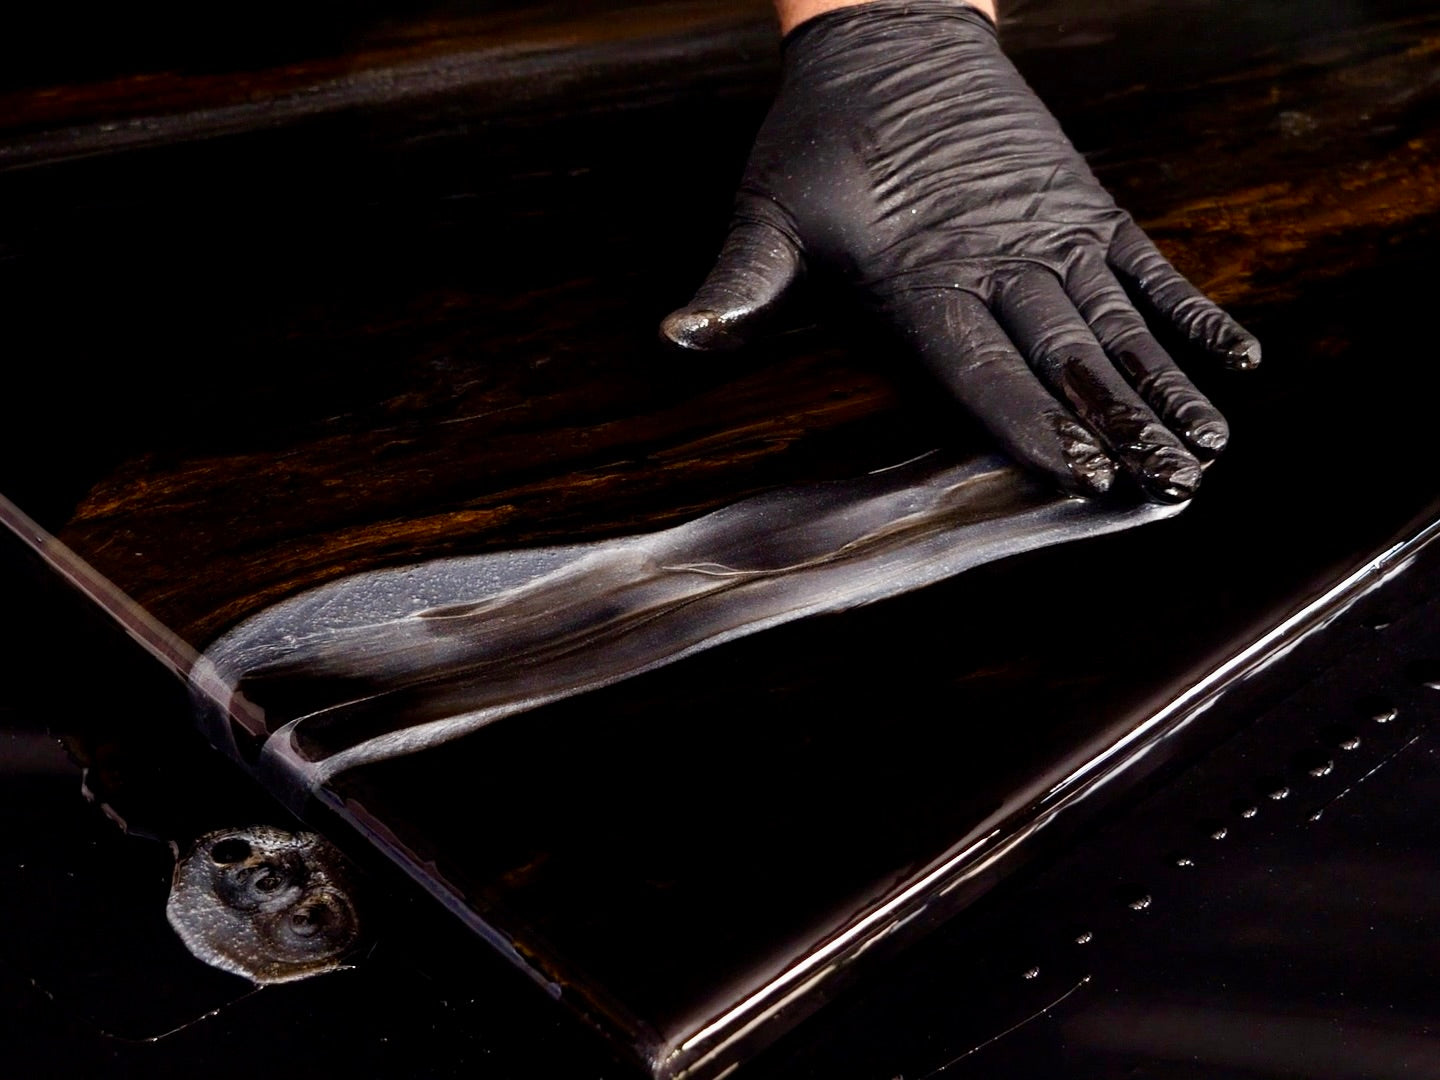
Repeat the same process with silver. Hand meld into the surface and then add a little 91% Isopropyl Alcohol. Then use a little less white and meld the streaks a little less so it stands out like a vein and does not get muddy. Repeat with alcohol. Then come in with a little less diamond dust mixture along the edges of the white veining to give it additional accents. Slightly meld on the edges and then spritz with Isopropyl Alcohol. You have a little bit of work time, so if you are not happy with an area, you can add black to clean and meld it out and then come back over with your accent colors and alcohol. Just know that the initial look won’t be your final look as the epoxy will continue to spread and dissipate as it cures. This is why we recommend smaller accent veining to start.
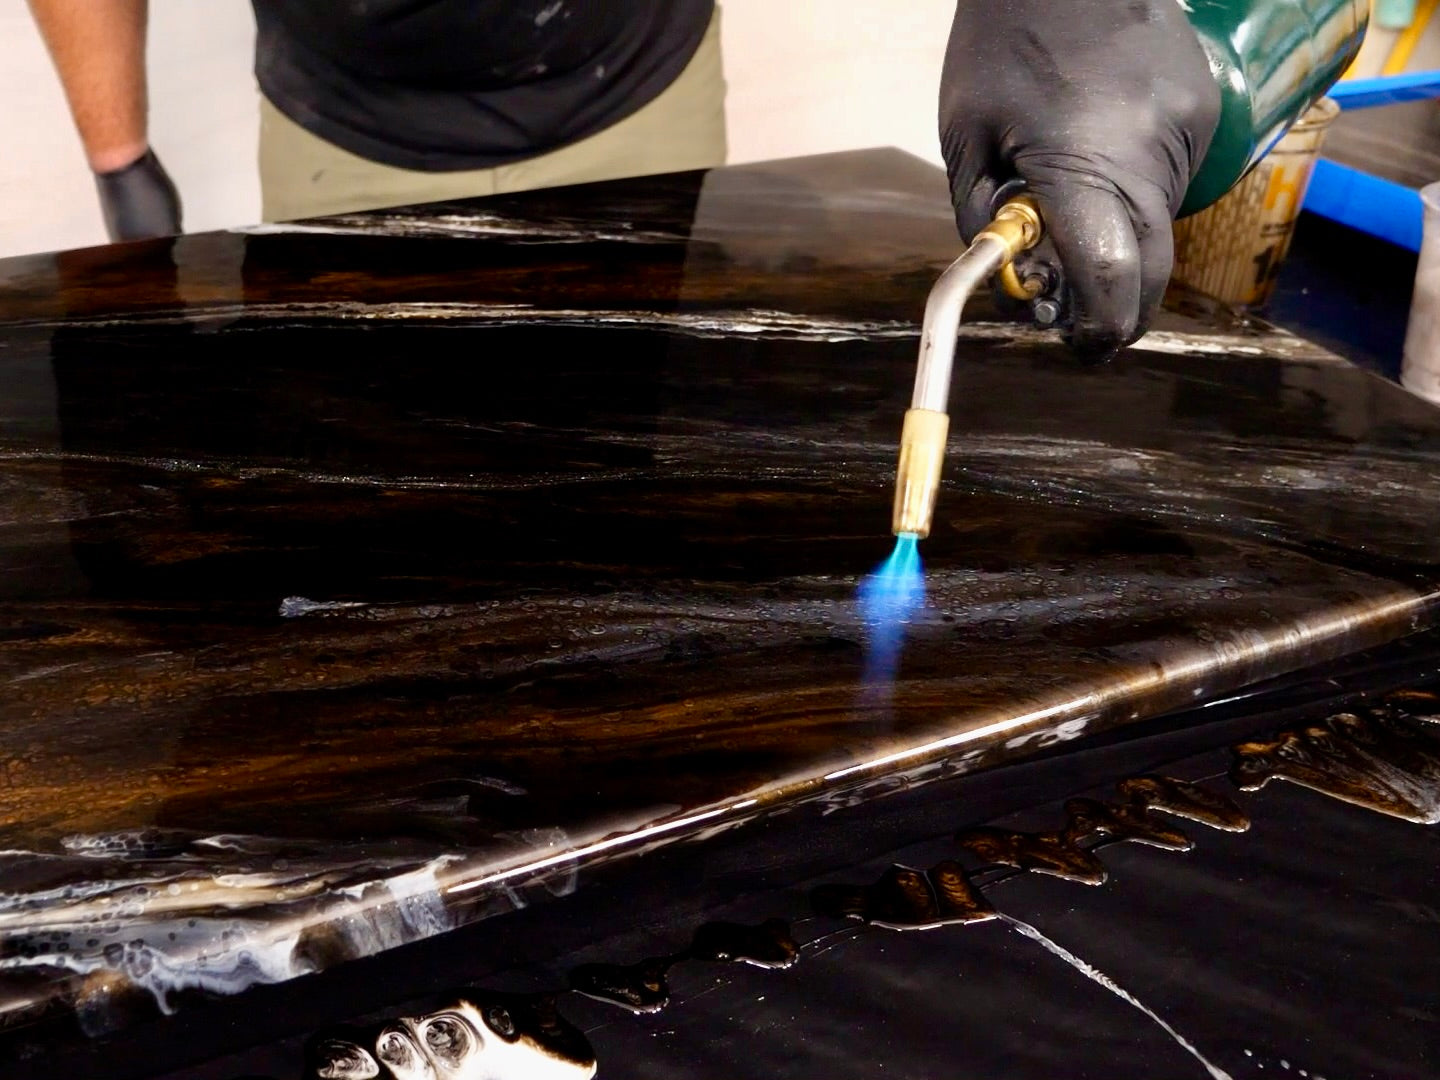
For the most durable and dynamic finish, we recommend pouring a second clear coat of Countertop Epoxy, and then coming back overtop once cured with a scratch-resistant protective layer of our Ultimate Top Coat. When using the hand meld method, you will have enough leftover Countertop Epoxy for the clear coat at 3 oz per square foot. Ultimate Top Coat will need to be purchased separately to achieve our highest performing finish.
With the first color pour curing for 16-24 hours, you can prep your clear coat pour even if the surface is slightly tacky to the touch. If you wait for more than 24 hours, you will need to lightly scuff the surface with sandpaper for maximum adhesion.
For high-detailed written instructions, see our Ultimate Top Coat Instructions HERE.
Enjoy your new countertops!
From all of us here at Stone Coat Countertops,
You Got This!
Follow the tutorial below that applies to your project:


