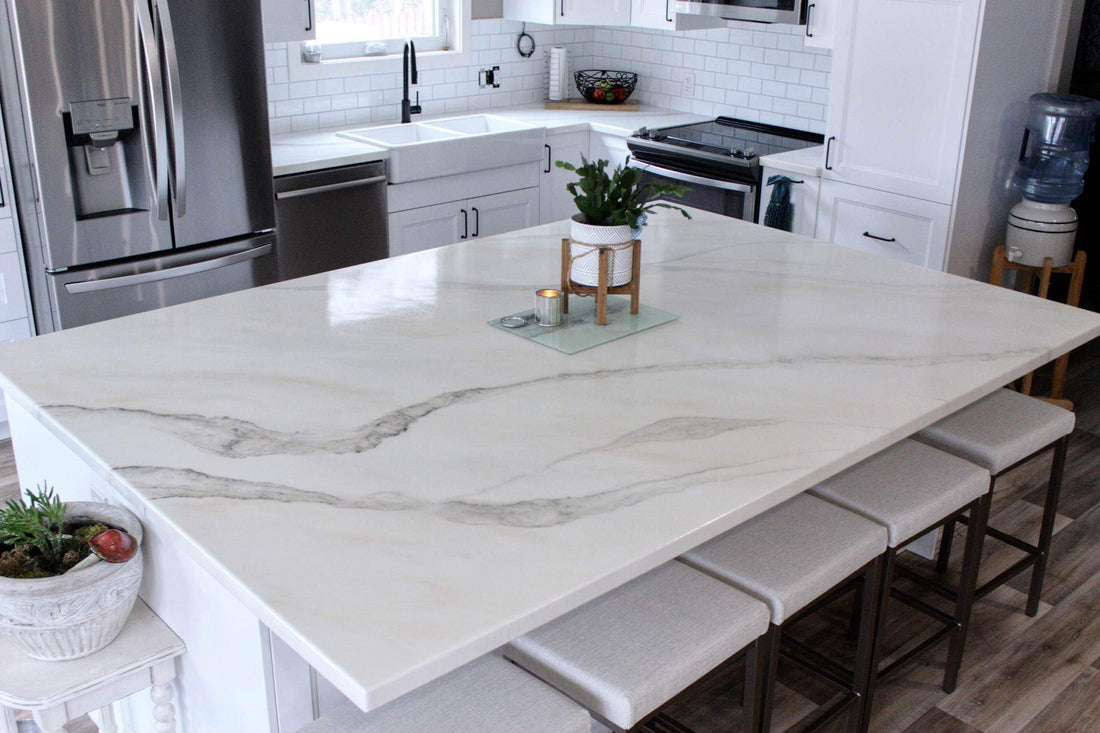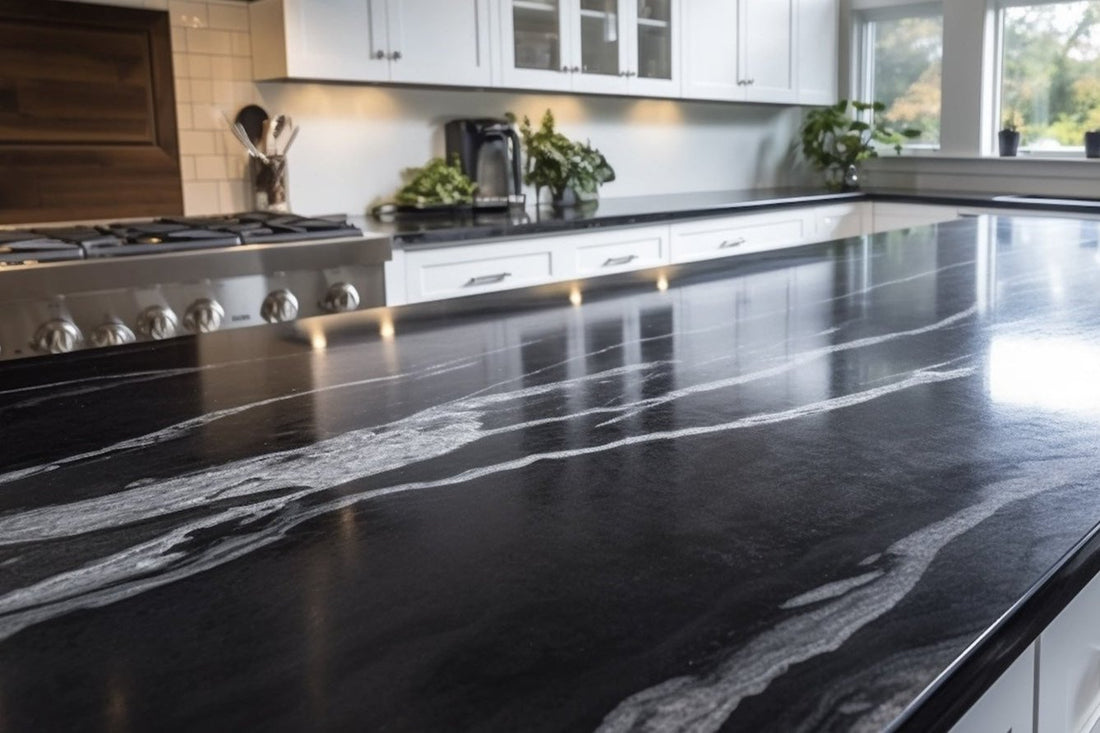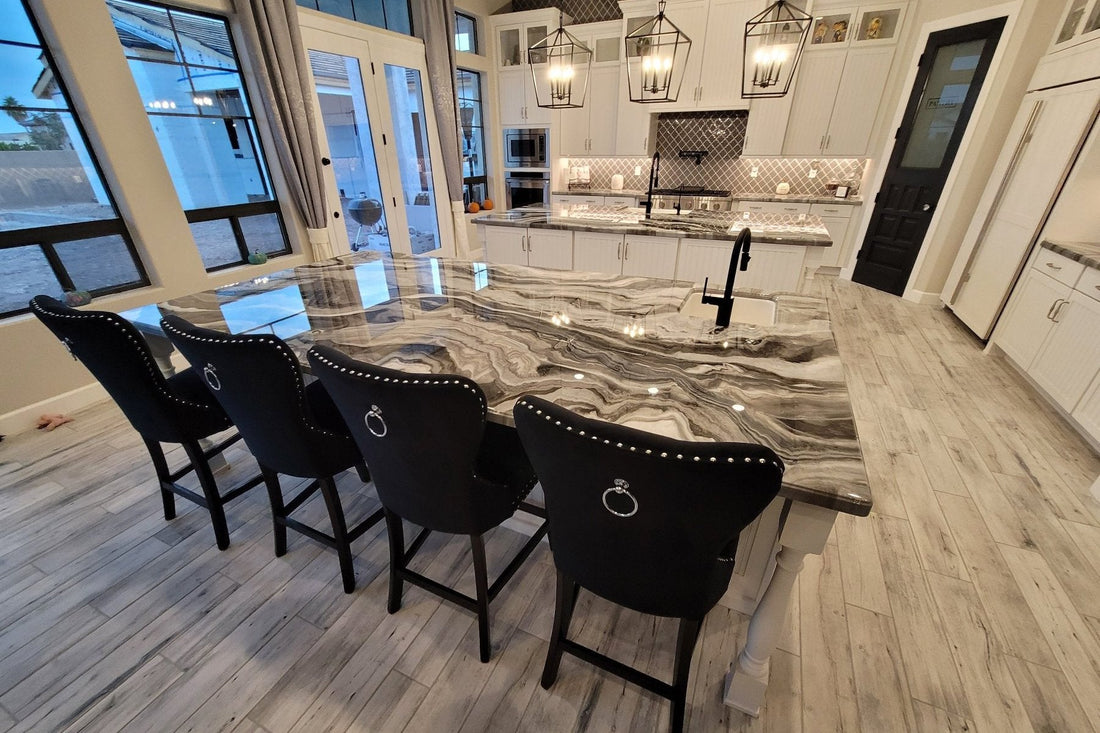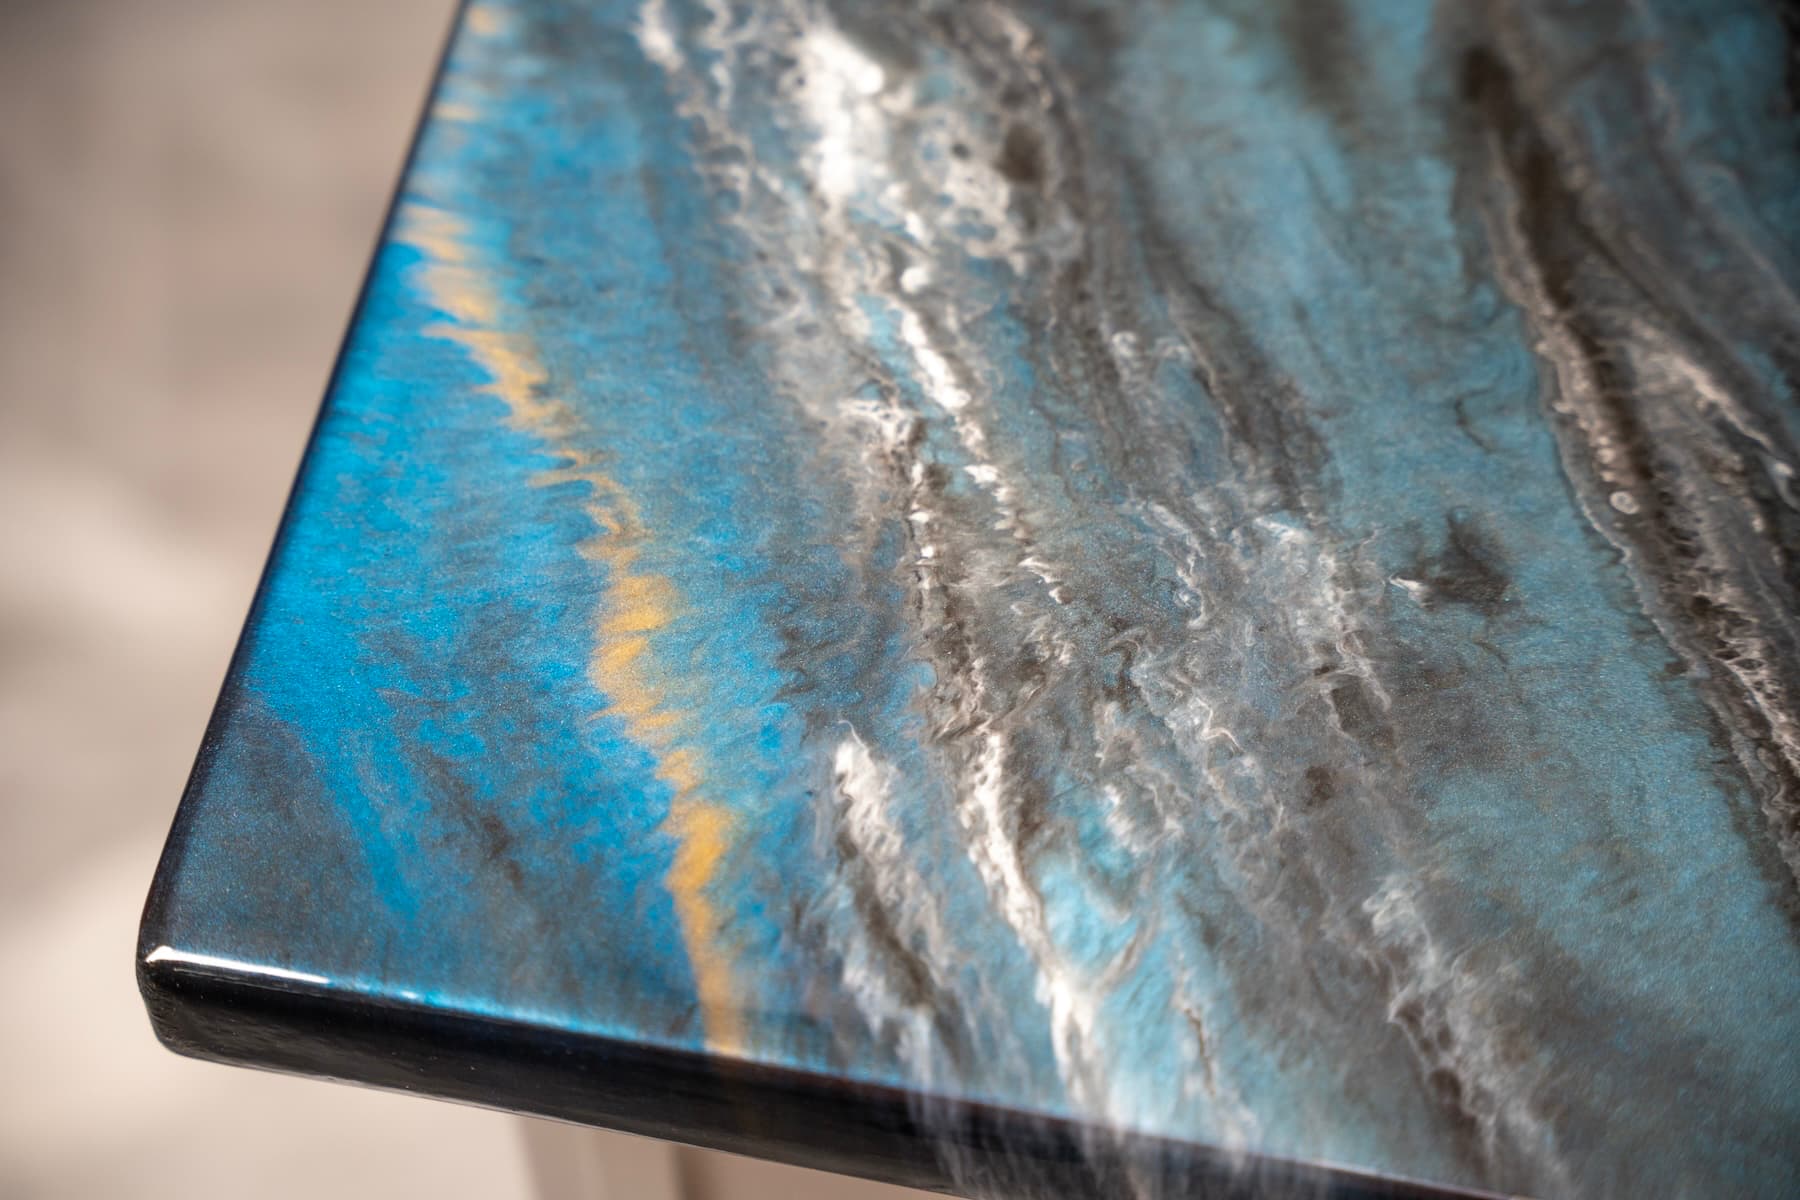


Bring the mesmerizing look of fractured blue granite into your home! This step-by-step guide will walk you through creating a stunning, high-gloss countertop finish that combines deep blues, subtle violets, and shimmering metallic accents to mimic the natural beauty of blue granite. Using a mix of rich base colors and vibrant accents, along with unique misting techniques to create lacing and cell effects, you'll be able to achieve a truly custom look. Ready to create a statement piece that’s both durable and beautiful? Follow along with our tutorial and video below.
Before you start:
Whether you’re pouring epoxy over an existing countertop—like tile or laminate—or fabricating a new surface from MDF, each approach has unique preparation steps to ensure maximum adhesion. For detailed instructions, check out our substrate specific tutorials below. This color technique begins with your surface fully prepped and ready for a stunning epoxy transformation.
Sand and smooth any bumps or rough areas, then clean thoroughly to remove all dust and debris. For new MDF countertops, place them on a level surface and apply two coats of Stone Coat Countertop Black Epoxy Undercoat. Allow the second coat to dry for at least 4 hours. This specially formulated, ammonia-free undercoat bonds perfectly with our Countertop Epoxies and substrate materials for the best results (other products may not achieve the same effect). Once the undercoat is dry, lightly sand with 220-grit if needed and clean off any remaining dust.
With the undercoat completely dry, mix a batch of Stone Coat Countertop Epoxy (we recommend 3-4 ounces per square foot) and separate into individual containers for tinting the epoxy. We recommend 1-2 tablespoons of our Polycolor Metallic Pigment Powder per 16 oz of epoxy. For making a fully opaque color with our White or Black dye, we recommend up to 5-10 drops per 16 oz of epoxy. Be sure to mix thoroughly including scraping the sides of your mixing container. For 20 square feet of coverage using 1 gallon of 1:1 Countertop Epoxy we recommend preparing 48 oz of black, 16 oz of dark bronze, 16 oz of white, 16 oz of silver and 16 oz of diamond dust (go lighter on the pigment additive).
IMPORTANT: When adding colors to your mixed epoxy, remember that Violet Pearl, Gold Metallic Powders, and White Dye are accent colors, so only a few ounces are needed compared to full cups of the main colors. Use smaller cups for these accents to control the intensity.
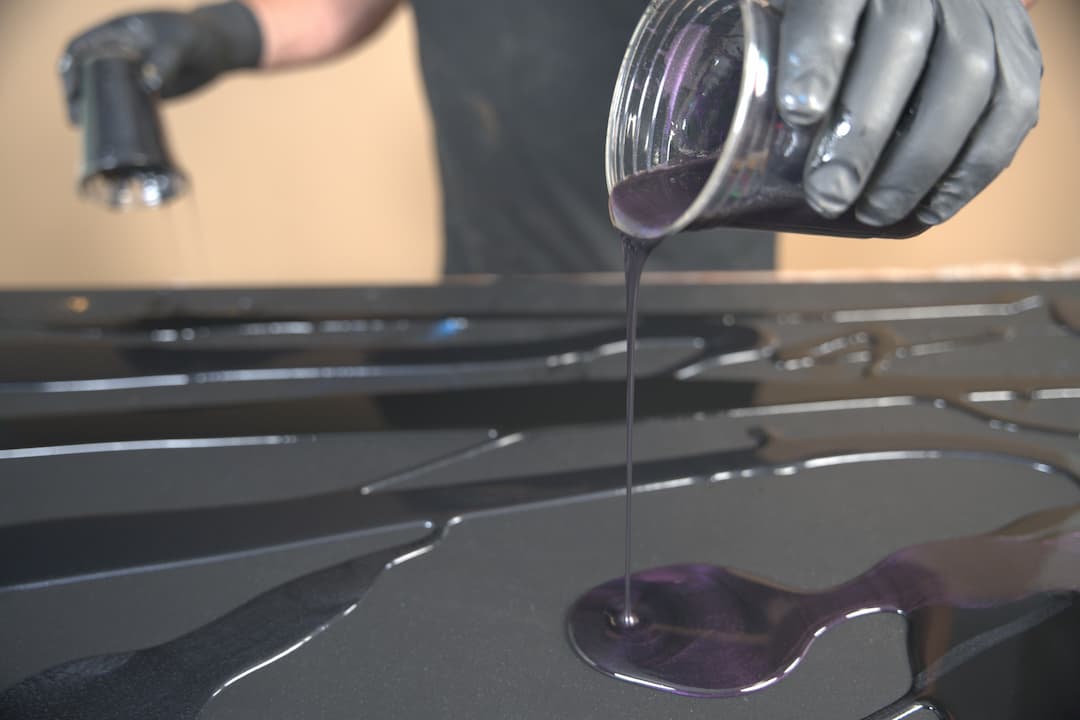
Apply Base Colors: Pour 90% of the Black Dye, Purple Mountain, and Black Metallic Powders in ribbons across the project. Use gloved hands to gently blend these for a base color effect. Remove air bubbles by sweeping a propane torch 2’’ from the surface.
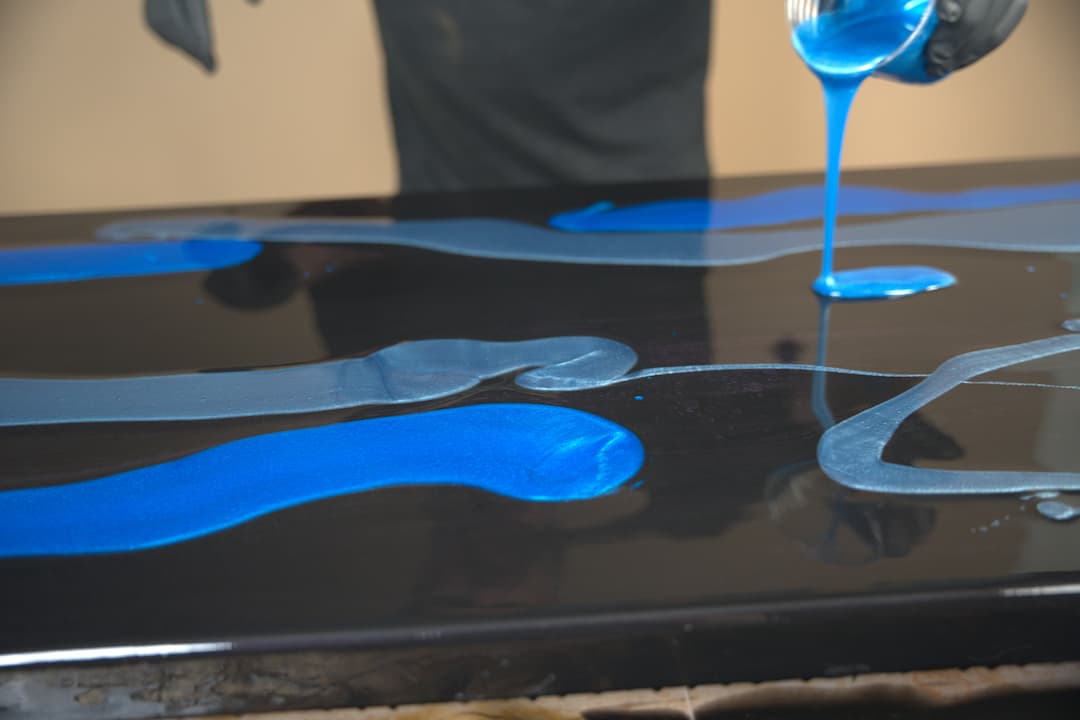
Apply Blue Epoxy Colors: Pour 90% of the Crater Lake Blue, Sky Blue, and Blue Earth Metallic Powders over the base layer. Gently blend with gloved fingertips as much or as little as desired. Use remaining epoxy colors for larger areas of contrast if needed.
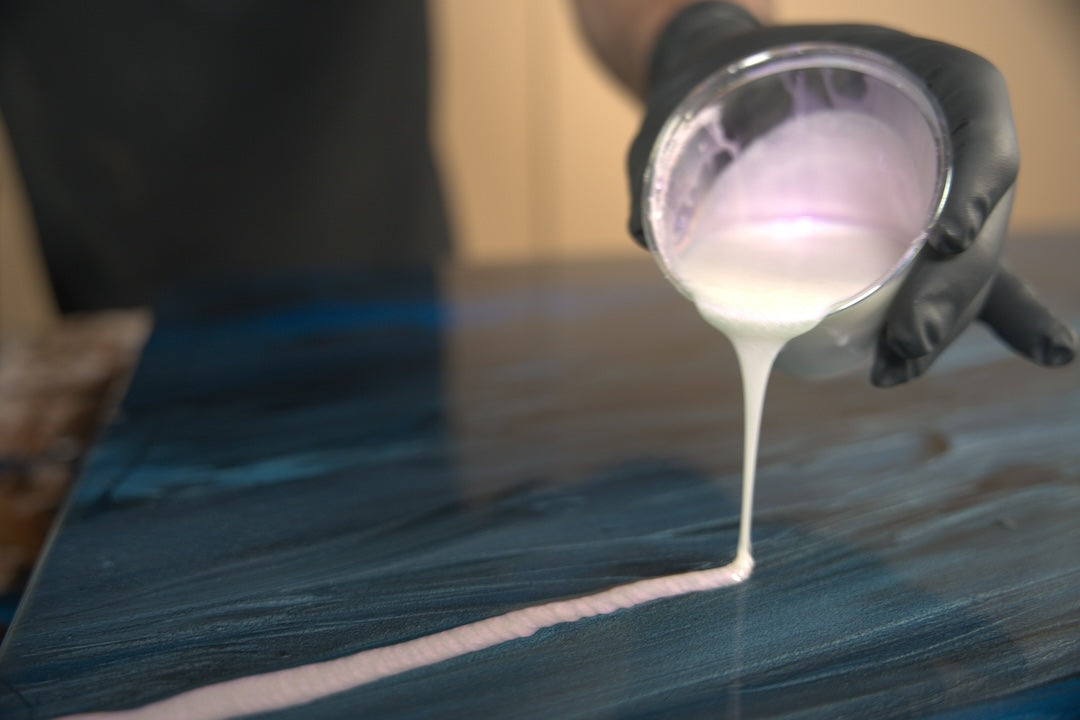
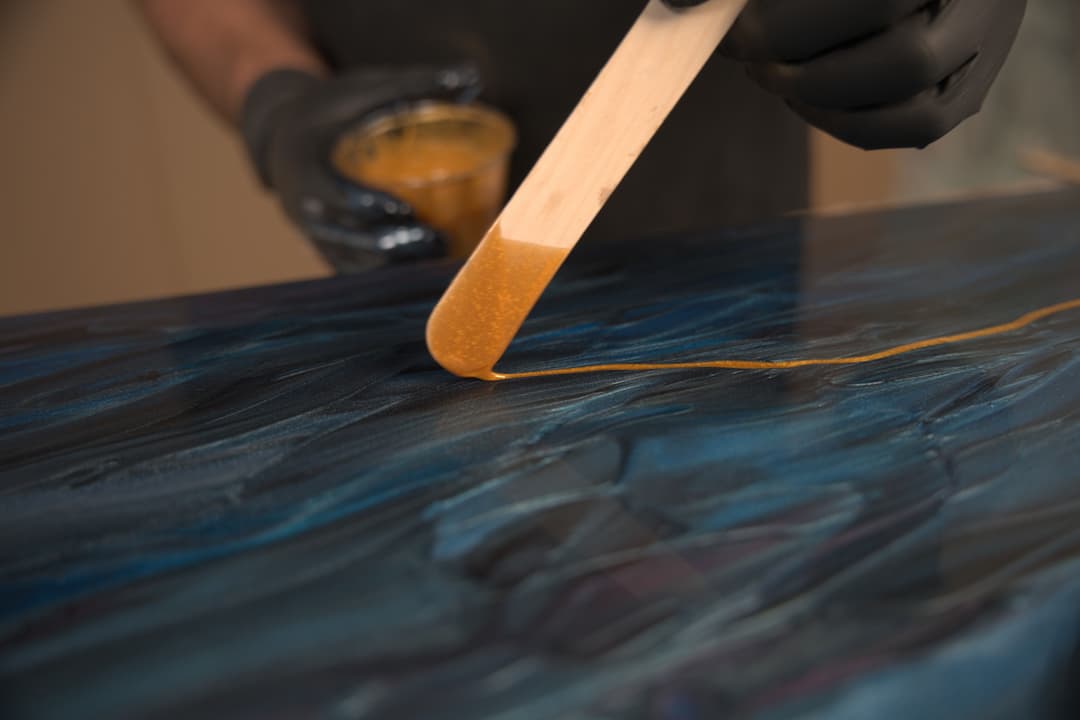
Apply Accent Colors: Use White Dye and Violet Pearl for accents. Apply thin veins and blend with fingertips, or use a popsicle stick for sharper accents.
Add Celling & Lacing Effects: Mist with 91% isopropyl alcohol to create celling and lacing effects, varying droplet sizes for a natural look.
Remove Air Bubbles: Ensure even coverage over edges, and scrape drips from the bottom using a gloved hand or paint stick. Pass a propane torch 2’’ from the surface to eliminate bubbles, allowing 2-3 minutes of cooling between at least three passes.
Let it Cure: Allow Stone Coat Countertop Epoxy to cure for 18-24 hours for the next layer without sanding. If curing exceeds 24 hours, lightly sand with 220-320 grit for optimal adhesion on the next layer.
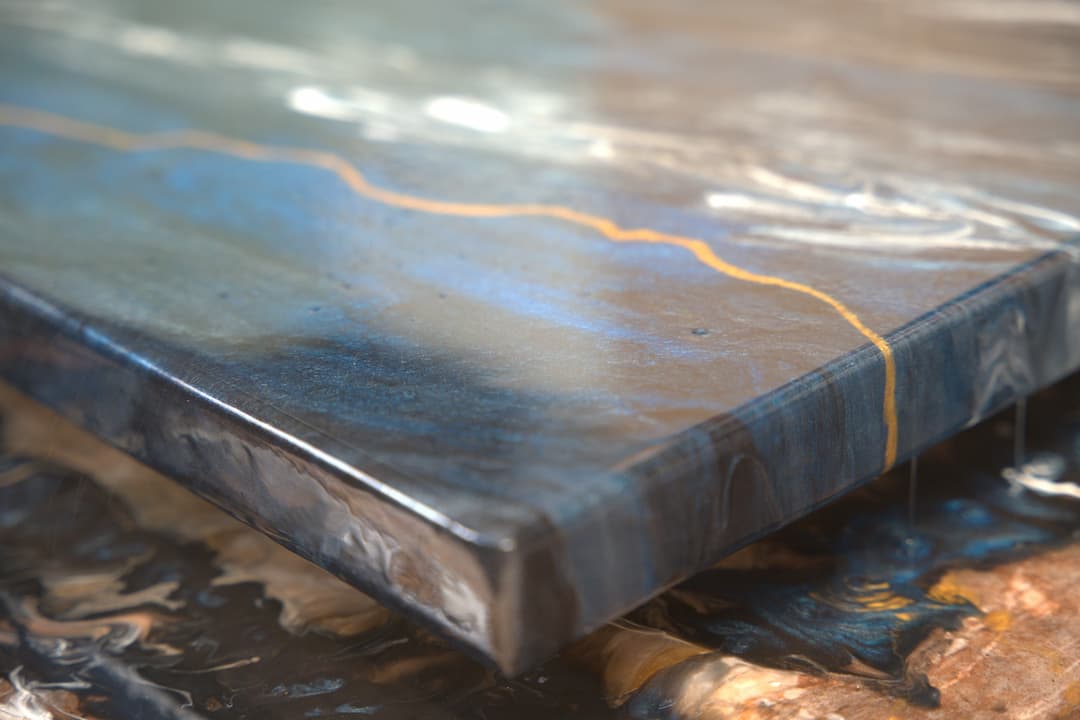
Seal and protect your design with a clear coat of Stone Coat Countertop Epoxy. When using the Blue Fractured Granite Epoxy Kit, you will have enough leftover Countertop Epoxy for the clear coat at 3 oz per square foot.
Mix Clear Epoxy: Follow the instructions to mix the clear Stone Coat Countertop Epoxy thoroughly using a drill with a paddle mixer.
Pour the Epoxy: Pour the mixed epoxy into the center of your countertop in a large ribbon.
Evenly Spread the Epoxy & Remove Air Bubbles:
For maximum durability, we recommend coming back overtop the clear coat of epoxy once cured with a scratch-resistant protective layer of our Ultimate Top Coat. The Ultimate Top Coat will need to be purchased separately to achieve our highest performing finish.
For high-detailed written instructions, see our Ultimate Top Coat Instructions HERE.
Enjoy your new countertops!
From all of us here at Stone Coat Countertops,
You Got This!
Follow the tutorial below that applies to your project:
