

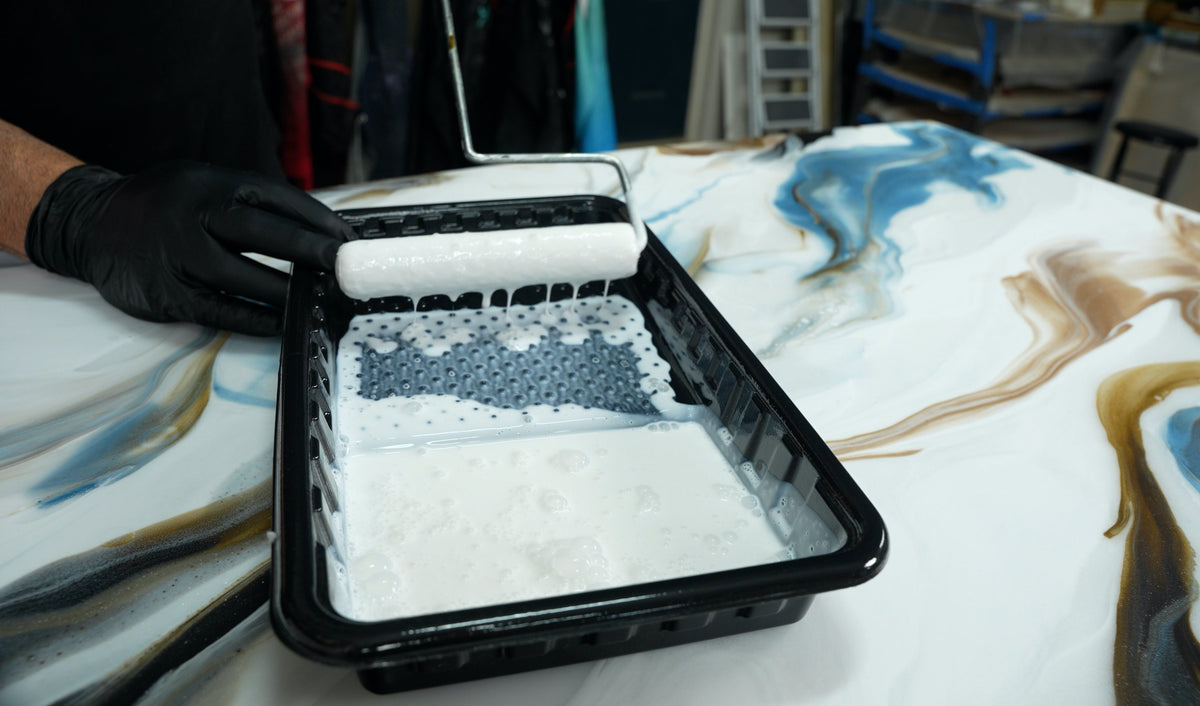
Applying Ultimate Top Coat over an epoxy or polyaspartic surface is a straightforward way to add durability and create the final texture and sheen you want. Whether you are finishing a Stone Coat Countertop Epoxy project or an APEX Polyaspartic countertop, the application process for Ultimate Top Coat is essentially the same.
The key is proper surface preparation, using the right rollers, following the mixing instructions, and working methodically during both the wet-roll and dry-roll stages.
Here’s how to apply Ultimate Top Coat over epoxy or APEX Polyaspartic surfaces for a smooth, consistent finish.
Materials
Before you begin, gather the materials and tools you’ll need for the application:
- Stone Coat Countertops Ultimate Top Coat, Textured Matte or Textured Gloss
- Sandpaper: 120 to 220 grit for Textured Matte or 320 grit for Textured Gloss
- 5 - 1/4-inch nap microfiber rollers (based on 40 sqft countertop size)
- Roller frames
- Masking tape
- Paint tray
- Clean, room temperature water for thinning
- Clean cloths or towels for removing sanding dust
- 91% Isopropyl Alcohol
Step 1: Sand the Epoxy or APEX Polyaspartic Surface
Before applying Ultimate Top Coat, the existing epoxy or APEX Polyaspartic surface needs to be sanded to create the proper profile for the top coat.
- For Ultimate Top Coat Textured Matte, sand the surface up to 220 grit.
- For Ultimate Top Coat Textured Gloss, sand the surface up to 320 grit.
Once sanding is complete, thoroughly remove the sanding dust from the countertop before moving on to the next step.

Step 2: Prep Your Rollers
Roller prep is a small step that can make a big difference in the final finish.
Ultimate Top Coat is applied using a 1/4-inch nap microfiber roller. Before using a new roller, remove any loose fibers that could otherwise end up in the top coat.
How to Remove Loose Fibers from the Roller
Place the roller onto your roller frame and use masking tape to pull away loose lint and fibers.
Roll the microfiber roller across the sticky side of the tape several times until the loose material has been removed.
Those fibers are exactly what you do not want to get trapped in your finished countertop.

For a typical 40-square-foot kitchen, plan to have approximately:
- Two rollers for the wet application.
- Three to four additional dry rollers that are already prepped and ready to use.
Having everything prepared before you begin is important because Ultimate Top Coat dries quickly, giving you a limited working window during application.
Step 3: Shake Ultimate Top Coat Matte Before Mixing
If you are using Ultimate Top Coat Textured Matte, thoroughly shake the product before mixing.
The matting agents can settle while the product sits on a shelf or in a garage. If they are not properly redistributed before mixing, your finished surface may have more of a satin appearance instead of the matte finish you intended.
Give the product a thorough shake before measuring and mixing.
Step 4: Mix Ultimate Top Coat
Always follow the written mixing and thinning instructions included with Ultimate Top Coat.
Ultimate Top Coat is mixed at a 2:1 ratio by volume. Room-temperature water is also added according to the product instructions to thin the coating to the proper consistency.
That thinning step is important. It helps Ultimate Top Coat level properly and creates the leathered-granite appearance the coating is known for while maximizing the performance of the finished surface.
Once the material is completely mixed, pour it into a paint tray and prepare to begin the wet-roll application.


Step 5: Apply Ultimate Top Coat with a Wet Roller
Fully saturate your wet roller with Ultimate Top Coat, then roll off a small amount of excess material before moving to the countertop.
Apply the coating using a V-shaped rolling pattern.

Use a V Pattern for Even Coverage
Begin near the middle of your working area and roll toward the left.
Then return to the center and roll toward the right.
Reload the roller and move several passes beyond the area where you previously finished.
Again, apply the material through the middle before working left and then right.
Working this way helps distribute the coating evenly across the countertop instead of continually building material along one edge of your previous section.
Continue until the entire countertop surface and edges are completely covered.
Step 6: Dry Roll the Surface
Once the countertop is fully coated, set the wet roller aside and immediately move to a clean, prepped dry roller.
The dry-roll step helps even out the coating and remove visible roller and lap lines.

Lead With the Roller Frame
One of the most important techniques during the dry-roll stage is paying attention to the orientation of your roller.
Think of the side of the roller attached to the frame as the front of the roller.
As you dry roll, lead with that heavier frame side. The lighter trailing side of the roller can then gently feather the coating and help eliminate lap lines.
Using light pressure, work consistently from one direction to the other across the entire countertop.
The goal is not to continue moving the coating around. You are simply evening out the surface and leaving behind the most uniform finish possible.
How Long Does Ultimate Top Coat Take to Cure?
Ultimate Top Coat is not an epoxy, so it dries and cures much faster than an epoxy coating.
Allow approximately 36 to 48 hours before putting the countertop back into full use.
Following the proper sanding, mixing, wet-roll, and dry-roll process will help create a smooth, consistent finish while adding another layer of protection to your epoxy or APEX Polyaspartic countertop.

Ultimate Top Coat Over Epoxy or APEX Polyaspartic: Quick Overview
Here’s a quick recap of the process:
- Sand the epoxy or APEX Polyaspartic surface to 220 grit for Ultimate Top Coat Textured Matte or 320 grit for Ultimate Top Coat Textured Gloss.
- Thoroughly remove all sanding dust before applying the top coat.
- Prep 1/4-inch nap microfiber rollers with masking tape to remove loose lint and fibers.
- For a 40-square-foot kitchen, have approximately two wet rollers and three to four dry rollers ready to go.
- Shake Ultimate Top Coat Textured Matte thoroughly before mixing so the matting agents are evenly distributed.
- Mix Ultimate Top Coat at a 2:1 ratio by volume and follow the included thinning instructions.
- Apply the coating with a wet roller using a V-shaped rolling pattern.
- Once the surface and edges are fully coated, switch to a clean dry roller.
- Lead with the roller frame side and use light pressure to feather out lap lines.
- Allow approximately 36 to 48 hours before returning the countertop to full use.
Applying Ultimate Top Coat over epoxy or APEX Polyaspartic is a simple way to add another layer of protection while creating the matte or gloss finish you want. With the right surface prep, roller technique, and cure time, you can achieve a durable, consistent finish that’s ready for everyday use. If you’re still deciding which countertop coating is right for your project, learn more about APEX Polyaspartic Countertop Coating and how it compares to Stone Coat Countertop Epoxy.