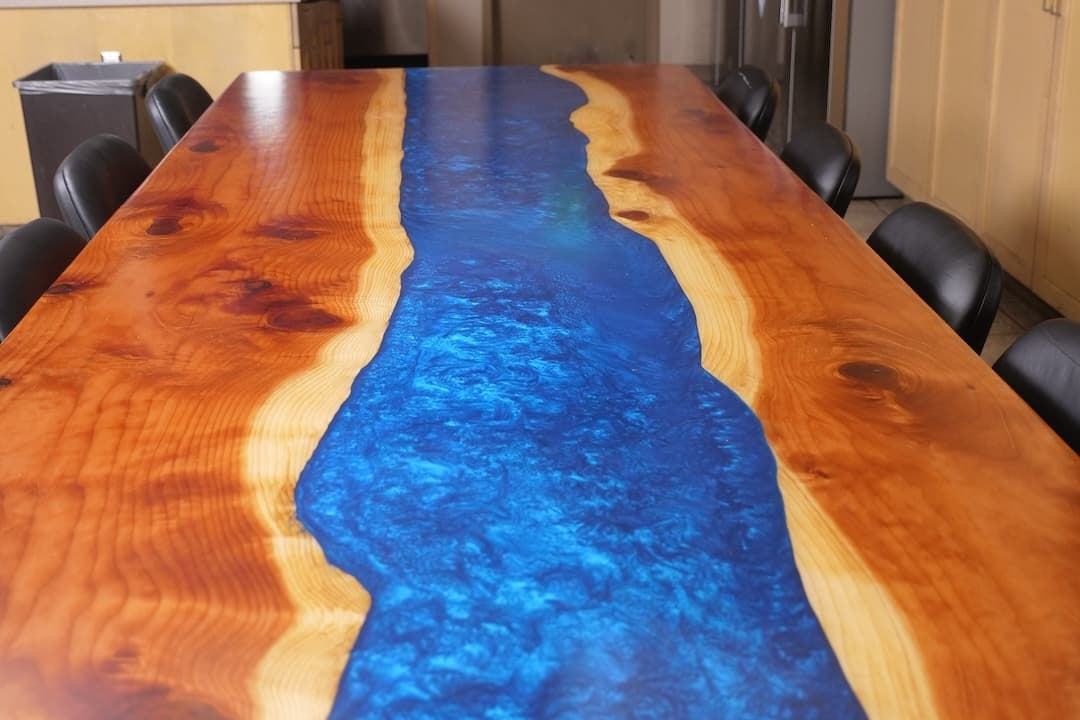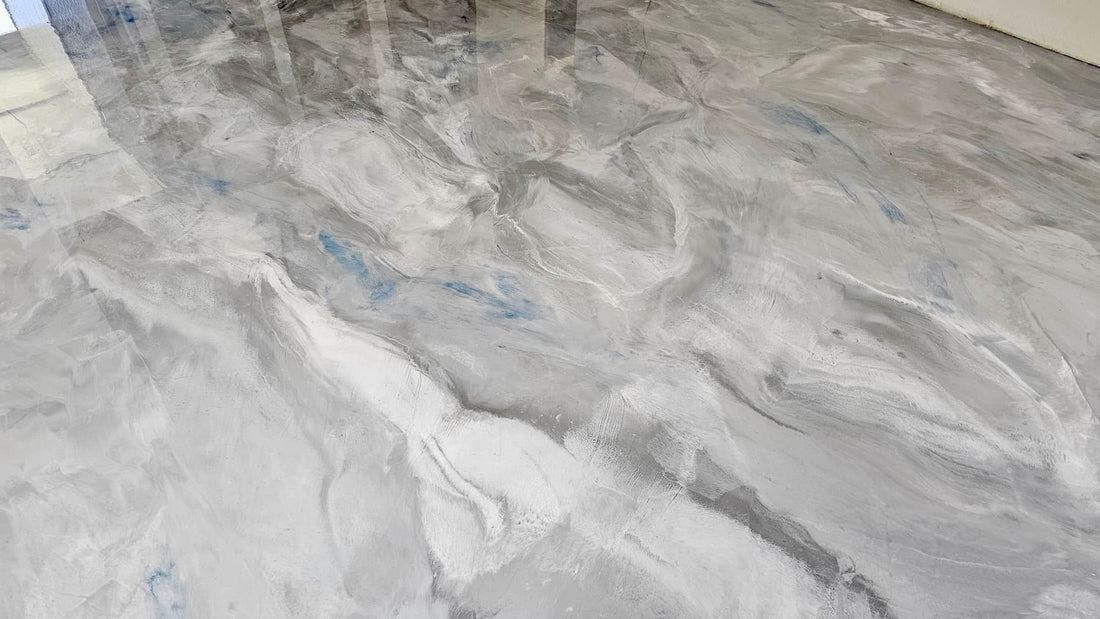

Epoxy is an incredibly versatile material that can transform countertops, floors, artwork, and woodworking projects, but getting started can feel overwhelming. Whether you’re refinishing your kitchen counters or experimenting with your first epoxy pour, understanding the basics is key to a successful, professional-looking result.
At Stone Coat Countertops, we’ve helped thousands of DIYers and professionals master epoxy. To set you up for success, here are our top 5 epoxy tips for beginners that will help you avoid common mistakes and get the best possible results.
1. Choose the Right Type of Epoxy Before You Start
Not all epoxy is the same. Using the wrong type can ruin your project before it even begins.
Different epoxies are formulated for specific applications, including:


Each type has unique properties like thickness, UV resistance, cure time, durability, and heat resistance. Before you start, make sure the epoxy you’re using is designed for your specific project, especially if you’re working on countertops or high-use surfaces.
2. Mix Epoxy Properly, Every Time
Proper mixing is one of the most important steps in any epoxy project. If epoxy isn’t mixed thoroughly, it may never cure correctly, leaving you with soft spots, sticky areas, or a completely failed finish. Follow our mixing tutorial for best results!
To ensure a proper cure:
- Follow the manufacturer’s mix ratio exactly. When possible, measure by weight with a kitchen scale for a more accurate ratio.

- Scrape the sides and bottom of your mixing container.

- Mix slowly and consistently for the recommended time.
Skipping or rushing this step can undo all your hard work.
👉 Remember: No matter how many times you’ve mixed epoxy before, treat every batch with care.
3. Prepare Your Surface and Workspace
Preparation is everything when working with epoxy. Failing to prep your workspace can lead to messes, bubbles, or adhesion issues.
Before you pour:
- Protect floors, cabinets, and surrounding areas.
- Clean and scuff your surface for proper adhesion.
- Ensure your workspace is dust-free and level.

Taking the time to prep correctly will save you hours of cleanup and rework later.
4. Ensure a Properly Sealed, Food-Contact Surface
This is a crucial tip for anyone working on epoxy countertops.
Epoxy that contains pigments, powders, or colorants might not be food safe on its own. If you’re creating a colored or decorative epoxy surface for your kitchen, you must apply a clear, food-safe topcoat, such as our Ultimate Top Coat or a clear flood coat of Art Coat or Countertop Epoxy.
Ultimate Top Coat seals in pigments, restores food safety, and adds durability.
This final step ensures your countertop is both beautiful and safe for food contact.
5. Understand Your Working Time
Not all epoxies offer the same working time, also known as “open time.” Some epoxies begin to set in just a few minutes, while others give you an hour or more to work.
Before you start your project, find out:
- How long you have to pour your project.
- When the epoxy will begin to thicken.
- When it will self-level and cure.
Knowing your working time helps you plan your steps, avoid panic, and achieve a smooth, flawless finish.
👉 Stone Coat Countertops epoxies are designed with DIYers in mind, offering generous working time without sacrificing strength or durability.
Bottom line: Set Yourself Up for Epoxy Success
Epoxy doesn’t have to be intimidating. By choosing the right product, mixing correctly, prepping thoroughly, sealing for food safety, and understanding your working time, you’ll be well on your way to a professional-quality result. And remember, we always recommend ordering extra epoxy for testing out a sample ahead of time. Hone in your technique and familiarize yourself with the products.
If you’re ready to start your epoxy journey, Stone Coat Countertops provides industry-leading epoxy systems, tools, and step-by-step education to help you succeed from your very first pour.
✨ You’ve got this! Now let’s make something amazing.