saltar al contenido
🇺🇸 July 4th Sale 🇺🇸
20% Off Sitewide
JULY 1 – 12
Discount automatically applied at checkout
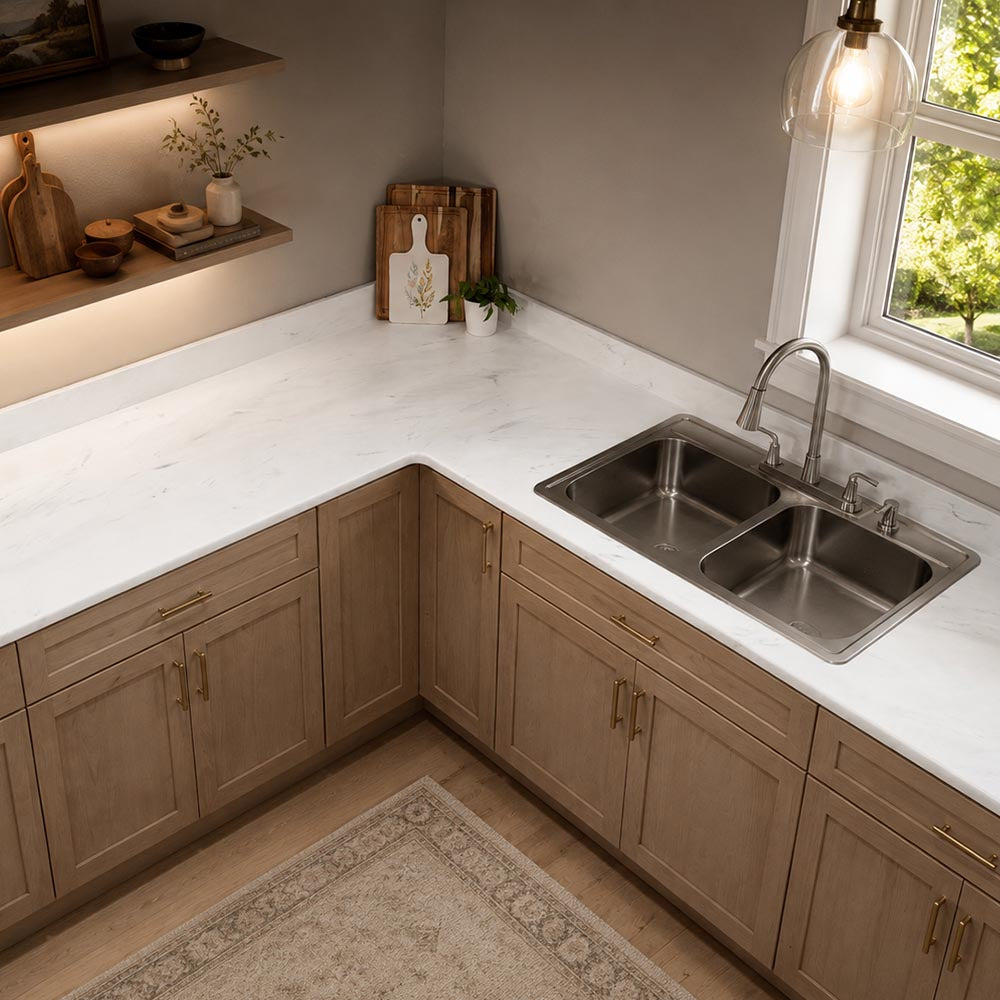
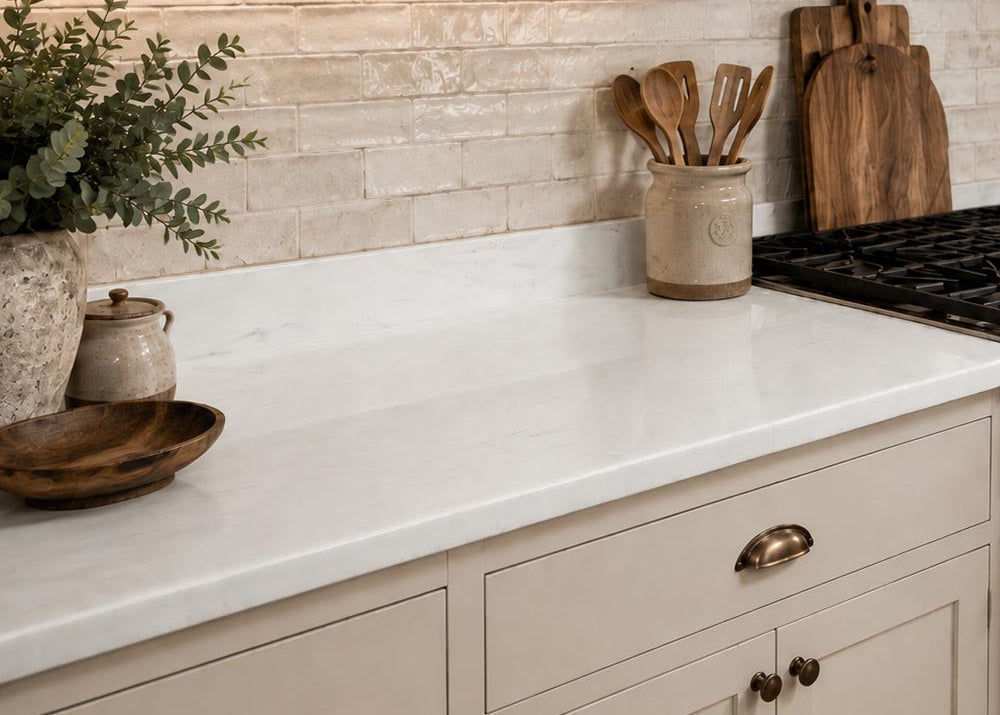
DIY Carrara White Marble Countertops

Mármol de Carrara epoxi | Encimeras de mármol blanco de Carrara epoxi DIY

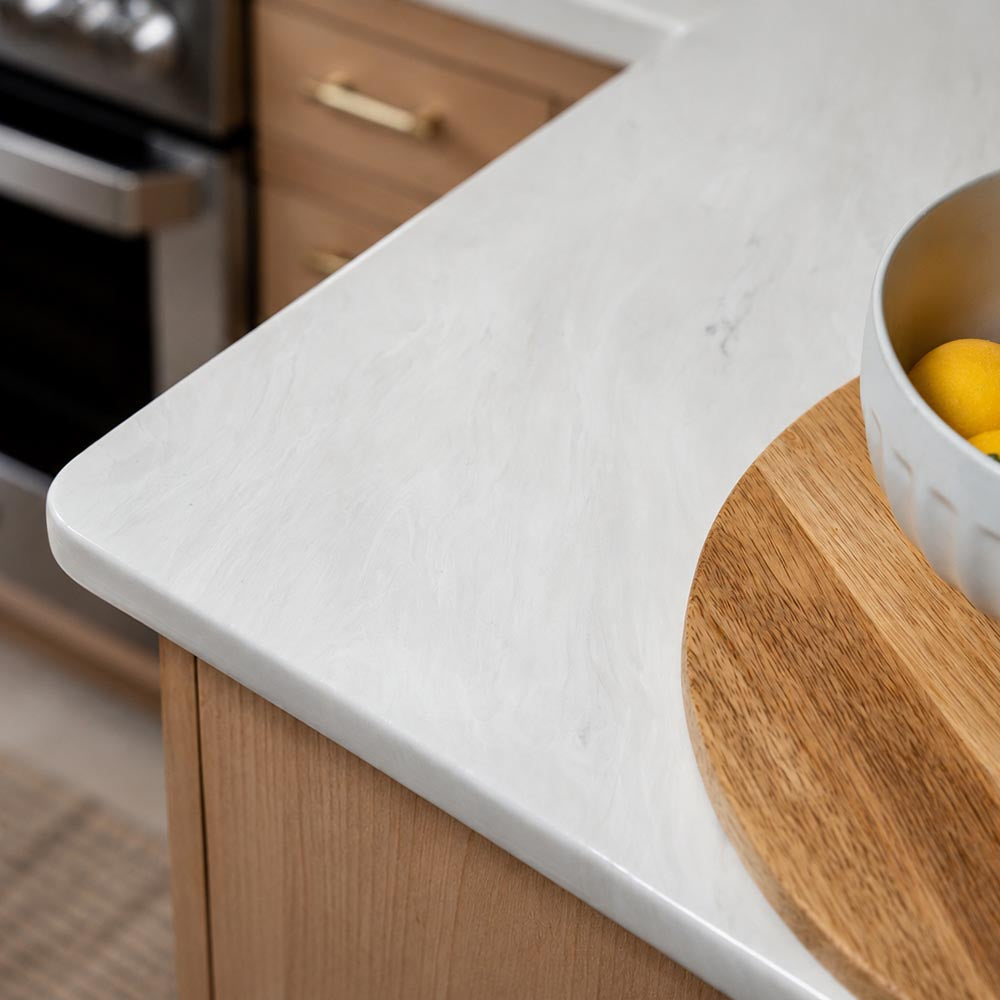
Create a timeless, elegant look for your countertops with Stone Coat Countertops. This step-by-step guide will show you how to replicate the classic beauty of Carrara marble using APEX. By following our detailed instructions, you’ll learn the hand-meld technique for blending colors and creating realistic veining, along with tips for celling and lacing effects that add depth and dimension. Ready to transform your countertops with a sophisticated marble finish? Follow along with our tutorial and video below.

How to Create Carrara Marble Countertops with Stone Coat APEX Polyaspartic

PROJECT MATERIALS

APEX Carrara Marble Polyaspartic Countertop Coating Kit in front of a carrara marble backdrop

Carrara Marble Kit

Shop now
epoxy countertop tool kit

EPOXY COUNTERTOP TOOL KIT

Shop now
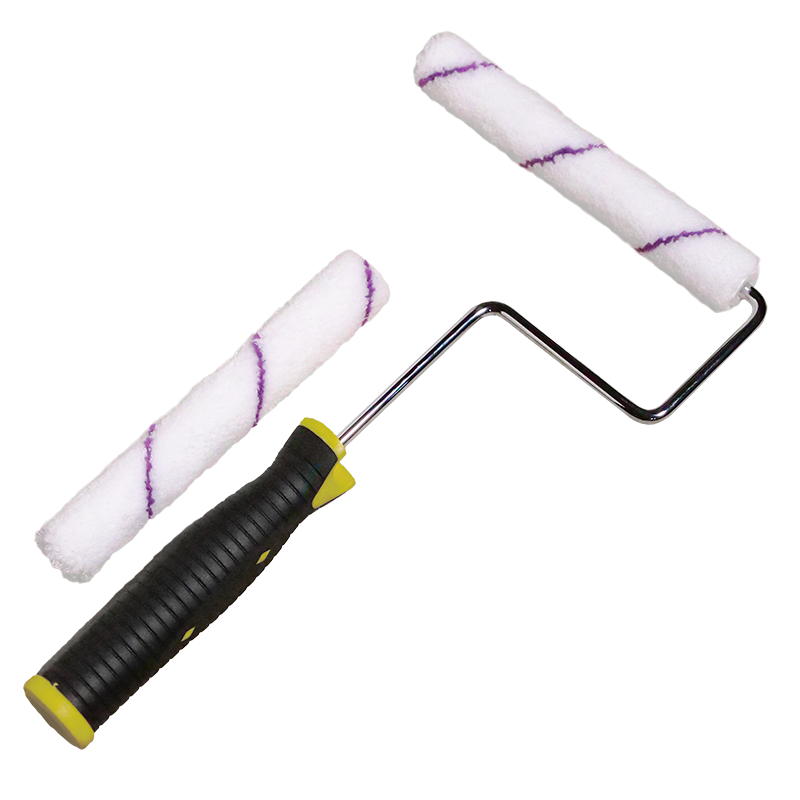
Microfiber Roller Kit

microfiber roller

Shop now

NOTE: This Carrara Marble recipe uses Stone Coat APEX, our next-generation polyaspartic countertop coating system. APEX is not epoxy and should not be mixed, primed, torched, or top-coated using legacy epoxy instructions or products. If you previously used our Carrara Marble Epoxy Kit, this updated APEX method is the current recommended system for bright white Carrara-style countertops.

Before you start:

Whether you’re pouring APEX over an existing countertop—like tile or laminate—or fabricating a new surface from MDF, each approach has unique preparation steps to ensure maximum adhesion. For detailed instructions, check out our specific tutorials. This recipe begins with your surface fully prepped and ready for a stunning countertop transformation. 

Proper prep is especially important for bright white and light-colored designs. Before applying APEX Poly Fuse Countertop Primer, make sure the surface is clean, dry, smooth, and free from dust, grease, trapped moisture, damp filler, loose paint, silicone, slick finishes, or under-cured layers. Taking the time to prepare the surface correctly helps create a clean foundation for the bright, controlled finish this technique is designed to achieve.

Step 1:  Clean and Prep Surface

Sand and smooth any bumps or rough areas, then clean thoroughly to remove all dust and debris.

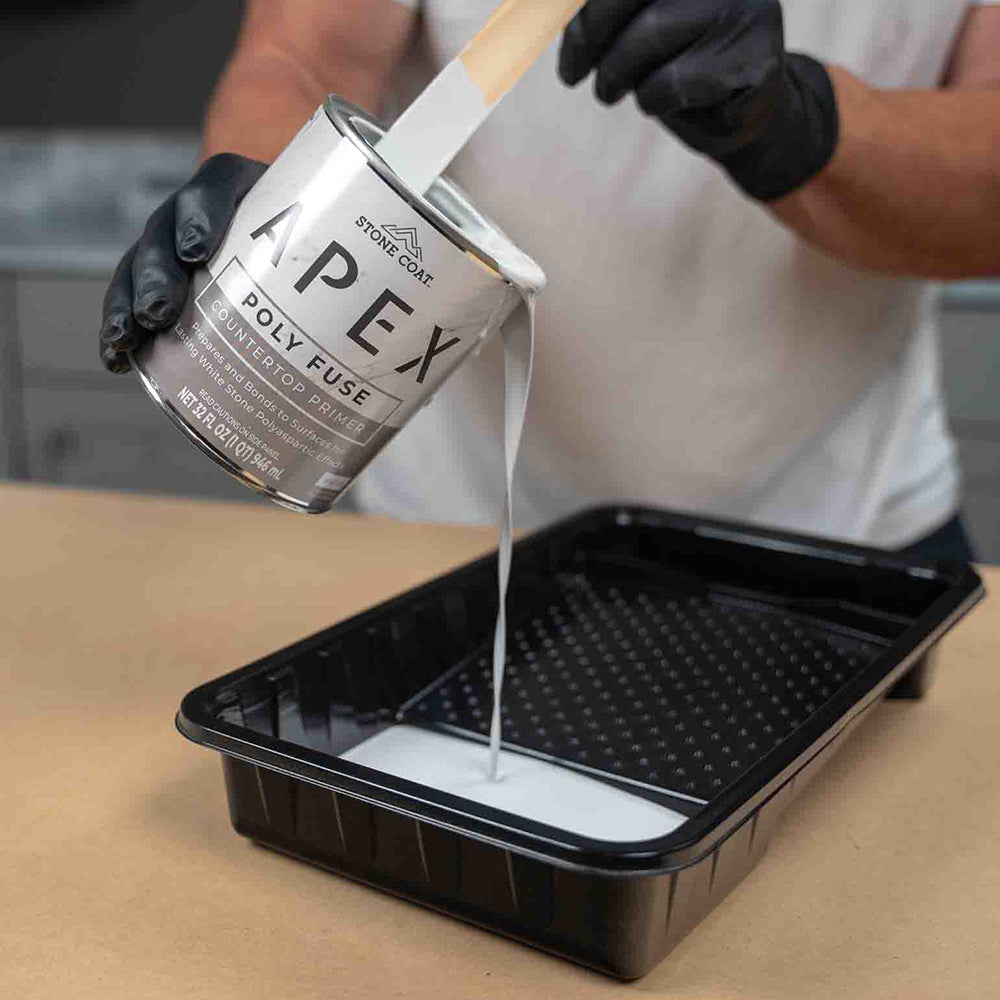
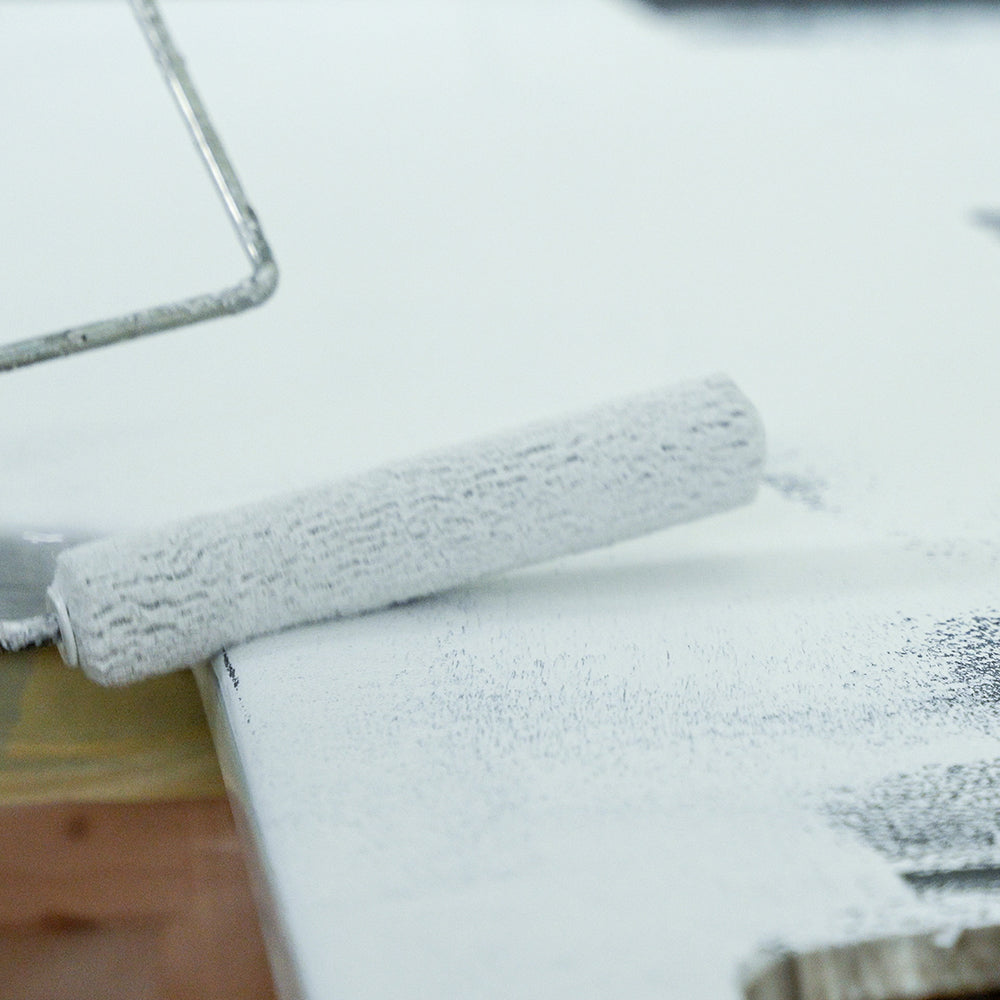
Apply thin coats of Poly Fuse Countertop Primer to the countertop surface, edges, and backsplash. Allow the first coat to dry for 45 minutes to 1 hour before applying the second coat. After the second coat, allow the primer to fully dry and off-gas for 6 to 8 hours before applying APEX Polyaspartic Countertop Coating. For laminate, allow APEX Poly Fuse Primer to dry a minimum of 6 hours and up to 24 hours before applying APEX Polyaspartic.

APEX Poly Fuse Countertop Primer is formulated to create a strong bond between the properly prepared substrate and the APEX coating system. Do not use Epoxy Undercoat beneath APEX.

Common mistakes when priming countertops include coating over dust, trapped moisture, loose paint, slick surfaces, silicone, grease, or under-cured layers. Do not rush the primer’s dry time. Once the primer is fully dry, lightly sand with 220-grit sandpaper if needed, then remove all remaining dust before continuing with APEX.
Step 2:  Pour Countertop Coating (Hand Meld Method)

Prepare the APEX Countertop Coating: 

  • Ensure the APEX Poly Fuse is Dry: Before you begin, make sure the primer on your countertop is completely dry (minimum 6-8 hrs. After the 2nd coat). This is crucial for proper adhesion and a smooth finish. 
  • Stage Everything: Before mixing, stage products, cups, sticks, gloves, timer, spreaders (if applicable), colorants, dye, powders, tape, popsicle sticks, and APEX Surface Control Finishing Spray.
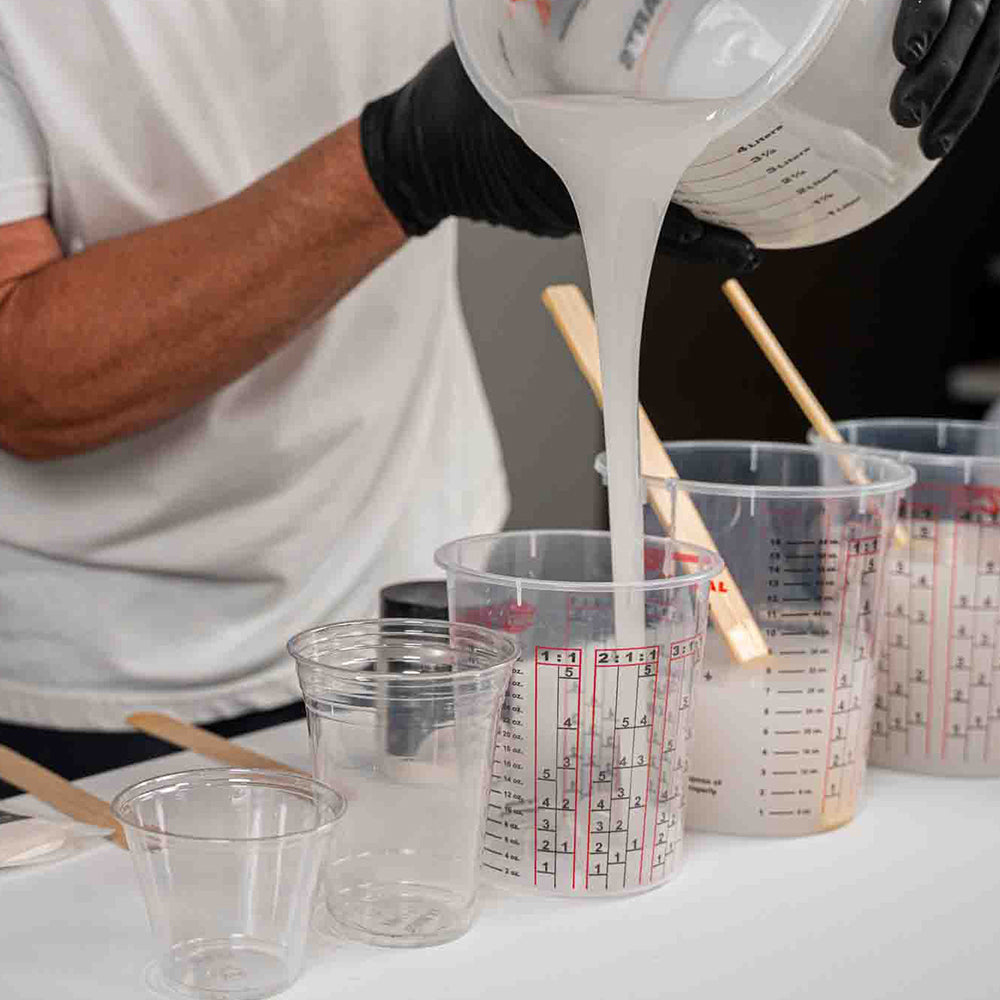
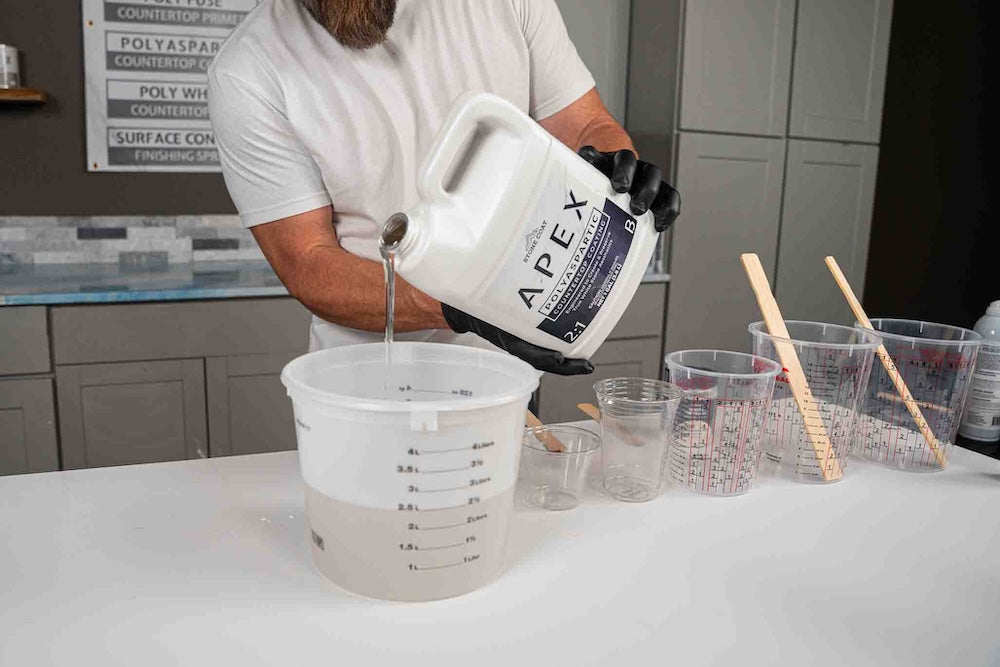
  • Mix the APEX Polyaspartic: Calculate the amount of APEX Countertop Coating you'll need, typically 6 ounces per square foot of countertop surface. Measure 2 parts A to 1 part B by volume in a clean graduated container, keeping the batch maximum in mind.
  • Mix Thoroughly: Mix for 2 minutes total and scrape sides/bottom halfway. Do not exceed 1.5 gallons total mixed APEX per bucket/batch. For batches 2.5 quarts or lower, mix by hand with a flat-bottom paint stick. For larger batches, use a paddle mixer on a drill at low to medium speed. Try to incorporate as little air into the material while mixing as possible. Proper mixing is essential for the coating to cure correctly.

Separate for Tinting: 

  • Divide the Mixture: Split the mixed APEX Polyaspartic into recipe cups promptly.

Proper Color Ratio for Carrara Marble

  • 85% Primary Base Colors (Opaque and Translucent Poly White Countertop Dye) – 13% Secondary Base Color (White Metallic Pigment Powder) – 2% Accent Color (Black Metallic Pigment Powder)
  • Use Minimal Black Metallic Powder: Mix 1-2 ounces of black metallic pigment powder for 20-30 square feet of Carrara Marble finish, for example, and you’ll probably have some leftover.

Example Mixture for 192 Ounces (1.5 gallons) of APEX: 
  • White Dye Mixture – Opaque: 98 ounces 
  • White Dye Mixture – Translucent: 65.5 ounces
  • White Metallic Mixture: 25 ounces 
  • Black Metallic Mixture: 4 ounces (you'll likely use only about 75% of this amount) 
  • Application Note: The black metallic is used sparingly to create depth and contrast. It's common to have leftover black mixture, so it's advisable not to mix more than necessary.

Create White Dye Colors: 

  • Use the APEX Poly White Dye to create large buckets of white base at about 60% opaque white / 40% translucent white.
  • Using APEX Poly White Dye: For a solid, opaque color—especially with lighter shades like white—add 10-15 drops of APEX Poly White Dye per 16 ounces of APEX Polyaspartic.
  • Pro Tip: Transparent white (skim milk) adds marbling and visual interest to the white countertop coating.
  • Mix carefully.
  • Important: Avoid Excessive Dye: Adding too much dye can prevent the material from hardening properly and may result in a sticky or soft surface. 
  • Understanding Dyes vs. Pigments: Dyes provide uniform color without shimmer, while pigments offer metallic effects. Combining them can create unique finishes.

Add Metallic Pigment Powder: 

  • Measure the Pigment: Add 2-3 tablespoons of Polycolor White Metallic Pigment Powder per 16 ounces of APEX Polyaspartic. Adjust the amount based on the color intensity you desire. 
  • Incorporate the Pigment: Stir the pigment into the material until it's fully dispersed. Scrape the sides and bottom of the container to prevent unmixed particles, which can affect the appearance and curing. 
  • Understanding Pigments: Metallic pigments add depth and a shimmering effect, creating a dynamic look that changes with lighting and viewing angle.

Test the Mixture: 

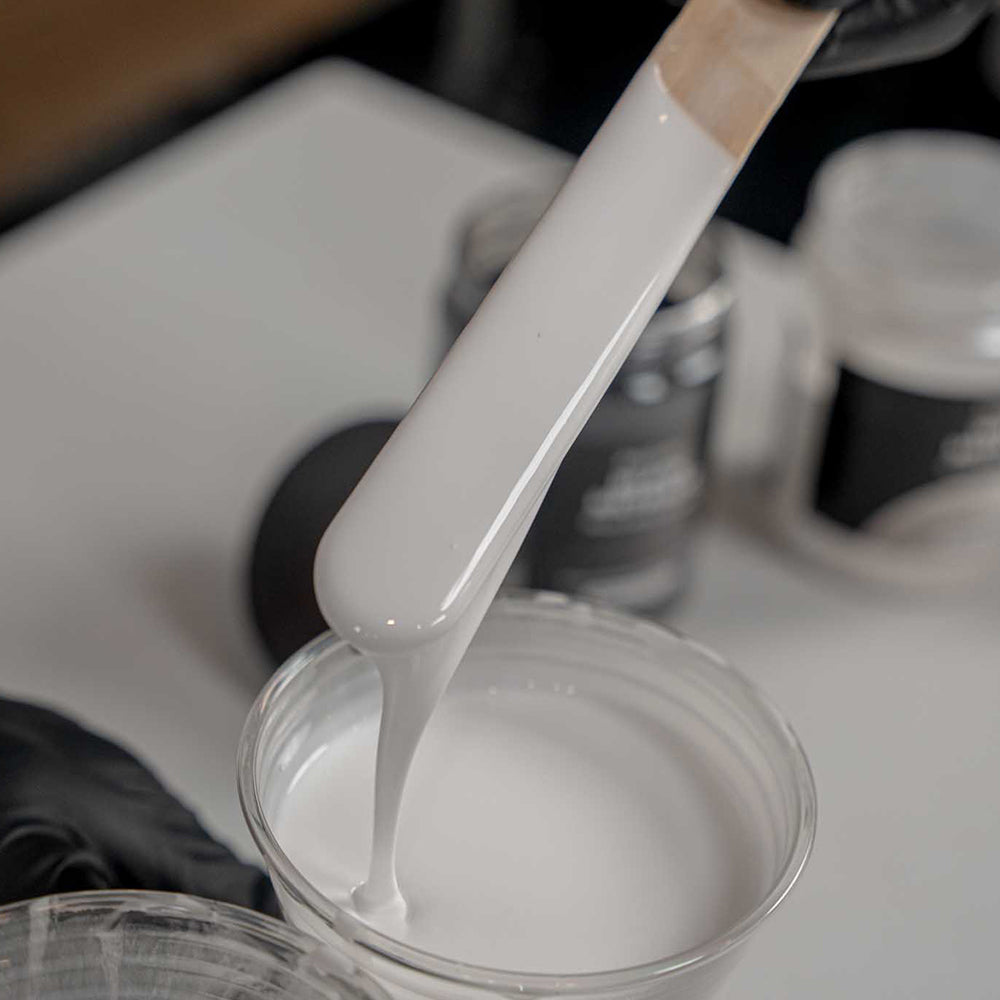
  • Use the Mixing Stick Test: After mixing, lift the stir stick out of the material and hold it horizontally. As the material levels out to about 1/8", you'll see how the color and additives will appear when applied. If you can see the stick, do not pour yet.
  • Evaluate Opacity and Effect: This test helps you assess whether the material has reached your desired opacity and effect. It's easier to adjust the mixture now than after it's poured. 
  • Adjust if Necessary: If the color is too light or not vibrant enough, add small increments of pigment or dye and mix thoroughly before testing again. 

Applying the Base Layer of White APEX: 

  • Spread the White Tinted mixtures (opaque white, translucent white, and white metallic). 
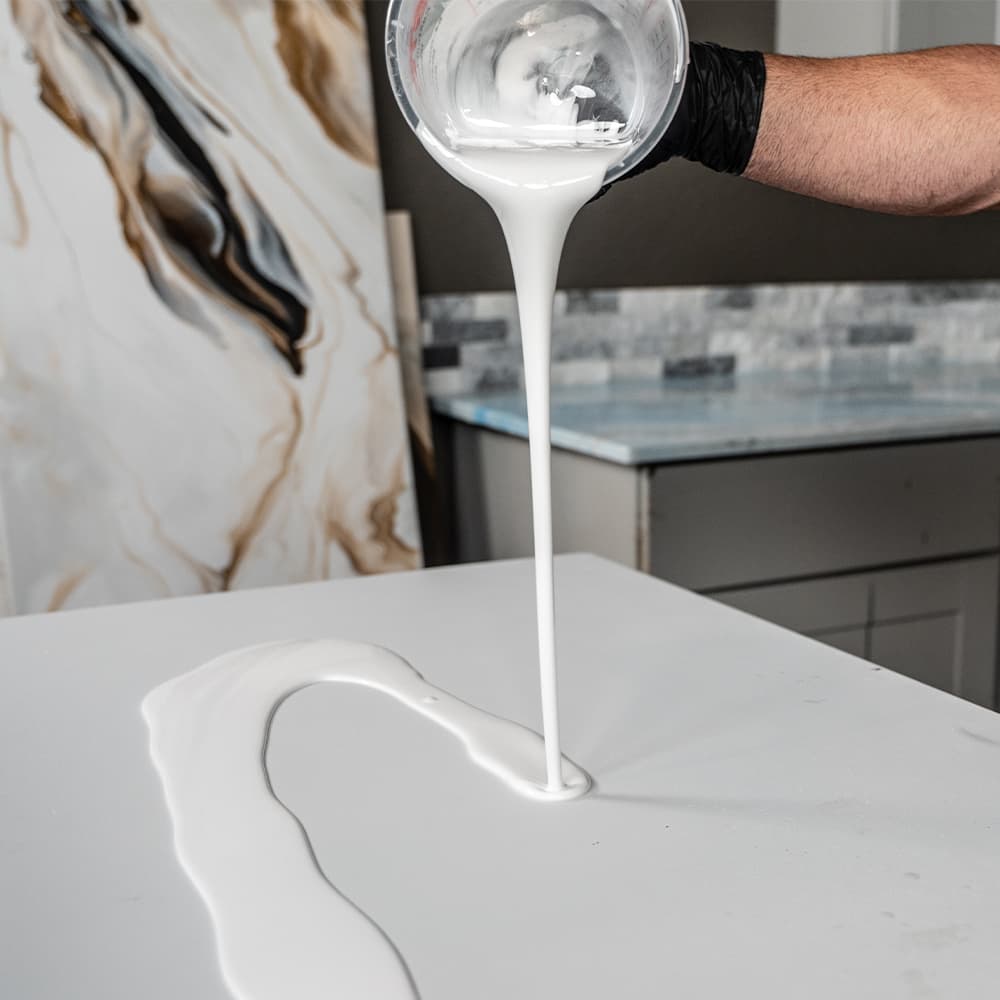
  • Pour 75% of the white tinted material onto your project. 
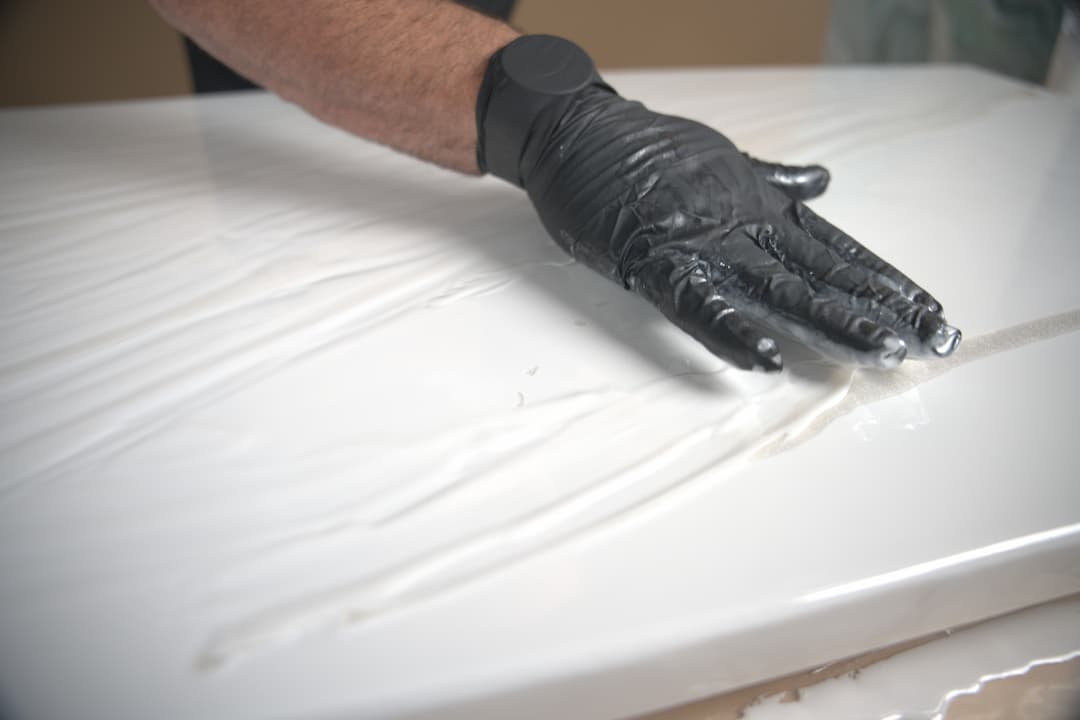
  • Evenly spread the material over the surface with gloved hands or other countertop coating tools you may use, like a putty spreader, a silicone-tipped trowel, etc.
  • Meld the material to the desired look, then mist the surface with APEX Surface Control Finishing Spray to remove microbubbles.
  • You can maintain larger areas of either white metallic or white dye, based on your preference. 
  • The more you meld the colors, the more they blend into a single hue.

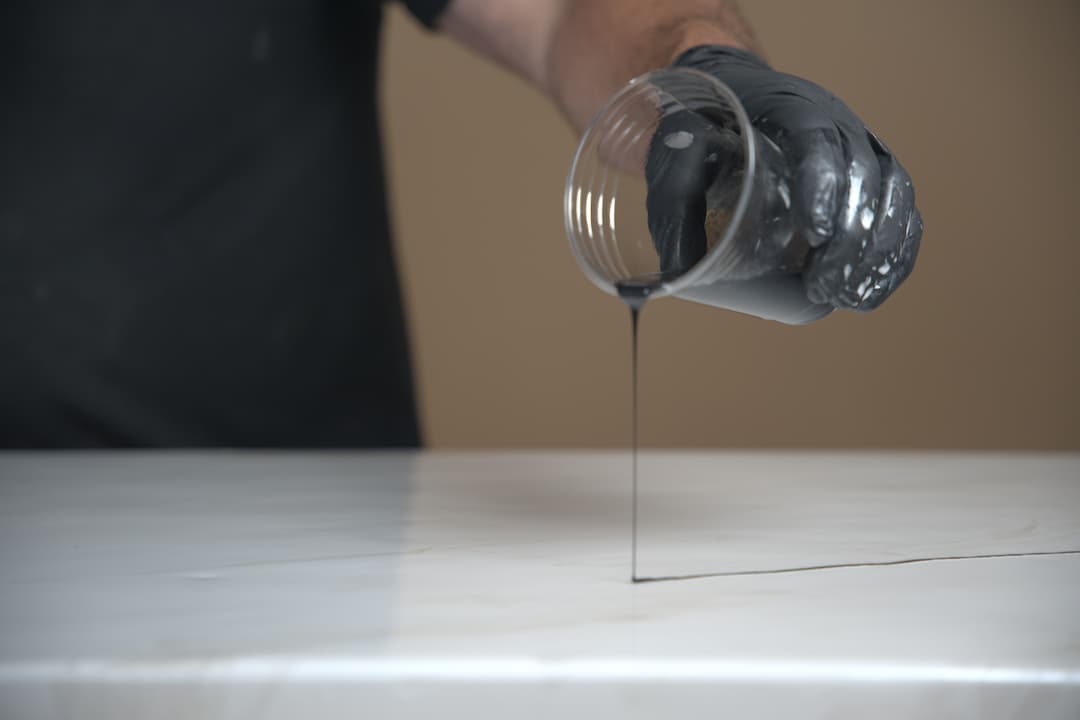
Add in Black Metallic Accent Material: 

  • Use Sparingly: A little black metallic goes a long way. Add small, organic drizzles of black metallic or gray-tinted accent.
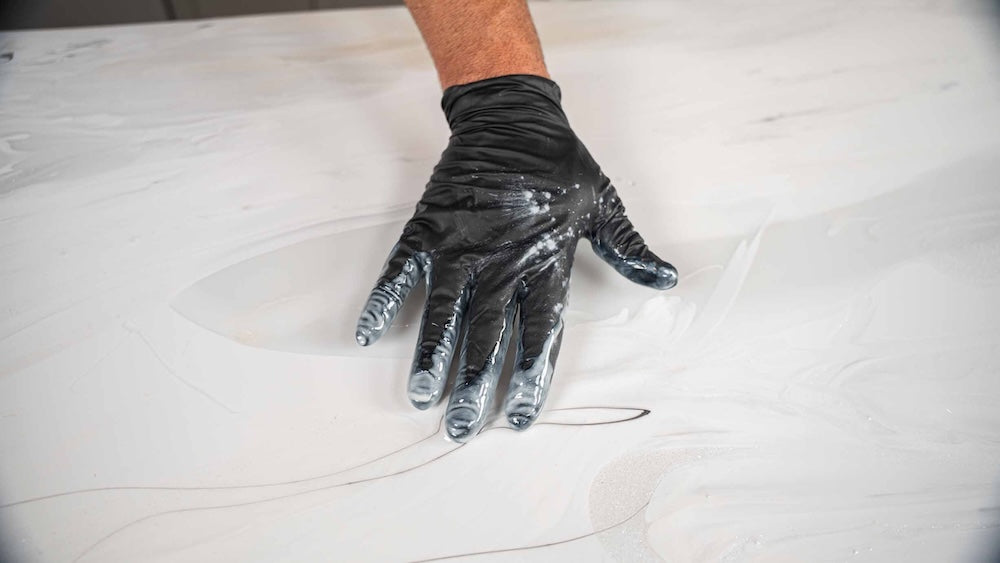
  • Meld with White Material: Feather into the white with gloved fingers, a spreader, trowel, or popsicle stick.
  • Create Subtle Marbling: Run your fingertips through the black vein and then swipe them across the white base material to add subtle black marbling. Break up harsh lines and rescue aggressive dark sections by pouring extra white material. Continue this technique until you achieve the desired look. 
  • Adjust if too dark: If areas become too dark, use some of the leftover white dye or white metallic material as an eraser. Pour ribbons of the white material over the dark spots and lightly meld them with your gloved hands to lighten the area. 
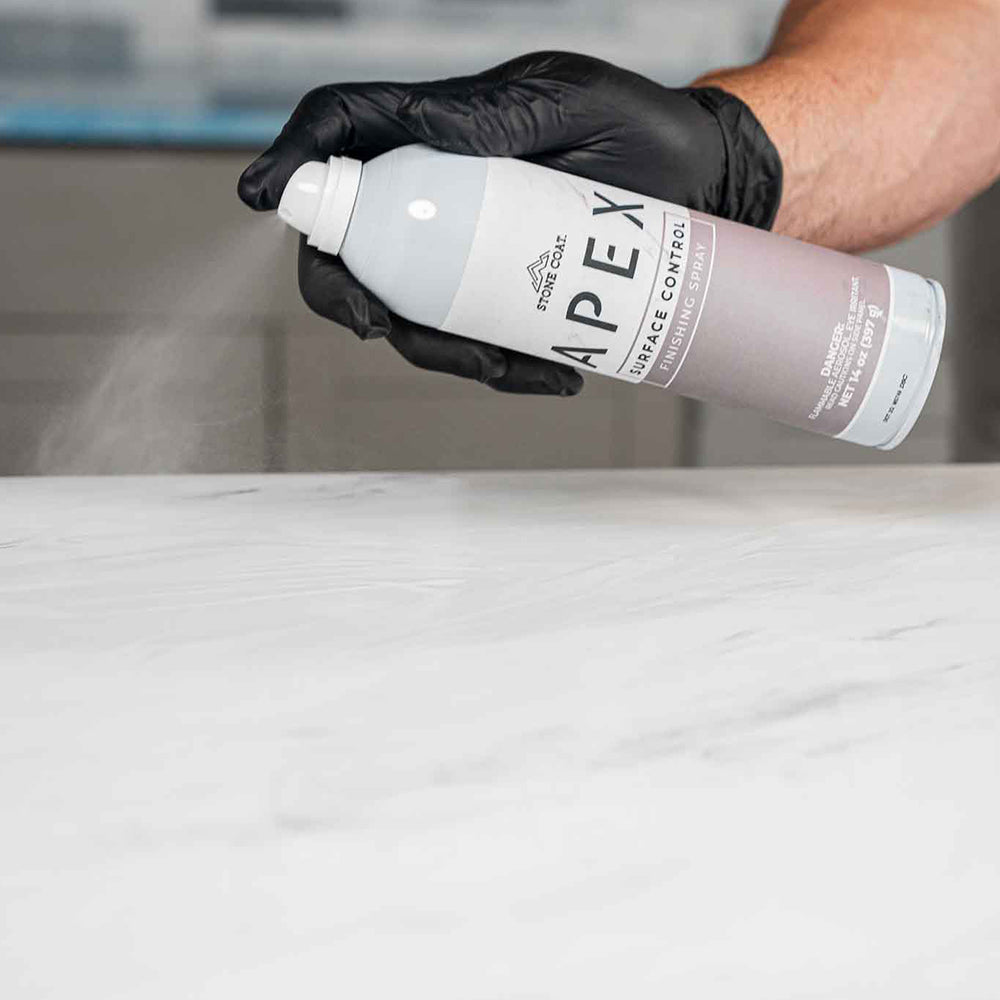
  • After melding the accent color, mist the surface with APEX Surface Control Finishing Spray. Read on for more details.

Using APEX Surface Control Finishing Spray, NO TORCH

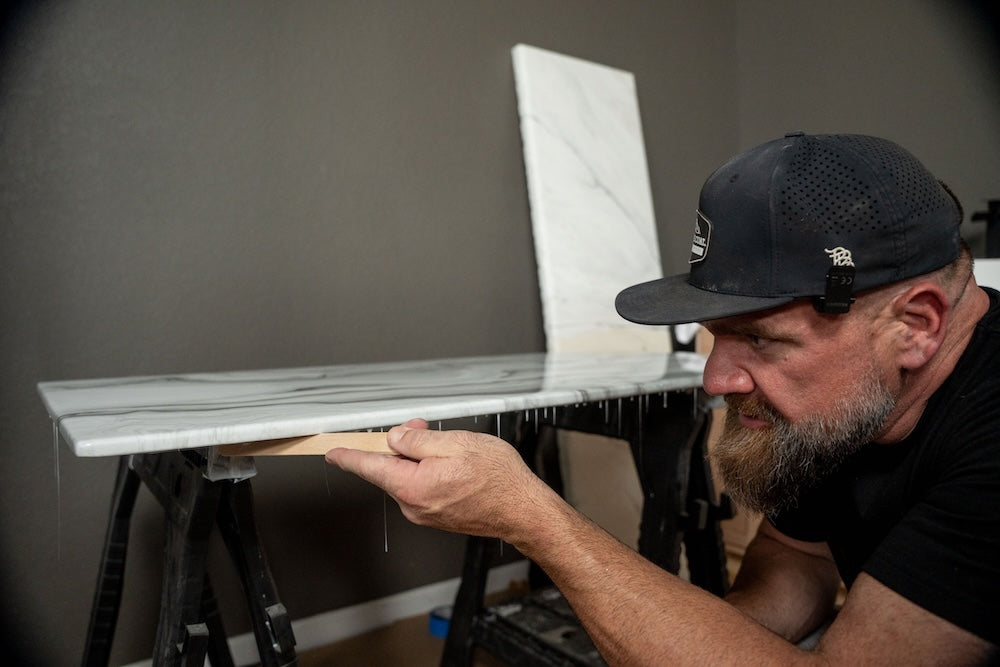
  •  Once colors are applied, the surface is covered, and you’re happy with the look and design of the project, continue to lightly mist APEX Surface Control Finishing Spray while the surface is still wet/workable.
  • The final light spray target should be 30 minutes from the initial mix. When the finishing spray just sits on top of the surface without popping microbubbles, time is up.
  • You can’t hurt the surface by applying too late. The spray will just cease to work.
  • The more you meld the material, the more finishing spray will be needed.

Scrape Drips and Let APEX Cure Before Sanding or Applying an Optional Top Coat

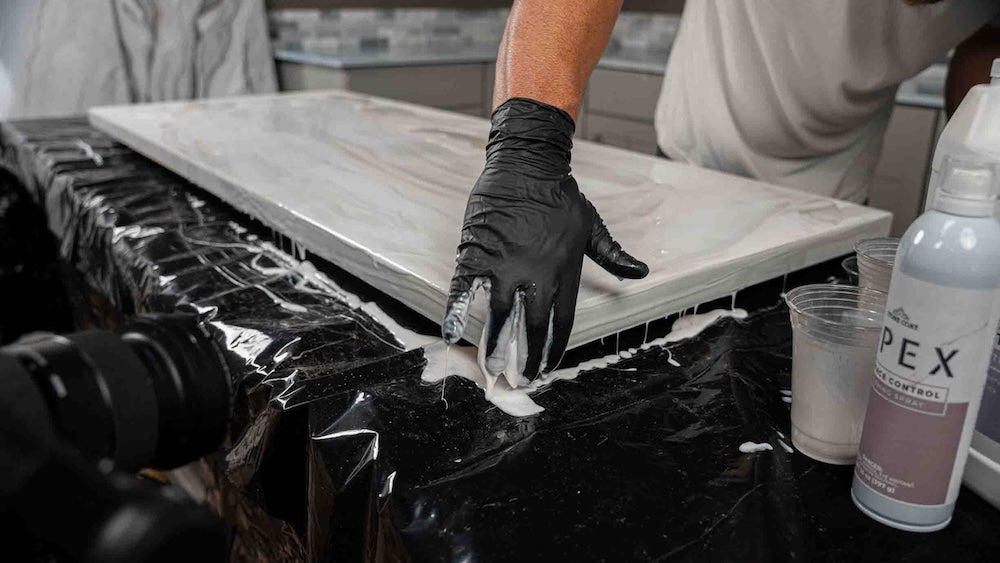
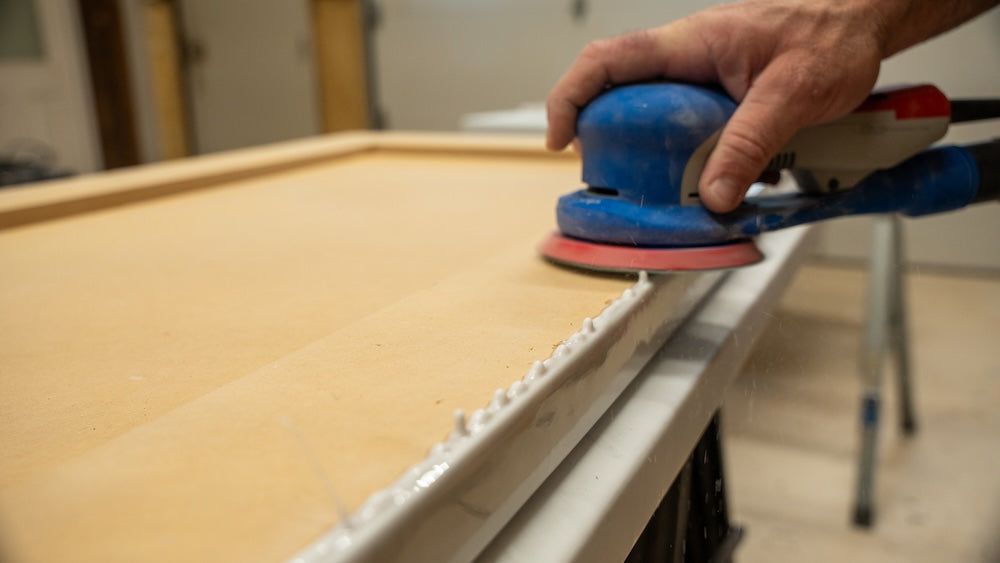
  • Scrape drips around 90–120 minutes from the initial mix.
  • Allow APEX to cure 20–24 hours before sanding and applying Ultimate Top Coat for the most durable, long-lasting finish.
  • APEX can be left with a glossy finish if you are satisfied with the cured surface and have removed all microbubbles using APEX Surface Control Finishing Spray.

STEP 3 (OPTIONAL): APPLY STONE COAT ULTIMATE TOP COAT

If using Ultimate Top Coat, sand the surface and edges before the top coat.

o   220 grit before Textured Matte UTC

o   320 grit before Textured Gloss UTC

  • Apply Ultimate Top Coat according to Stone Coat instructions if you want a more durable, protective finish for high-use surfaces.
  • Start with 120 grit if microbubbles need to be removed before applying the UTC. 
  • APEX looks very elegant as a honed surface and performs great in a bathroom or kitchen, sanded up to 800-1000 grit. 
  • Use 7 days as the full cure baseline and follow Stone Coat care guidance.

For high-detailed written instructions, see our Ultimate Top Coat Instructions HERE.

Enjoy your new countertops!   

From all of us here at Stone Coat Countertops,   

YOU GOT THIS!
youtube Cargar vídeo:

WHAT SURFACE ARE YOU POURING ONTO?

Follow the tutorial below that applies to your project:

carrara marble epoxy countertop

HOW TO POUR OVER MDF

Learn more

HOW TO POUR OVER TILE

Learn more
marble epoxy over laminate countertops

HOW TO POUR OVER LAMINATE

Learn more