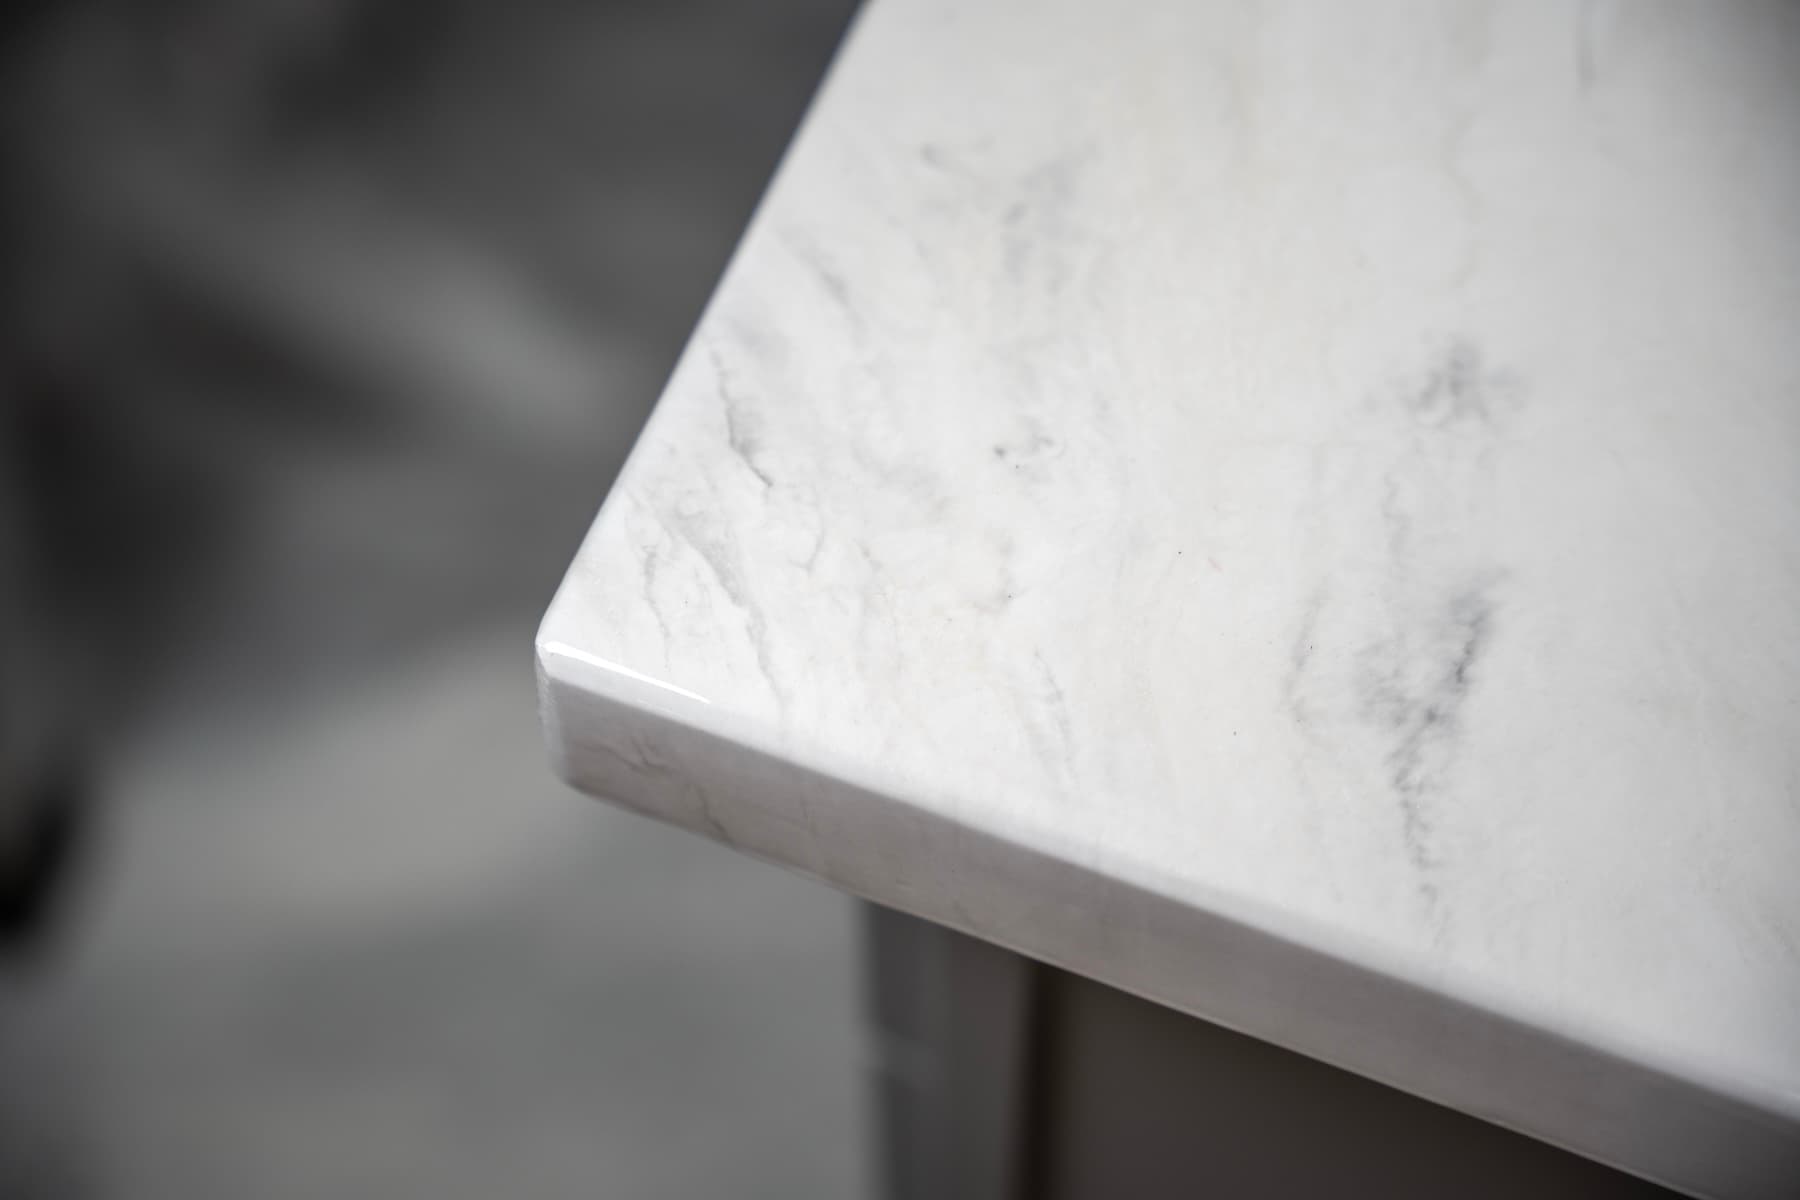

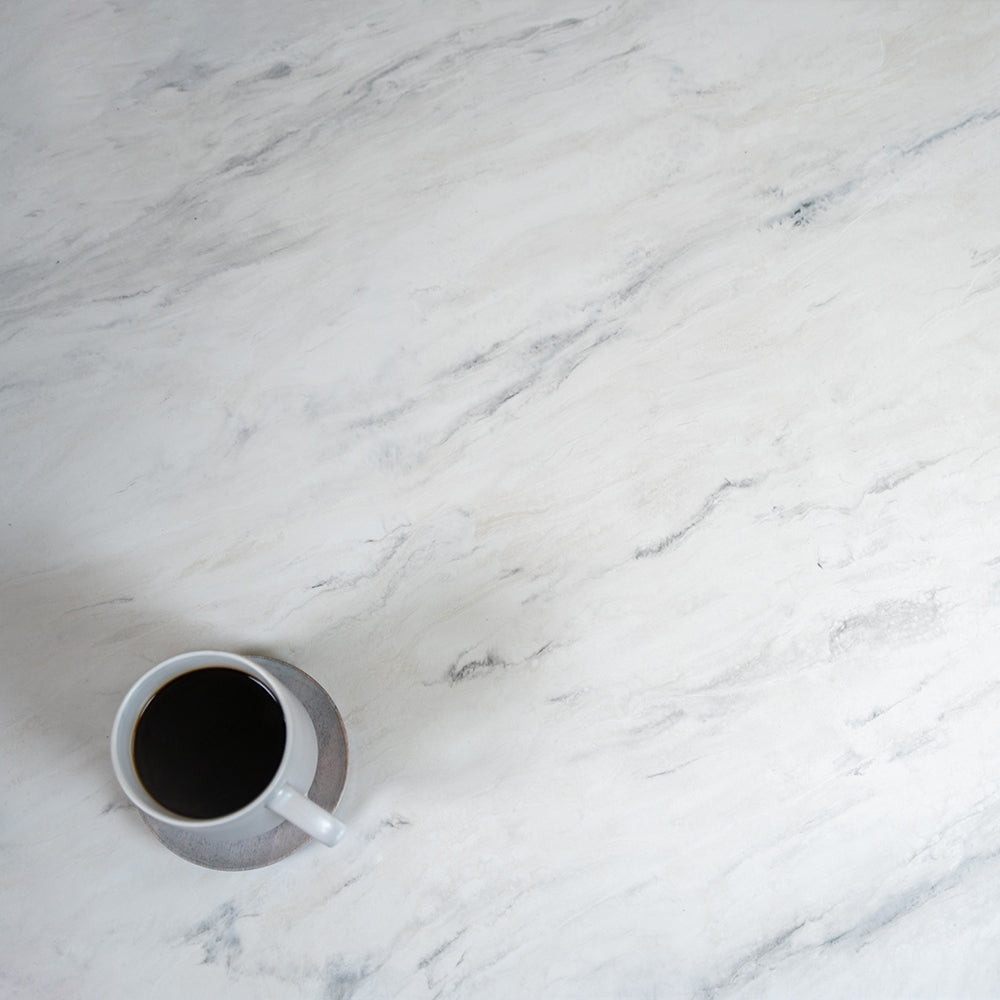
Create a timeless, elegant look for your countertops with Stone Coat Countertops! This step-by-step guide will show you how to replicate the classic beauty of Carrara marble using epoxy. By following our detailed instructions, you’ll learn the hand-meld technique for blending colors and creating realistic veining, along with tips for celling and lacing effects that add depth and dimension. Ready to transform your countertops with a sophisticated marble finish? Follow along with our tutorial and video below.
Before you start:
Whether you’re pouring epoxy over an existing countertop—like tile or laminate—or fabricating a new surface from MDF, each approach has unique preparation steps to ensure maximum adhesion. For detailed instructions, check out our specific tutorials. This recipe begins with your surface fully prepped and ready for a stunning epoxy transformation.
Sand and smooth any bumps or rough areas, then clean thoroughly to remove all dust and debris. For new MDF countertops, place them on a level surface and apply two coats of Stone Coat Countertops White Epoxy Undercoat. Allow the second coat to dry for at least 4 hours. This specially formulated, ammonia-free undercoat bonds perfectly with our Countertop Epoxies and substrate materials for the best results (other products may not achieve the same effect). Once the undercoat is dry, lightly sand with 220-grit if needed and clean off any remaining dust.

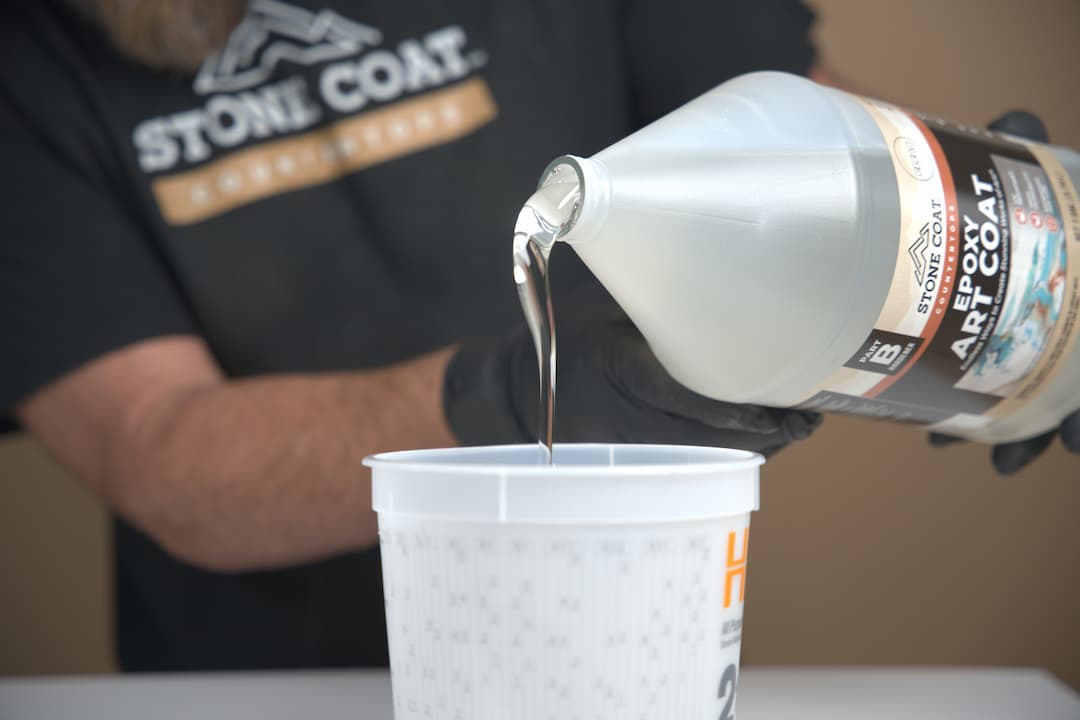
Prepare the Epoxy:
Separate for Tinting:
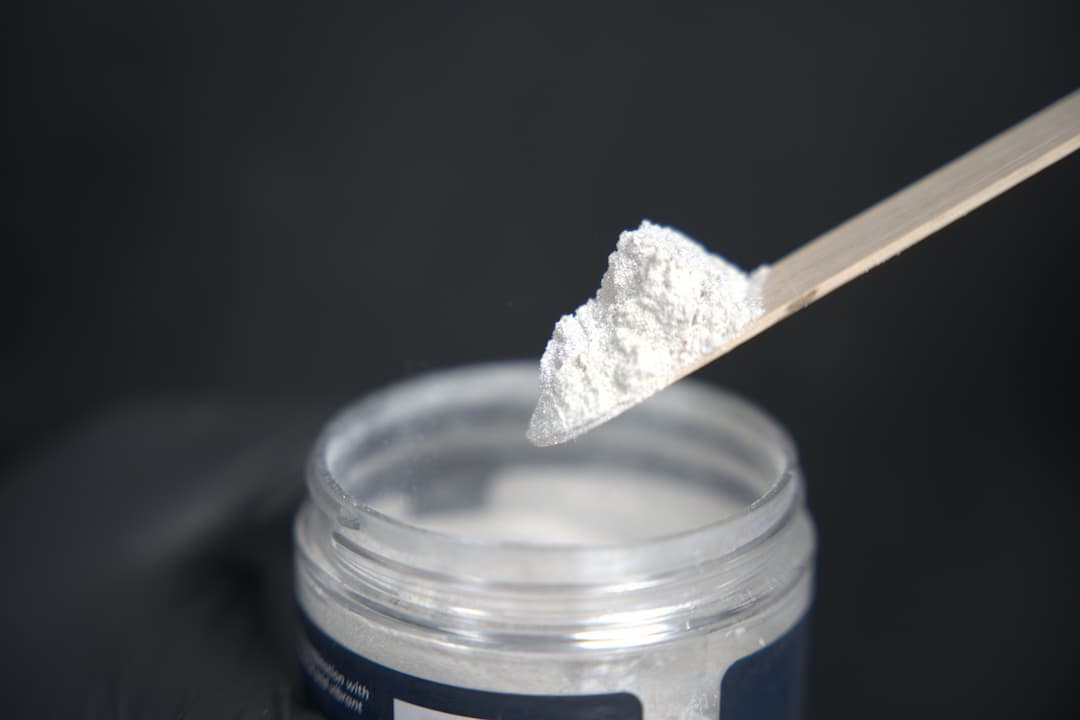
Add Metallic Pigment Powder:
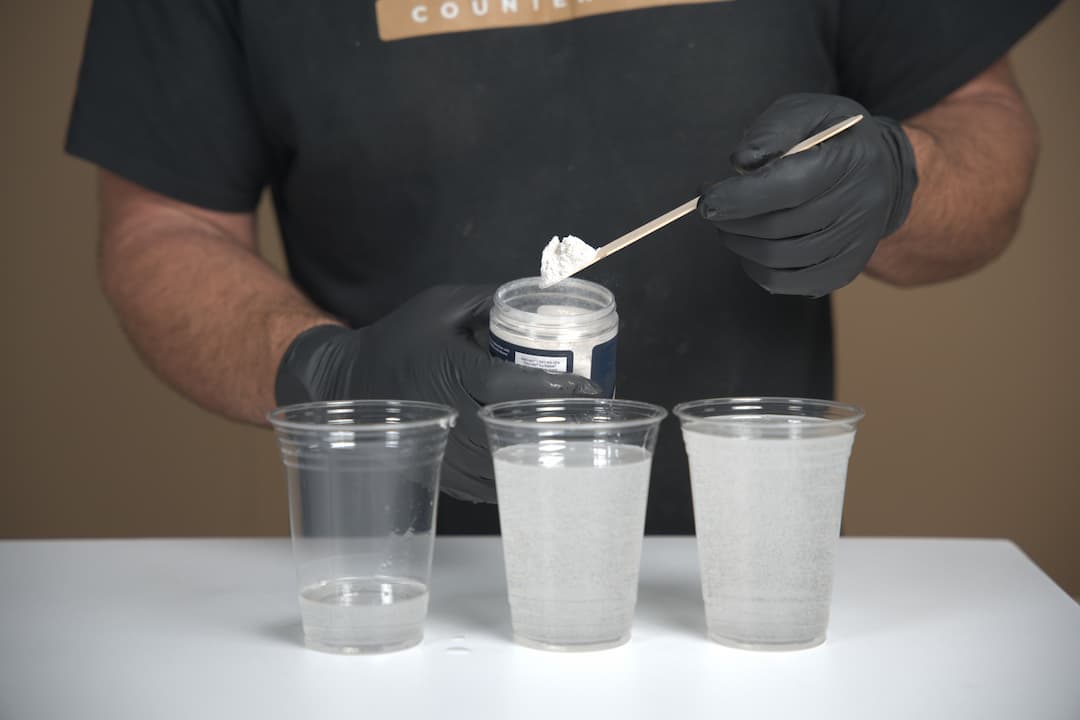
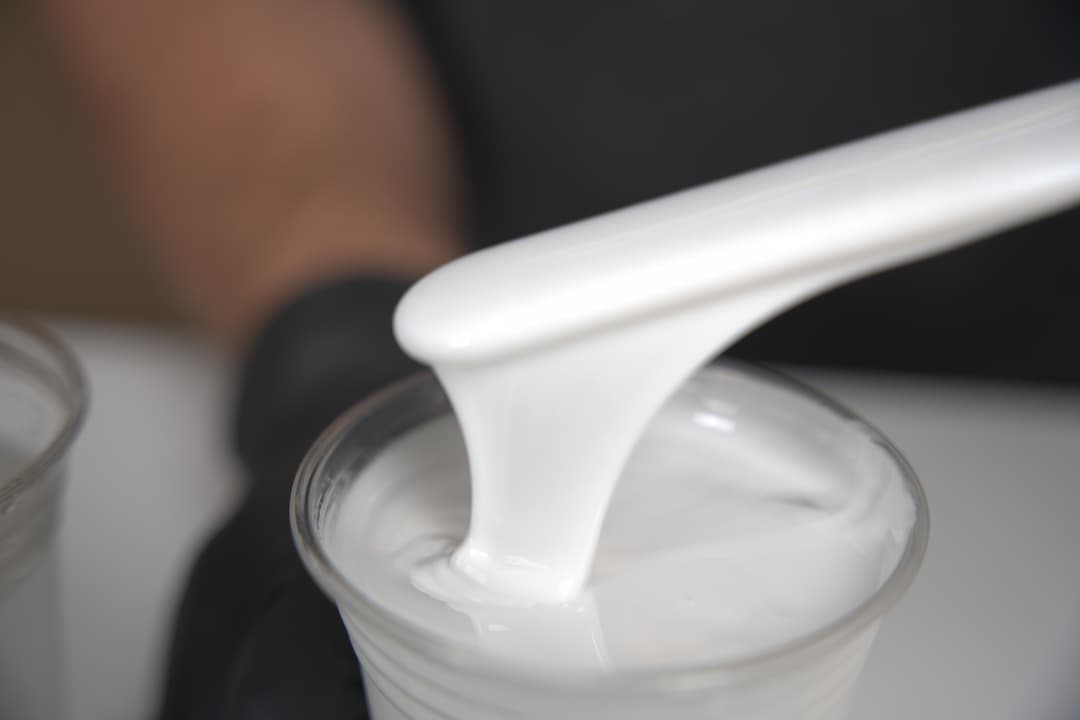
Create Opaque Resin Dye Colors:
Test the Mixture:
Proper Color Ratio for Carrara Marble:
Example Mixture for 48 Ounces of Epoxy:
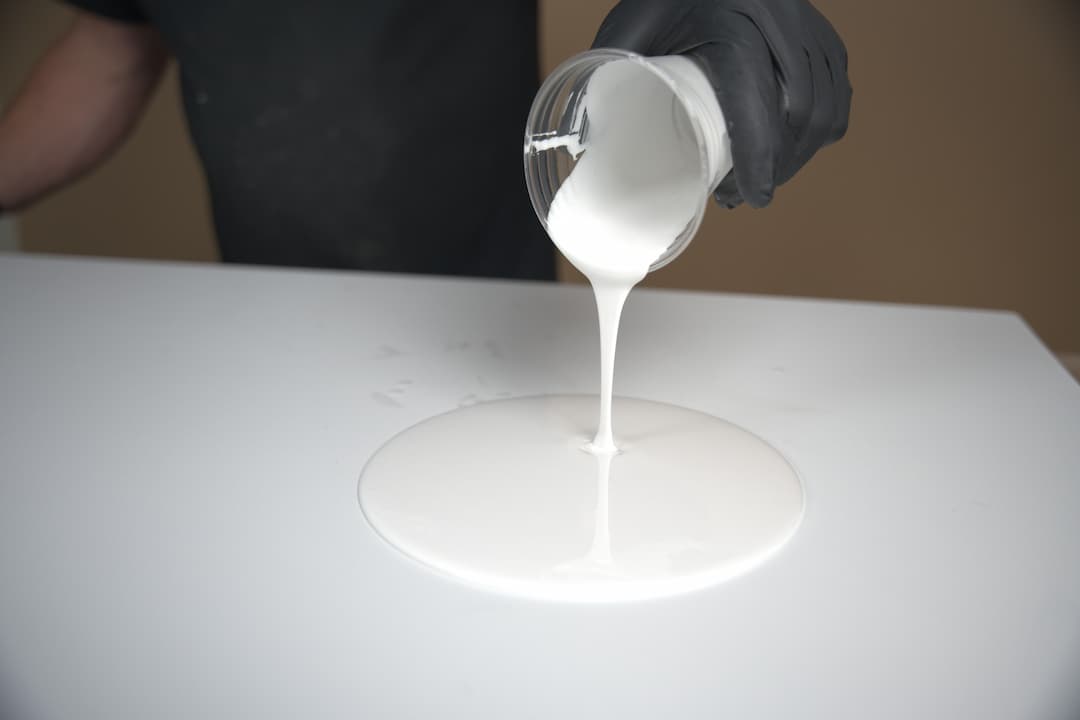
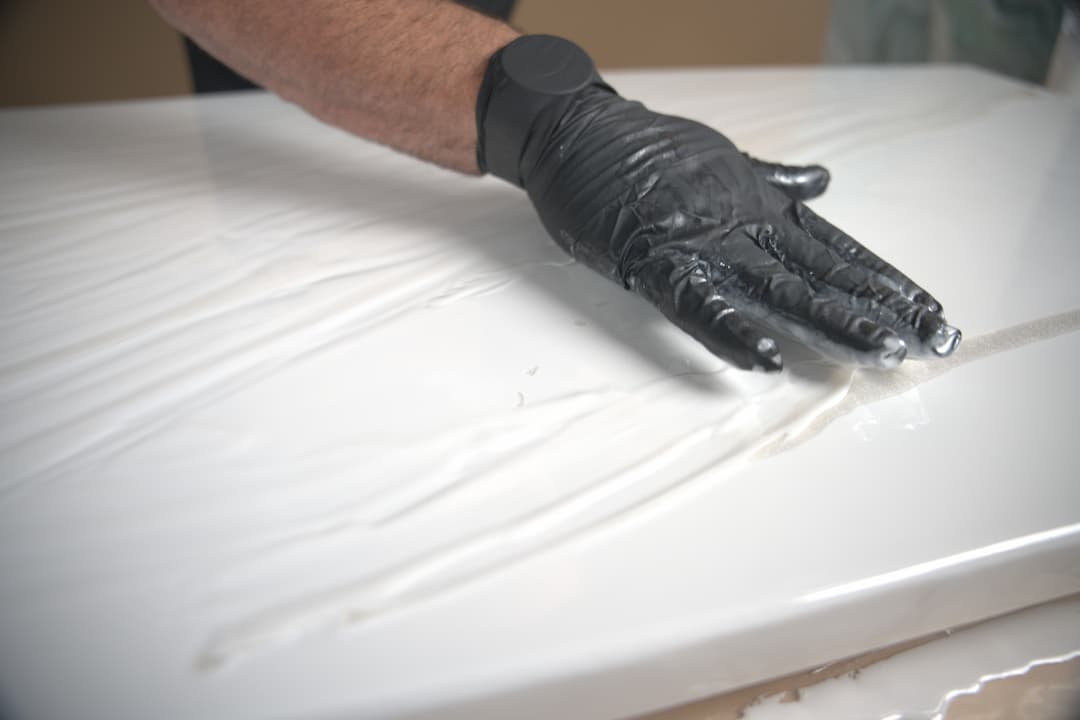
Applying the Base Layer of White Epoxy:
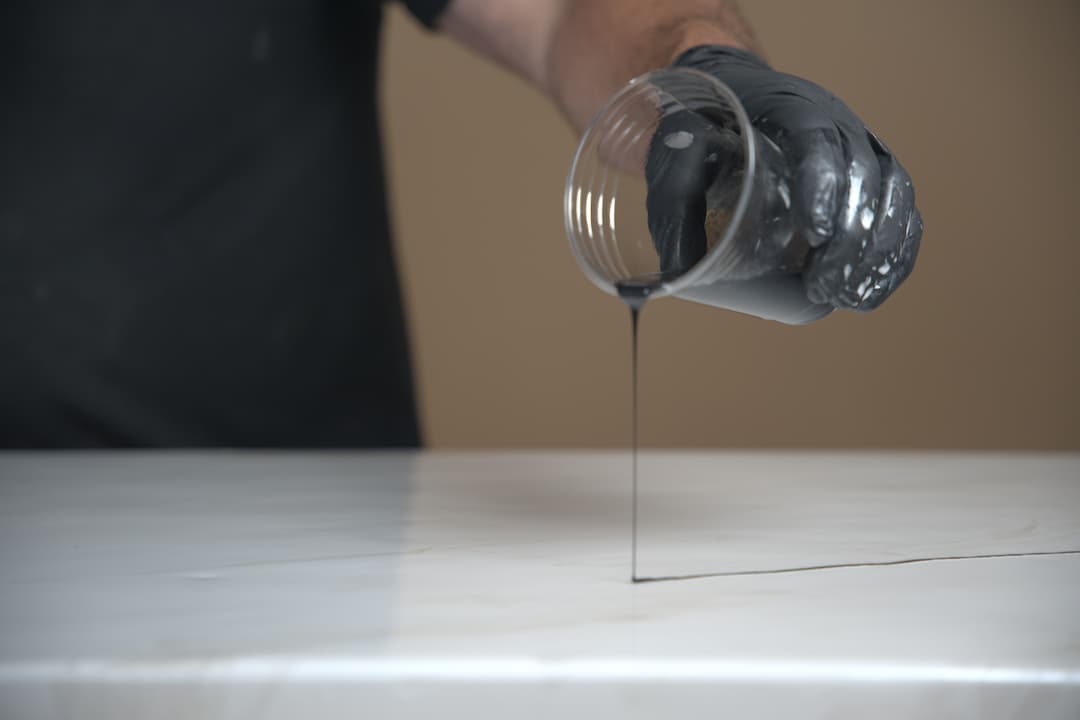
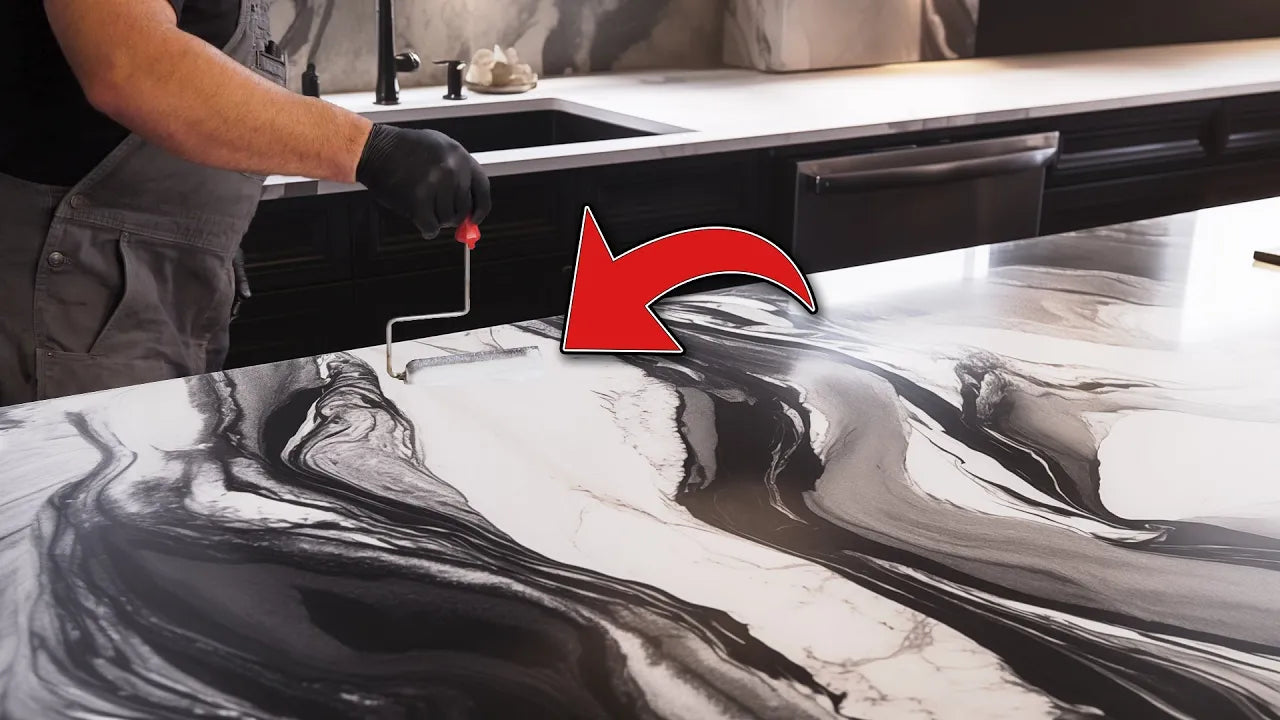
Add in Black Metallic Accent Epoxy:
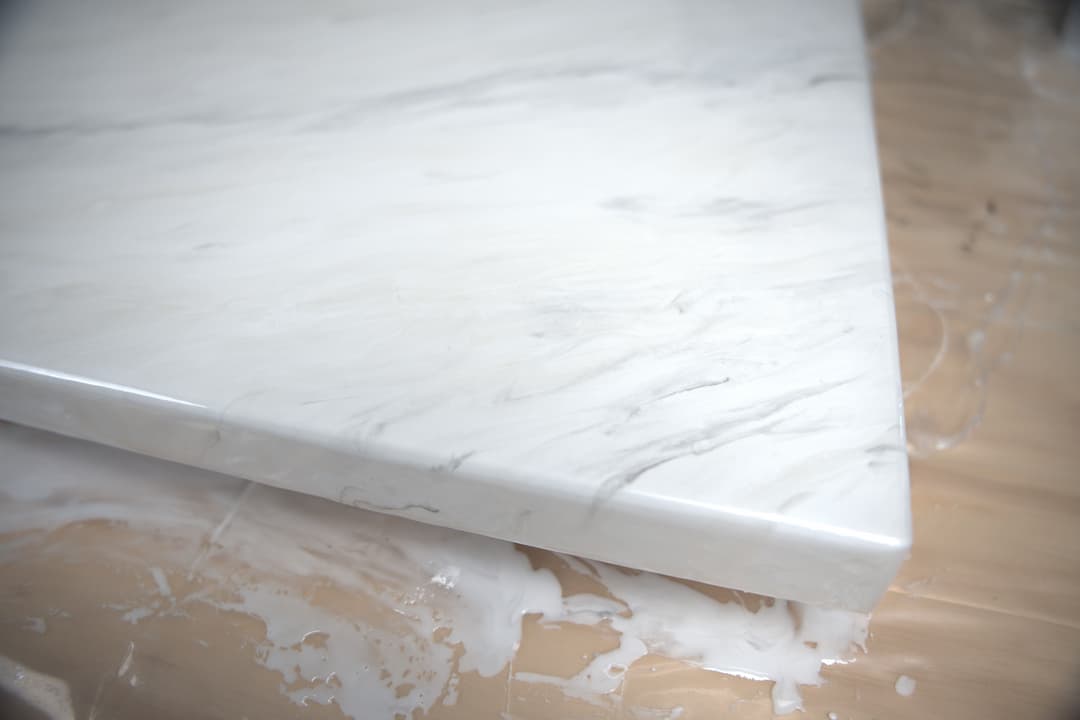
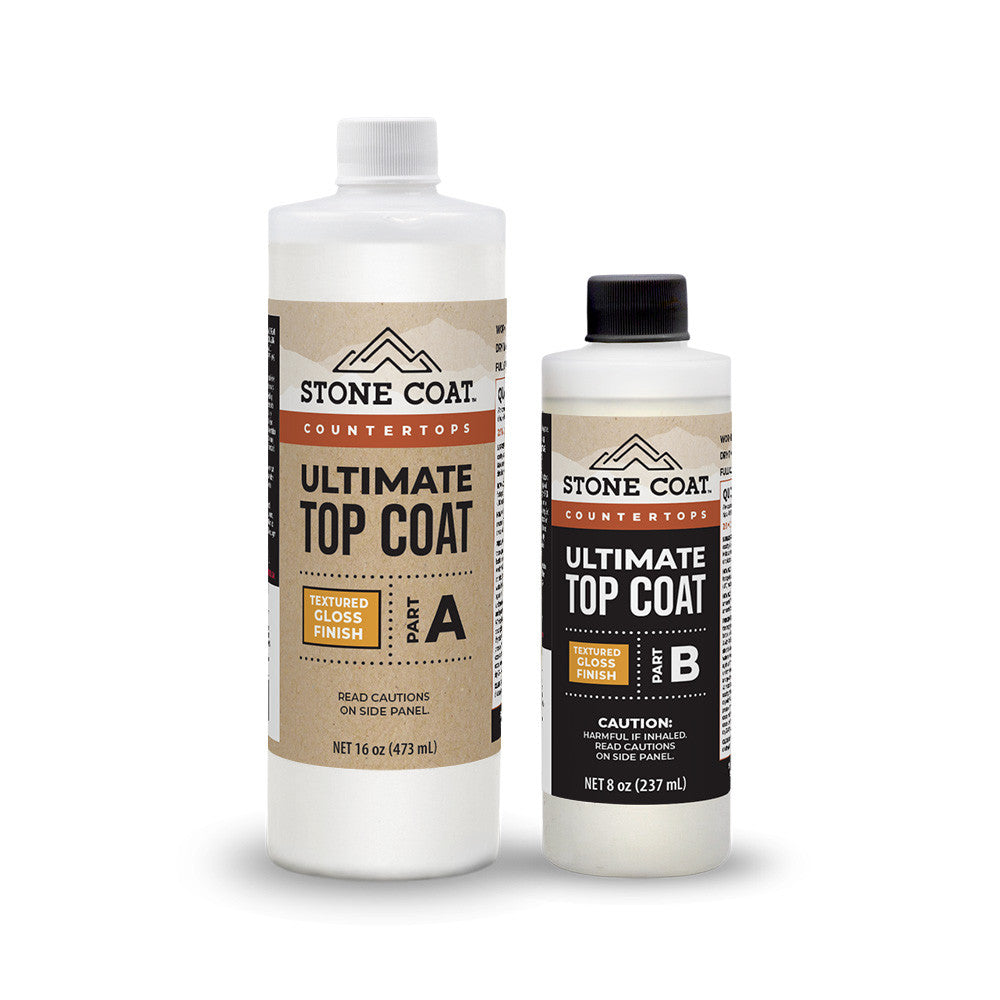
Seal and protect your design with a clear coat of Stone Coat Countertops Art Coat Epoxy. When using the Carrara Marble Kit, you will have enough leftover epoxy for the clear coat at 3 oz per square foot.
Mix Clear Epoxy: Follow the instructions to mix the clear Stone Coat Art Coat Epoxy thoroughly using a drill with a paddle mixer.
Pour the Epoxy: Pour the mixed epoxy into the center of your countertop in a large ribbon.
Evenly Spread the Epoxy & Remove Air Bubbles:
For maximum durability, we recommend coming back overtop the clear coat of epoxy once cured with a scratch-resistant protective layer of our Ultimate Top Coat. The Ultimate Top Coat will need to be purchased separately to achieve our highest performing finish.
For high-detailed written instructions, see our Ultimate Top Coat Instructions HERE.
Enjoy your new countertops!
From all of us here at Stone Coat Countertops,
You Got This!
Follow the tutorial below that applies to your project: