

The Right Way to Mix Epoxy Resin: A Beginner’s Guide
Knowing how to mix two-part epoxy correctly is the foundation of every successful epoxy project. Whether you’re coating countertops, pouring a river table, or working on your first DIY epoxy project, improper mixing can cause epoxy that stays sticky, cures unevenly, or fails altogether.
This guide explains exactly how to mix 2-part epoxy the right way so you get a consistent cure and a professional finish every time.
What Is a Two-Part Epoxy?
A two-part epoxy consists of resin (Part A) and hardener (Part B). Stone Coat Countertops epoxies are either a 1:1 or 2:1 mix ratio of resin to hardener.
Accurate measuring is critical. Even small ratio errors can prevent epoxy from curing properly.
Our epoxies are designed to be mixed at a true 2:1 or 1:1 ratio by volume, making them reliable and beginner-friendly when mixed correctly.
What Tools and Equipment Do I Need to Mix Epoxy?
You don’t need a lot of tools to mix epoxy, but using the right ones makes a big difference in getting a clean, consistent mix.
Essential tools:
-
Clear mixing buckets with measurement lines – critical for accurate ratios
-
Drill + paddle mixer – best for larger batches and countertop projects
-
Paint sticks or mixing sticks – used for scraping sides and bottom
Optional (but highly recommended for small batches):
-
Second clean bucket (“double bucket” method) – helps eliminate unmixed epoxy
Safety & PPE:
-
Nitrile or latex gloves – protect your hands and help with handling epoxy
-
Safety glasses – prevent splashes during mixing
-
Respirator or mask (if indoors) – recommended when working in low ventilation
-
Long sleeves – reduce skin contact
Bubble removal (after pouring):
- Propane torch or heat gun – used to release air bubbles once epoxy is applied
How to Mix 2:1 and 1:1 Epoxy Correctly
Step 1: Measure Your Epoxy Correctly
Use a clear mixing bucket with measurement lines.
Pour Part B first
Fill your bucket to the desired measurement mark (for example, up to the “3” line).
Add Part A
For 1:1 epoxy, pour Part A until the total volume reaches double the original amount (matching the same measurement) for an exact 1:1 ratio. For 2:1 epoxy, pour Part A until the total volume reaches triple the original amount for an exact 2:1 ratio.

Step 2: Mix for a Minimum of 2 minutes (until there are no visible striations)
There are two suggested ways to mix epoxy:
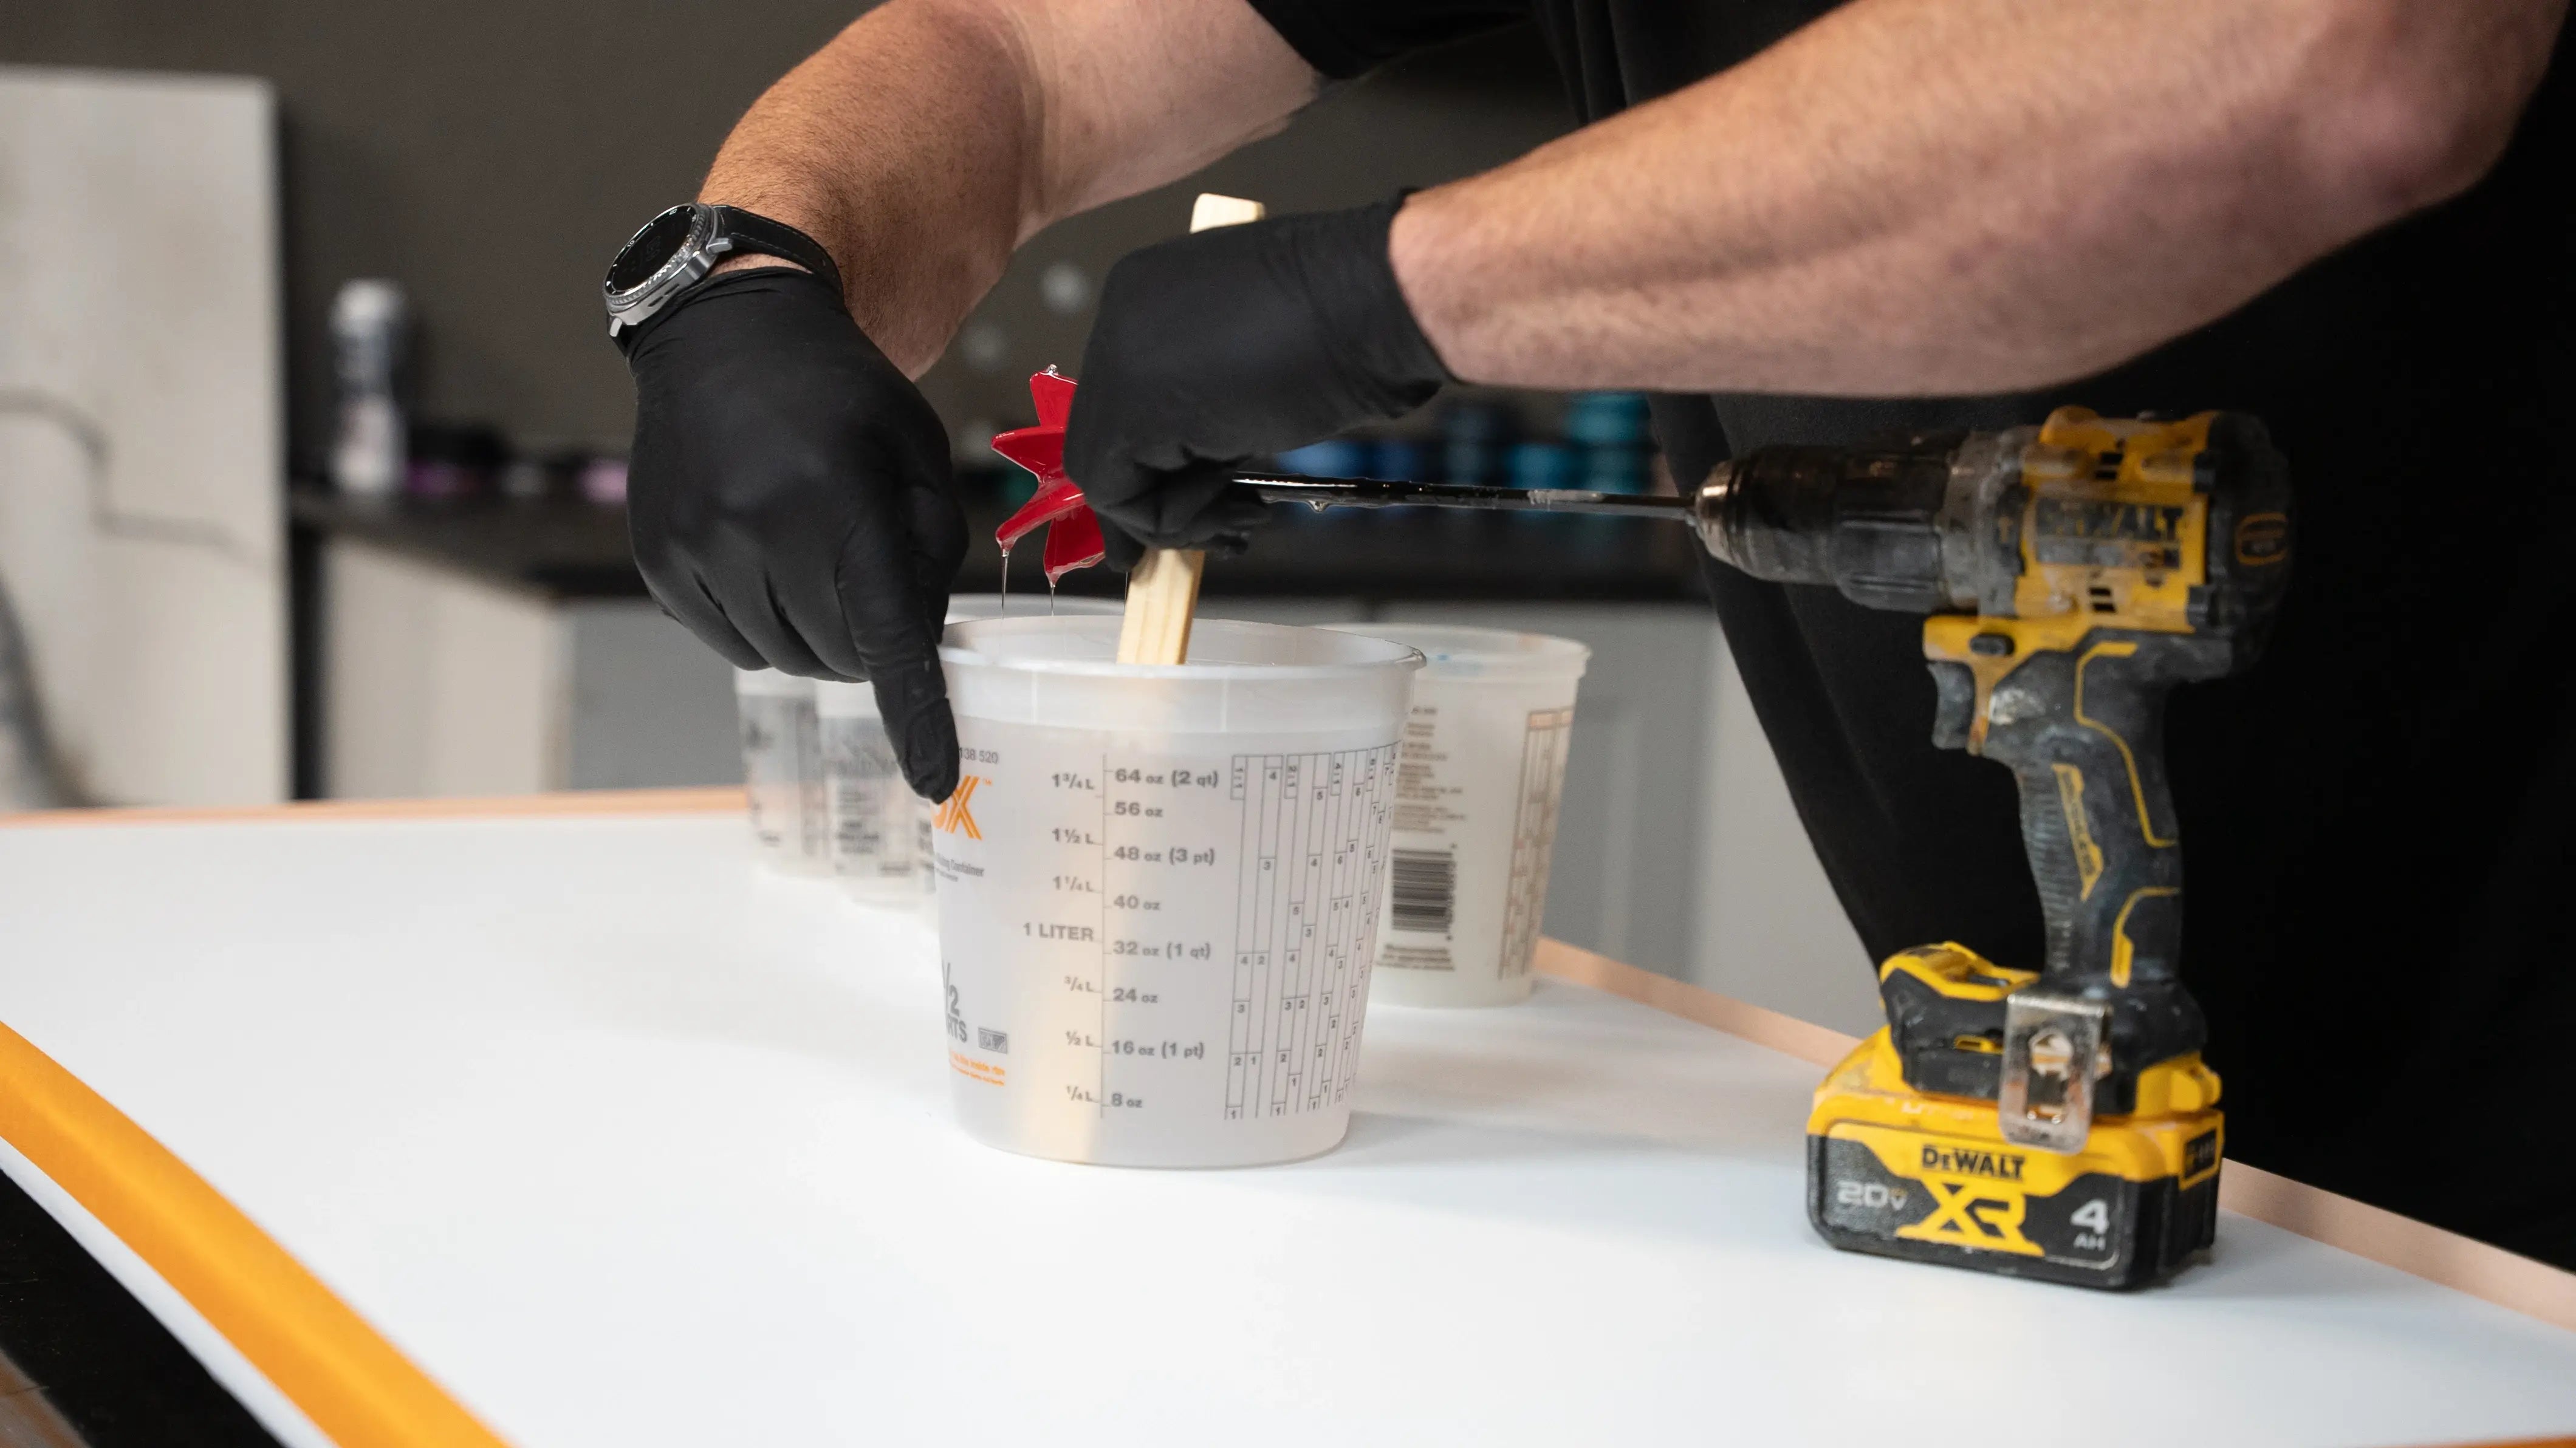
Option 1: Drill & Paddle Mixer (Recommended for Large Pours)
- Attach a paddle mixer to a drill
- Hold the bucket firmly
- Insert the paddle, plunge down, then slightly lift
Mix continuously for a minimum of 2 minutes, until there are no visible striations.


Option 2: Paint Stick (Recommended for Small Batches)
- Stir slowly but thoroughly.
- Focus on scraping the sides and bottom of the cup as you mix.
- Optional: Pour mixed epoxy into a clean mixing cup. Grab a paint stick and mix for another 1 - 2 minutes in the 2nd mixing cup.

Both methods work as long as you mix correctly.
Don't forget the bottom and sides! Whether you use the 2-cup method or not, mix for another 1 - 2 minutes after all epoxy has been scraped from the sides and bottom.
Unmixed epoxy clinging to the sides or bottom can lead to:
- Soft spots
- Sticky areas
- Incomplete curing
👉 Pro Tip: This habit alone will dramatically improve your epoxy results.
Step 3: Final Mix
When the inital mix is complete (with sides and bottom thoroughly scraped and incorporated), mix for another 1 - 2 minutes.
This final mix ensures the resin and hardener are fully blended and chemically ready to cure. There should be no visible swirls in the product.
At this point, your two-part epoxy is properly mixed and ready to pour!

Working Time & Batch Size (Important for Large Projects)
The working time varies depending on the epoxy. When mixing large volumes of any epoxy, keep these factors in mind when you plan your pour:
- Epoxy generates heat (exothermic reaction)
- Larger batches will heat up faster and reduce working time
- Do not leave epoxy sitting in the mixing bucket
Best Practices:
- Pour epoxy out immediately after mixing.
- For very large projects, mix multiple smaller batches instead of one large batch to maintain control and working time.
Why Proper Mixing Matters So Much
Starting with a good mix ensures:
- Full curing
- Maximum durability
- Smooth, glossy finishes
- Long-lasting countertop protection
Rushing or skipping steps can cost you hours or even force you to redo the entire project.
As we like to say at Stone Coat Countertops: Time well spent mixing saves time fixing later.
Bottom Line: Start Every Epoxy Project the Right Way
Learning how to mix 1:1 epoxy properly is the foundation of every successful epoxy project. When you measure accurately, mix thoroughly, and take the extra minute to scrape the bucket, you set yourself up for professional-quality results, even as a beginner.


