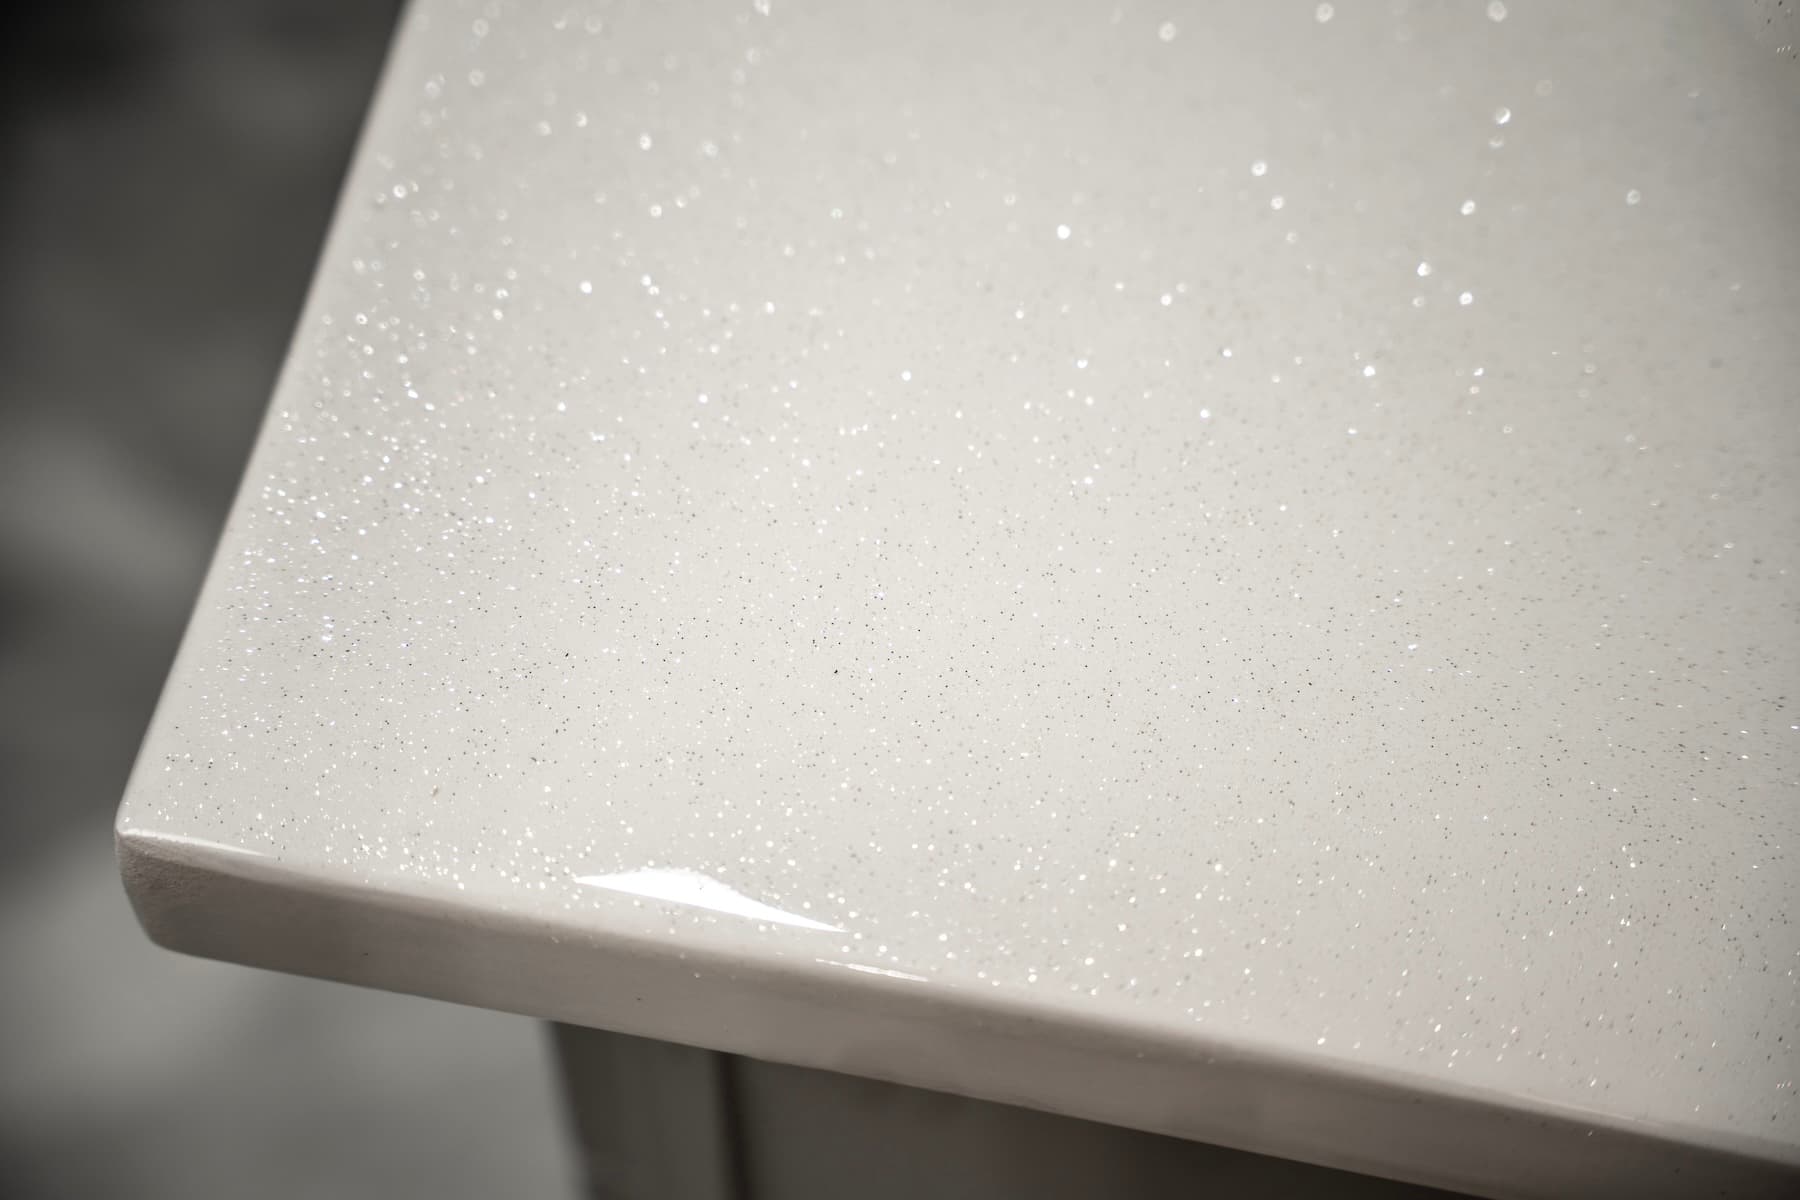

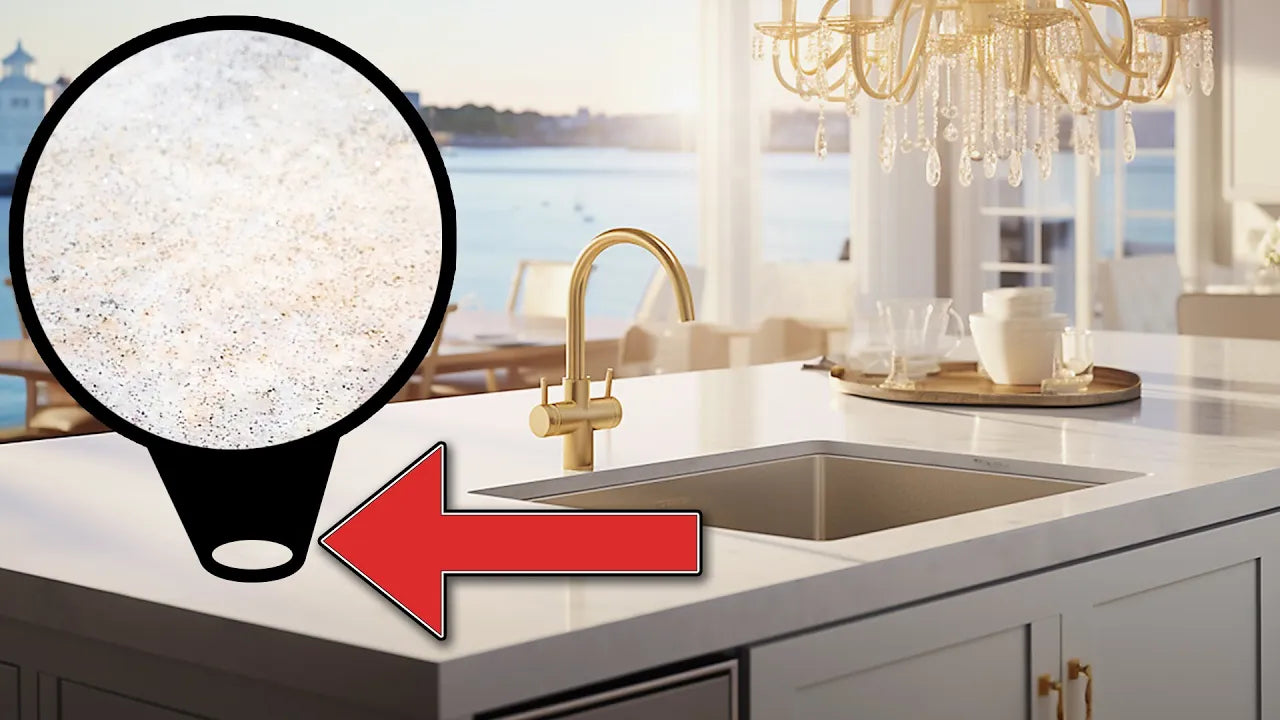
Transform your countertops into stunning works of art at a fraction of the cost! Our step-by-step tutorial will guide you through the entire process of applying a durable, high-gloss epoxy finish that mimics the look of natural white quartz. Whether you're refreshing an existing countertop or creating a new surface from scratch, this guide will help you achieve professional-grade results with ease. Follow along with our tutorial or video below to learn how to prepare, pour, spread, and cure your epoxy countertop for a luxurious and resilient finish that will bring a touch of elegance to any space. Let’s get started!
Before you start:
Whether you’re pouring epoxy over an existing countertop—like tile or laminate—or fabricating a new surface from MDF, each approach has unique preparation steps to ensure maximum adhesion. For detailed instructions, check out our specific tutorials. This recipe begins with your surface fully prepped and ready for a stunning epoxy transformation.
Sand and smooth any bumps or rough areas, then clean thoroughly to remove all dust and debris. For new MDF countertops, place them on a level surface and apply two coats of Stone Coat Countertop White Epoxy Undercoat. Allow the second coat to dry for at least 4 hours. This specially formulated, ammonia-free undercoat bonds perfectly with our Countertop Epoxies and substrate materials for the best results (other products may not achieve the same effect). Once the undercoat is dry, lightly sand with 220-grit if needed and clean off any remaining dust.

Mix Clear Epoxy: With the undercoat completely dry, mix a batch of Stone Coat Art Coat Epoxy (we recommend 3 ounces per square foot.) Follow the instructions to mix the clear epoxy thoroughly using a drill with a paddle mixer.
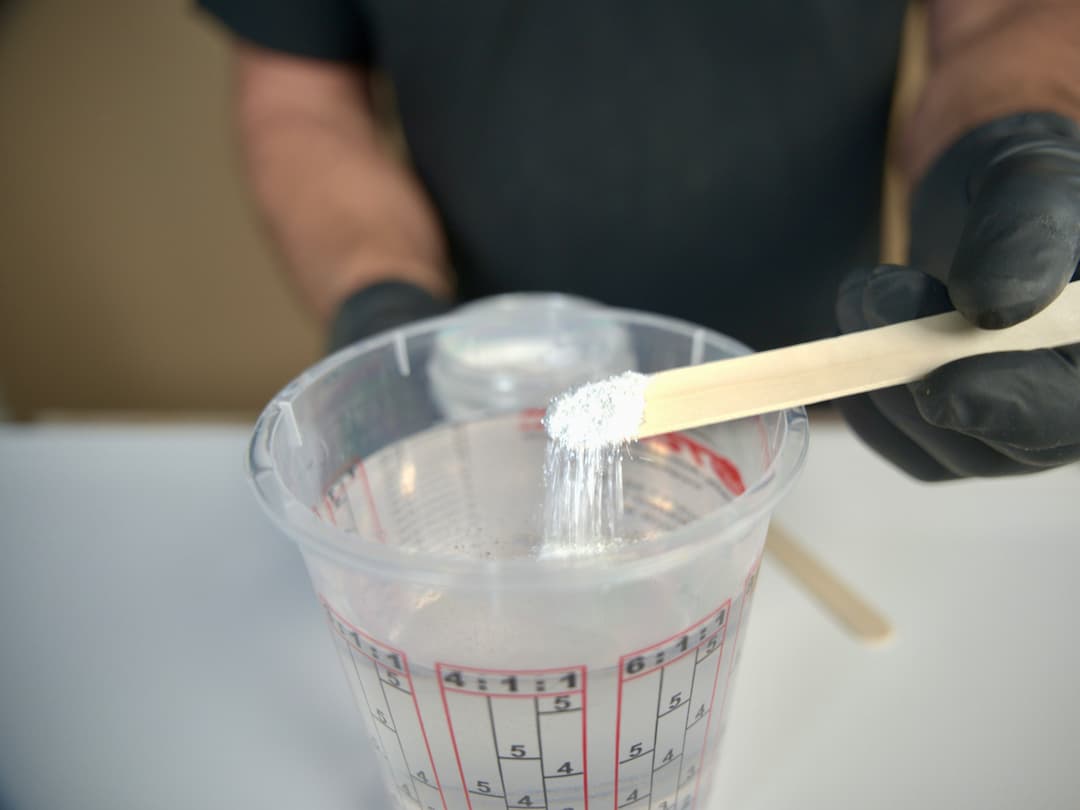
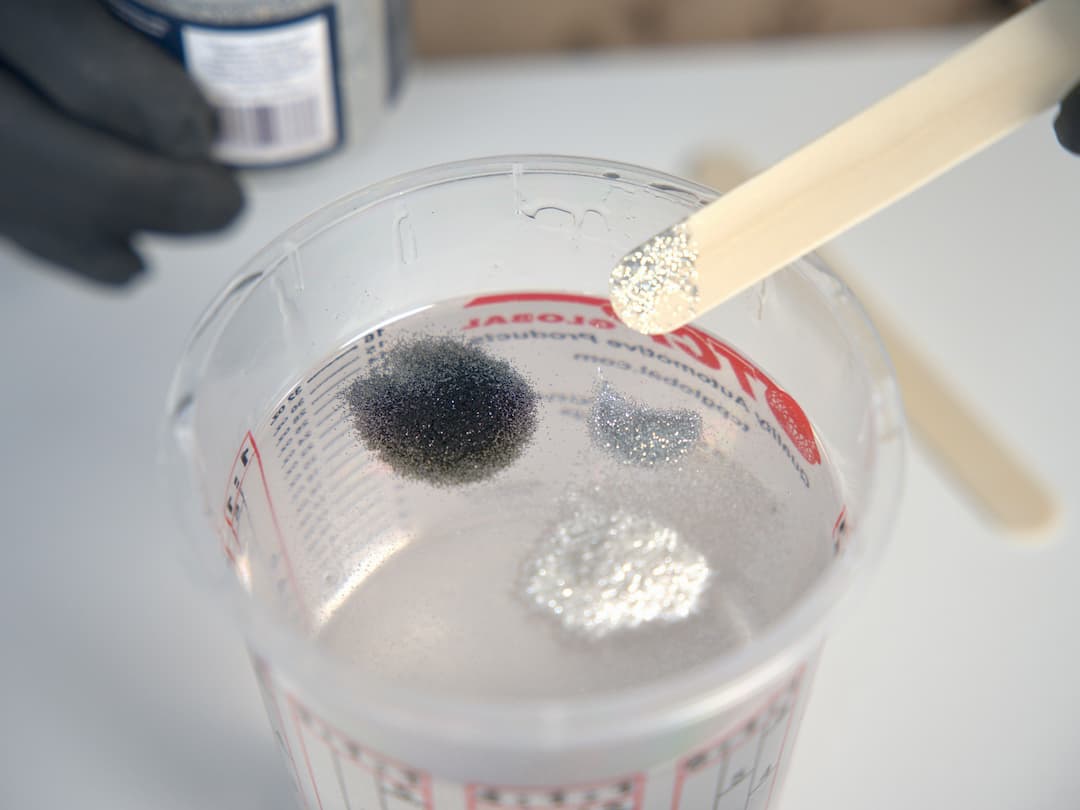
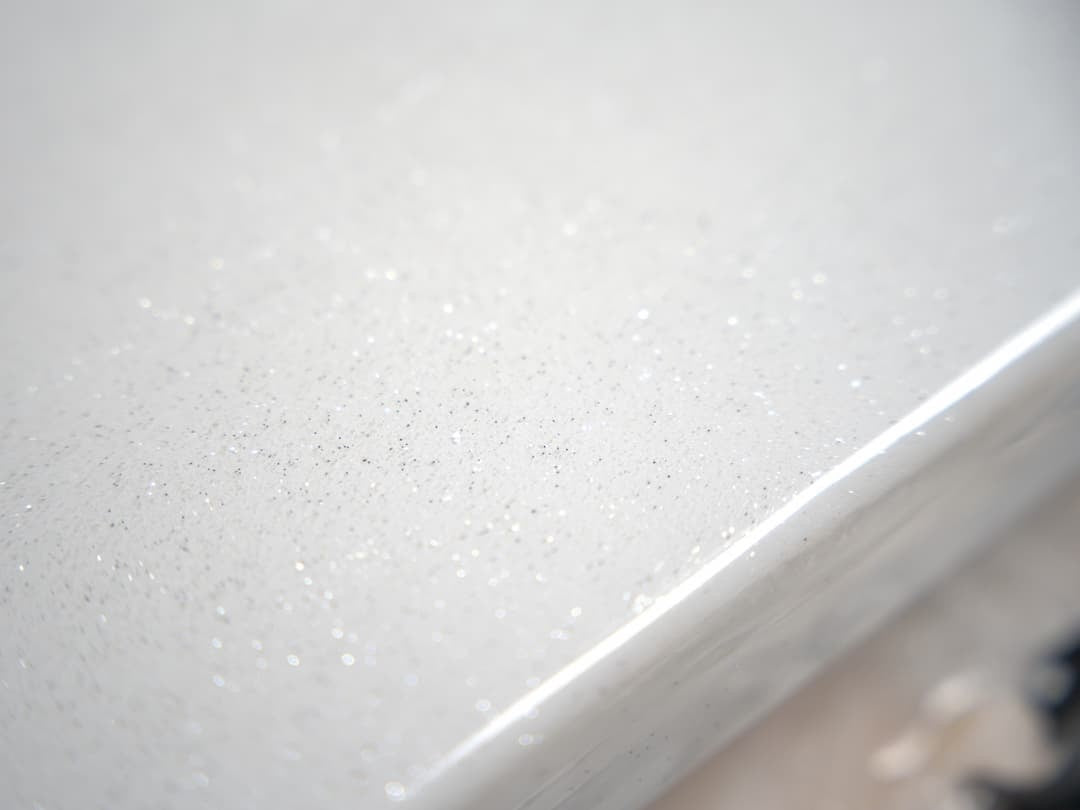
Add Glitters and Diamond Dust:
Pro Tip: After mixing in all the glitters, lift the mixing stick out of the bucket and hold it horizontally. As the epoxy levels to about 1/8", you'll see how the coating will look, helping you decide if you need to add more glitter of a particular color.
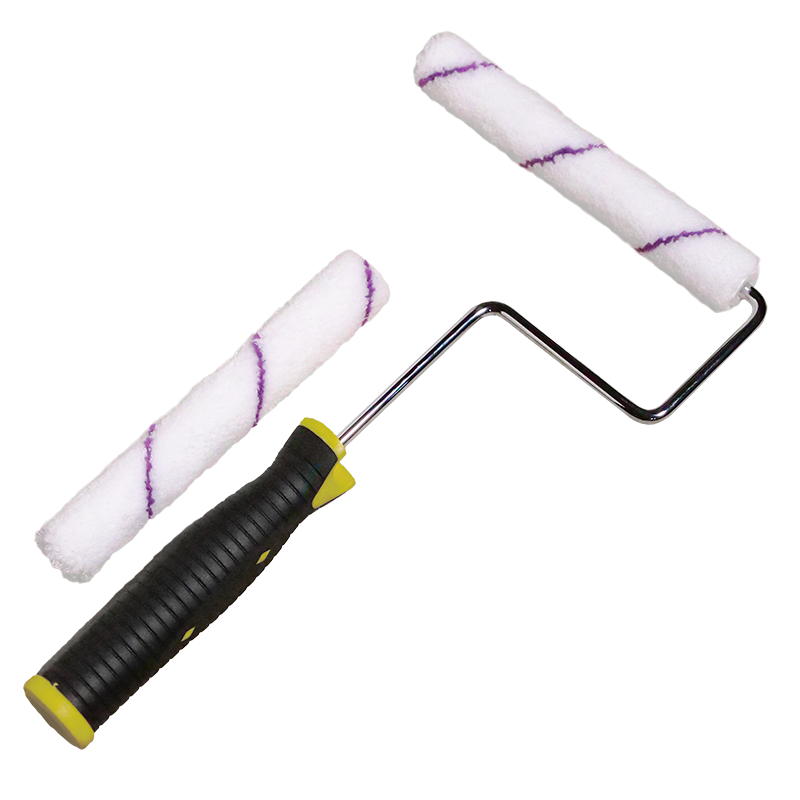
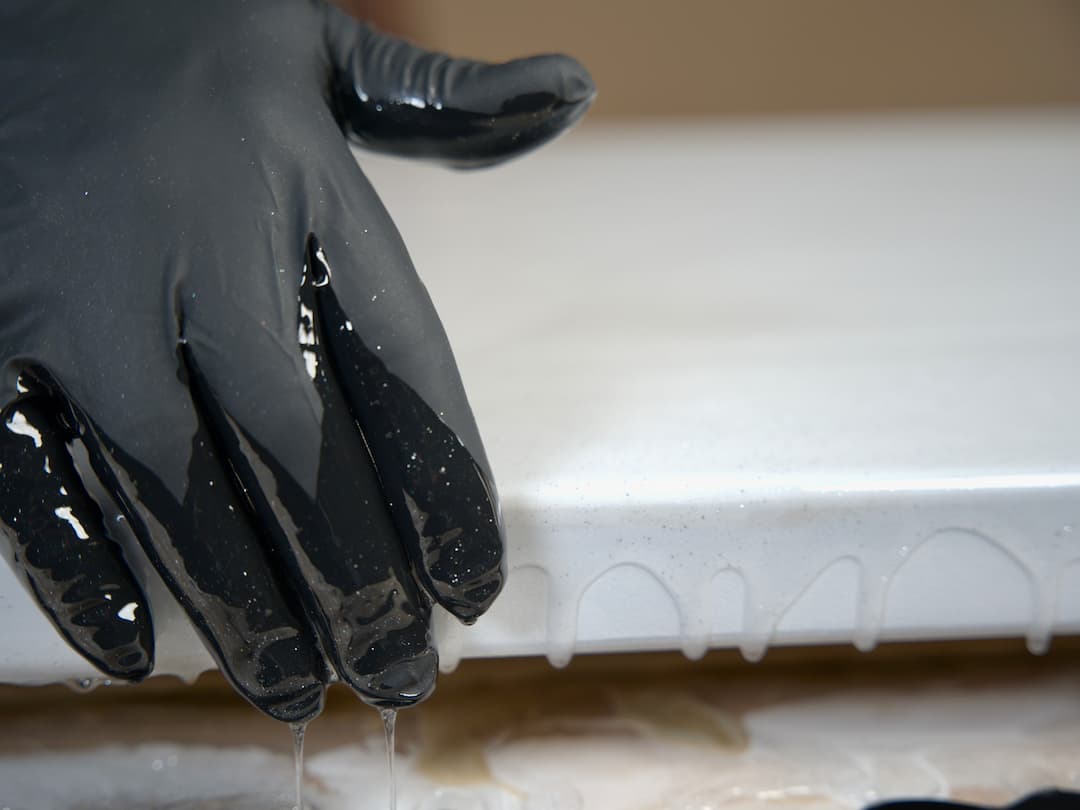
Evenly Spread the Epoxy & Remove Air Bubbles:
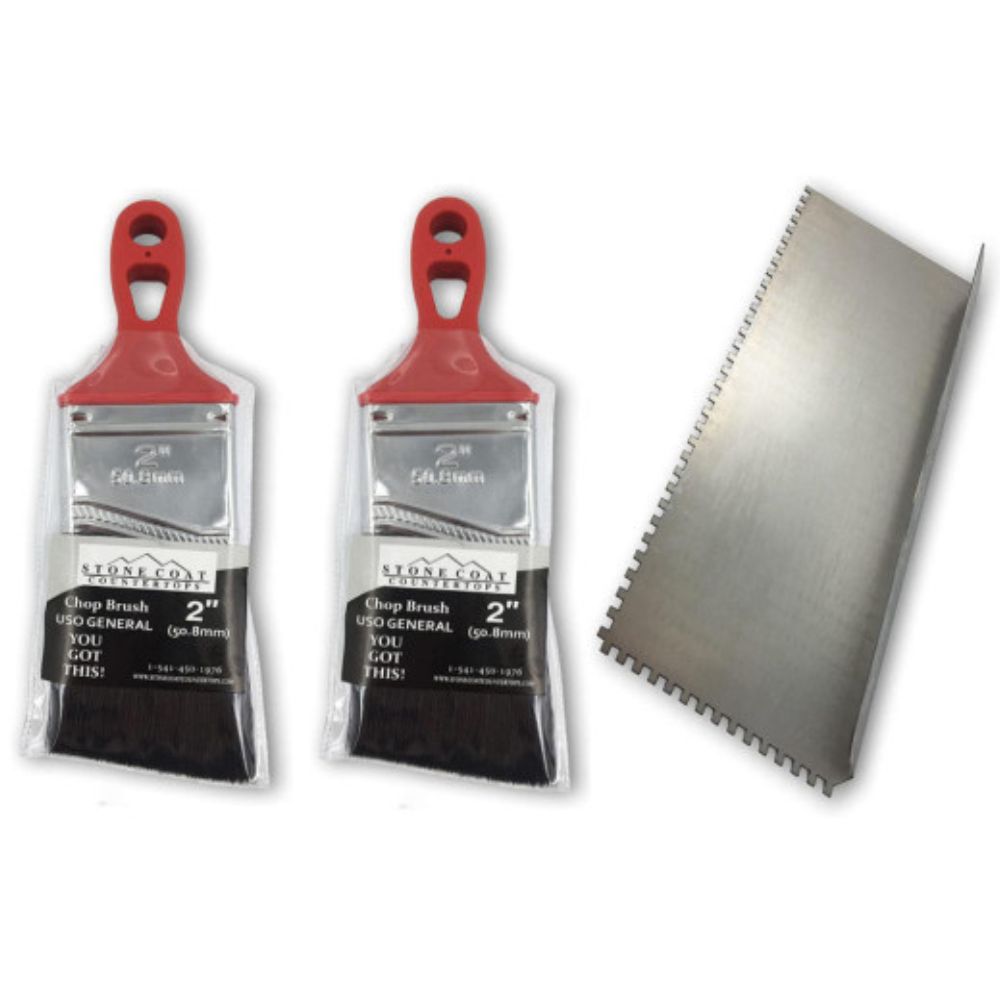
Let the Project Cure: After spreading the glitter epoxy and chopping the top with a chop brush, use a heat source to remove any remaining air bubbles. The Stone Coat Countertop Epoxy will cure and be ready for the next layer in 18-24 hours with no need to sand. If curing exceeds 24 hours, lightly hand sand the surface with 220-320 grit sandpaper to ensure good adhesion for the next epoxy layer.
Seal and protect your design with a clear coat of Stone Coat Art Coat Epoxy. When using the White Quartz Epoxy Countertop Kit, you will have enough leftover epoxy for the clear coat at 3 oz per square foot.
Mix Clear Epoxy: Follow the instructions to mix the clear Stone Coat Art Coat Epoxy thoroughly using a drill with a paddle mixer.
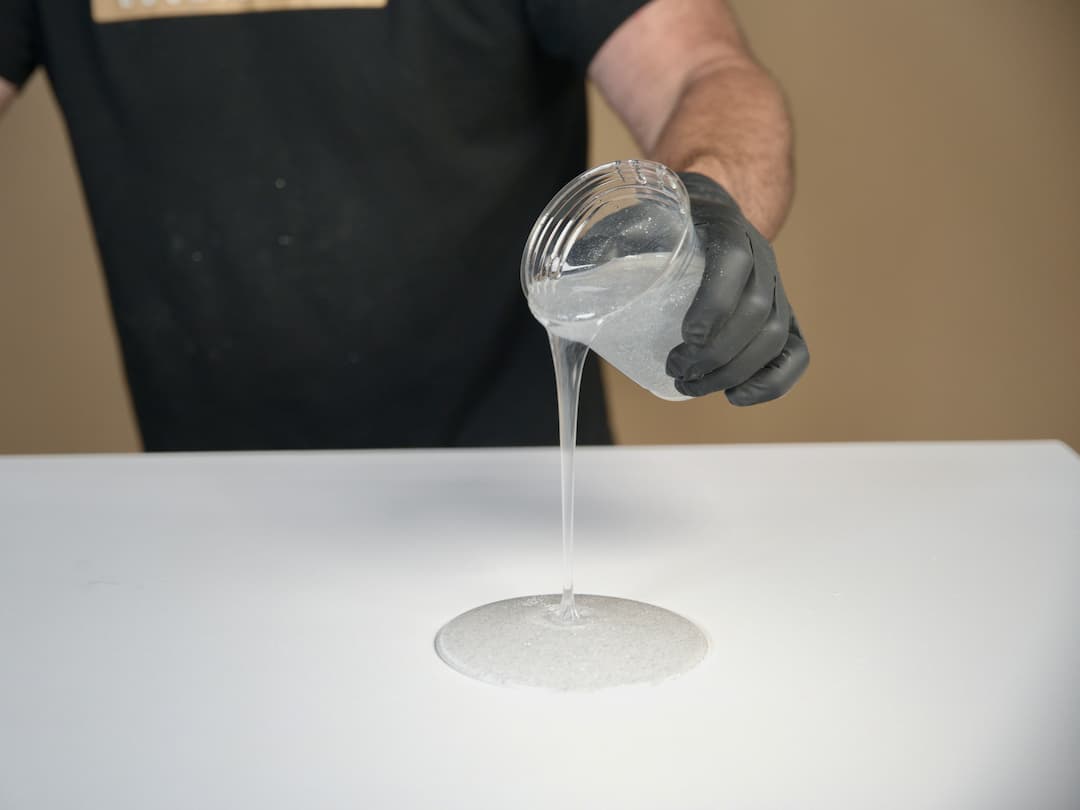
Pour the Epoxy: Pour the mixed epoxy into the center of your countertop in a large ribbon.
Evenly Spread the Epoxy & Remove Air Bubbles:
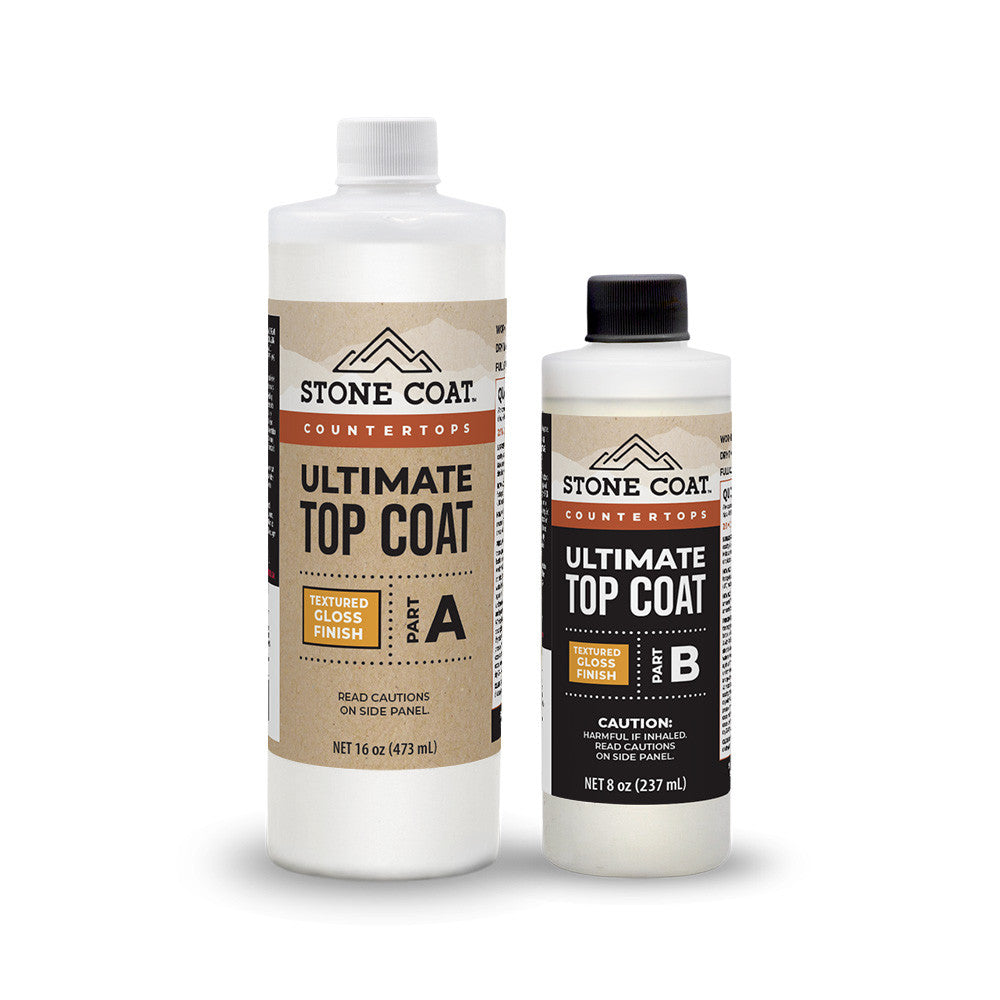
For maximum durability, we recommend coming back overtop the clear coat of epoxy once cured with a scratch-resistant protective layer of our Ultimate Top Coat. The Ultimate Top Coat will need to be purchased separately to achieve our highest performing finish.
For high-detailed written instructions, see our Ultimate Top Coat Instructions HERE.
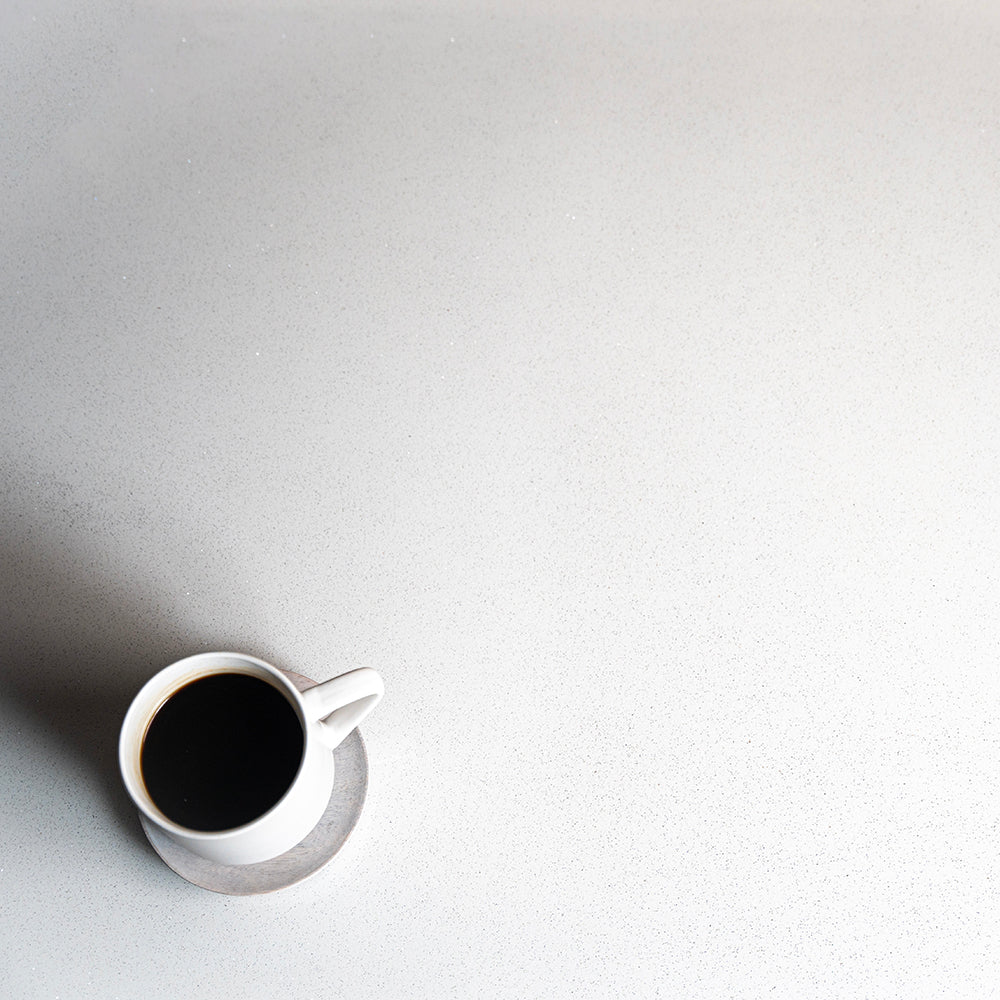
Enjoy your new countertops!
From all of us here at Stone Coat Countertops,
You Got This!
Follow the tutorial below that applies to your project: